
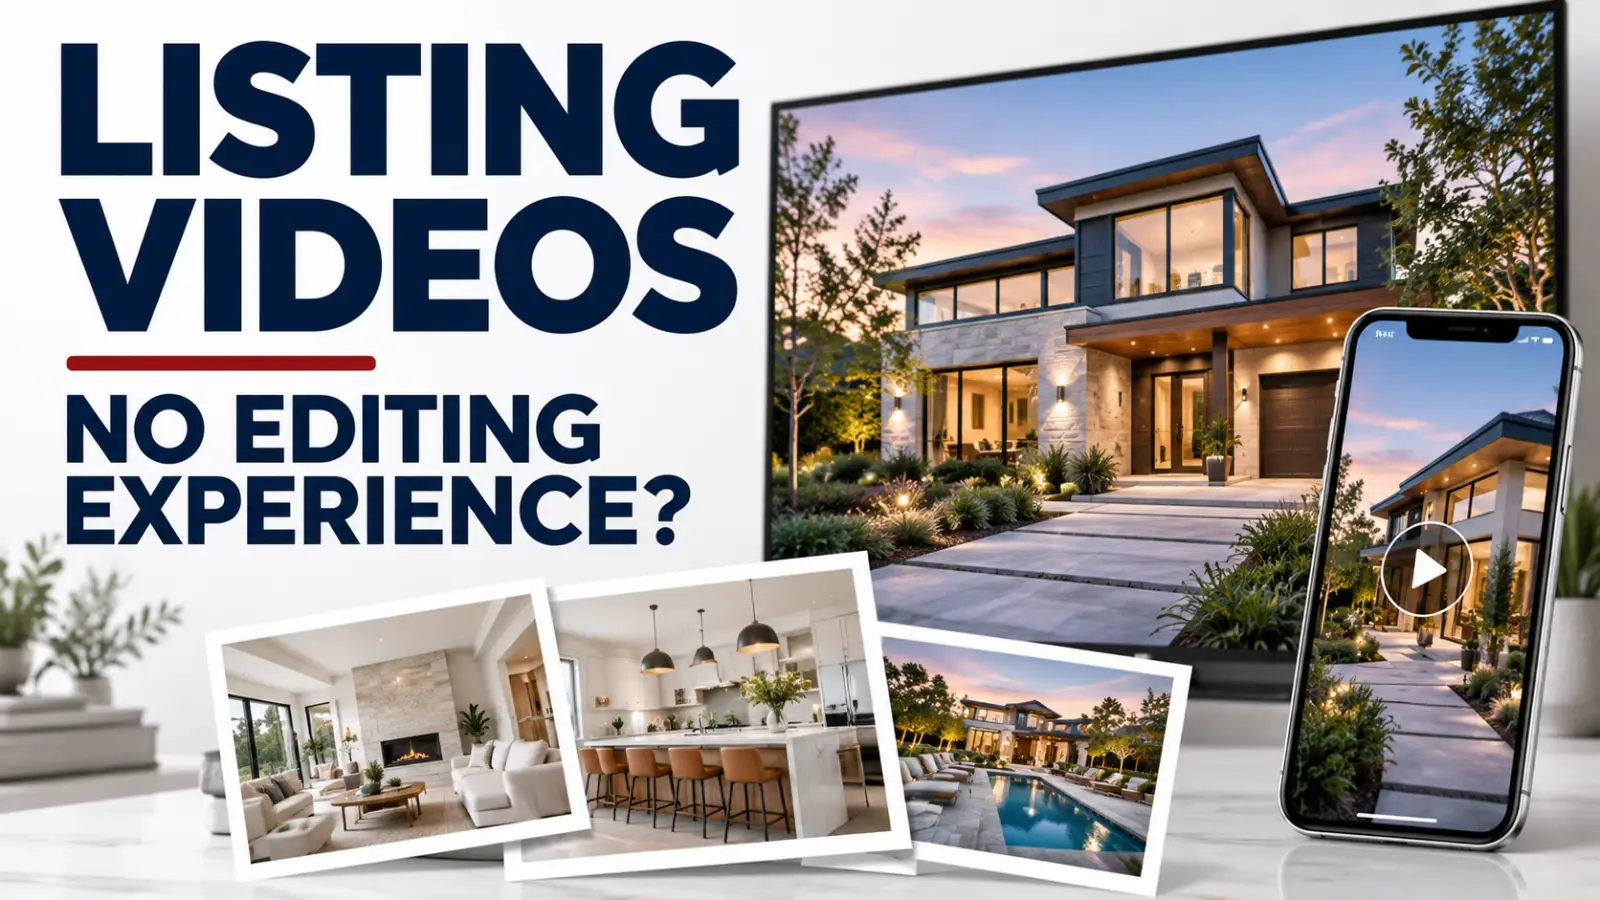
You already have the listing photos. Maybe you also have a few video clips saved on your phone. What you do not have is an afternoon to learn video editing.
Creating a real estate listing video starts with choosing a workflow that fits the material you already have.
A real estate video maker can help you turn photographs into a property video, reuse existing clips, or assemble a social Reel. The important distinction is knowing which starting point matches the result you want.
Here is how to choose—and how to make the finished video useful to potential buyers.
Start With What You Already Have
Before choosing a tool, look at your available media.
- Listing photographs: Start with a photo-to-video workflow.
- Existing property video clips: Reuse them in a new edit.
- Three video files for a vertical presentation: Consider a Montage Reel.
- An agent introduction plus property media: Build a Reel that combines your message with views of the home.
You do not need to create every format at once. Begin with one useful video, then adapt the material for another purpose.
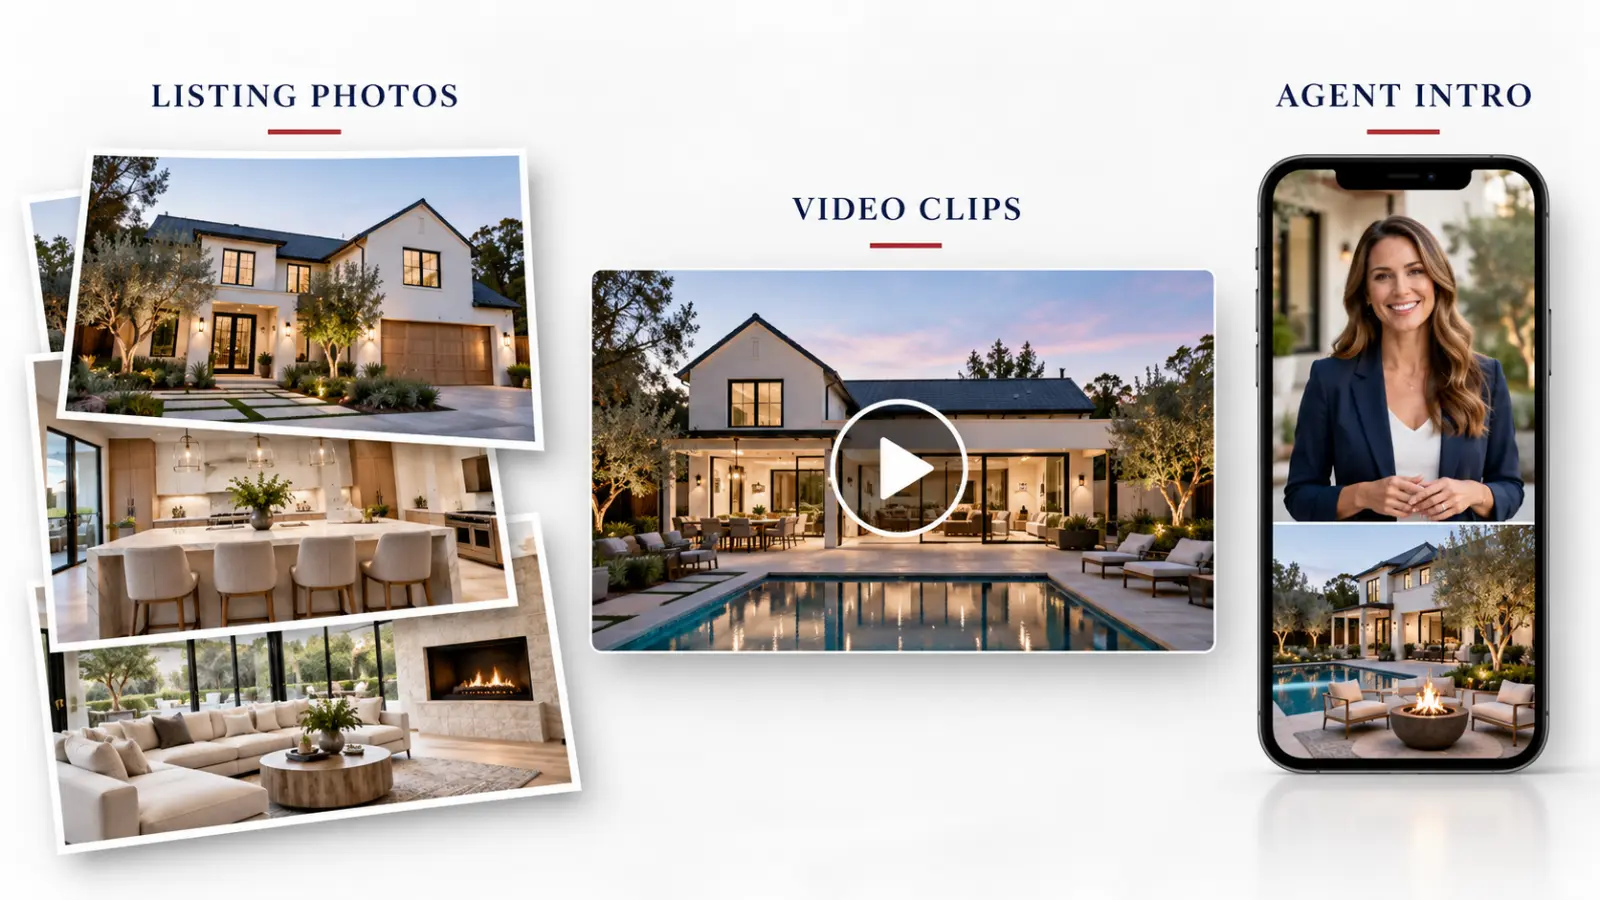
1. Turn Listing Photos Into a Real Estate Video
If you have a strong set of listing photographs, you already have a starting point for video marketing.
A photo-to-video service uses those images to create moving property scenes. You select the photographs and review the resulting video rather than manually building each scene in an editing timeline.
With REP2V, you can create a Listing Video from your photos. Before choosing your images, watch real estate listing video examples to see whether the style suits the home.
Choose Images That Explain the Property
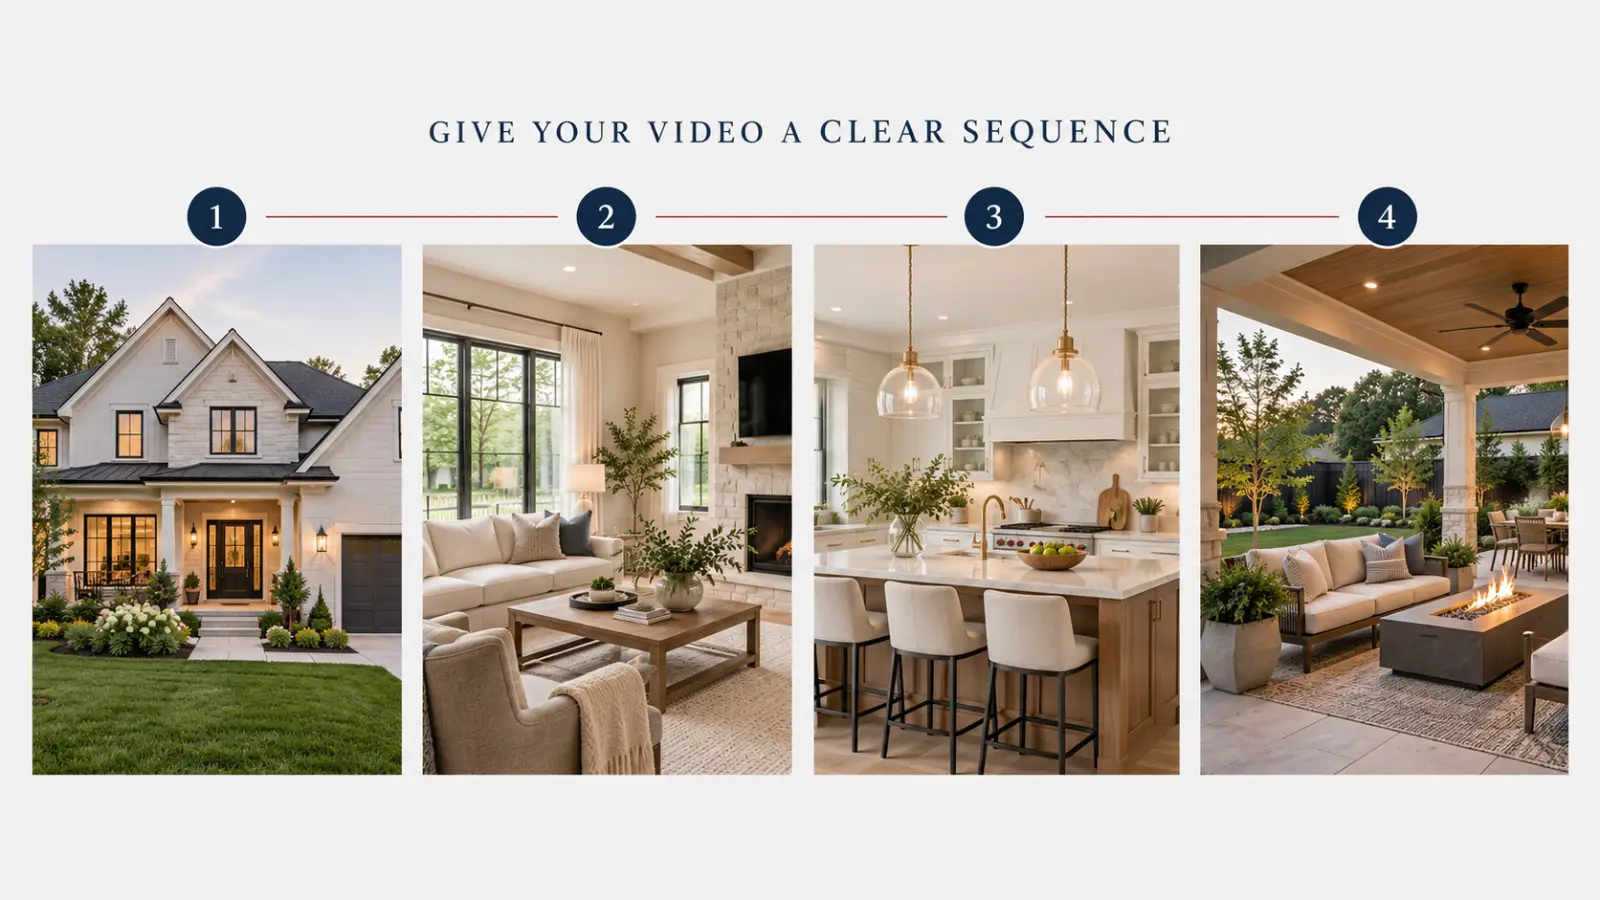
Start with a clear exterior, followed by the principal living spaces and features that matter to the listing.
For example:
- Front exterior.
- Main living area.
- Kitchen.
- Primary bedroom.
- A useful additional space.
- Backyard, patio, or another relevant outdoor feature.
- A memorable closing view.
This is a starting sequence, not a requirement to include exactly seven photographs. Adapt the selection to the home and the deliverable you want.
Avoid including several nearly identical room angles simply because they were part of the photographer’s delivery. Each image should add useful information.
Our guide to choosing listing photos for a real estate video explains that selection process in more detail.
Use the Original Photo Files
Use photographs you have permission to include in video marketing. Start with the original delivery rather than screenshots or images downloaded from social media.
Keep the original files available even if you also create smaller copies for email, websites, or other marketing.
If you need help preparing those smaller copies, the Photo Optimizer provides a separate resizing and compression workflow. Check the destination’s requirements before reducing image dimensions.
Review Generated Motion Carefully
A real estate video from photos is different from footage recorded at the property.
Separate photographs do not establish a continuous walkthrough or prove how two rooms connect. Watch the finished scenes and check that movement, architecture, and visible features represent the home accurately.
If you want a more detailed explanation of the process, read How to Create a Real Estate Video From Photos.
2. Reuse Existing Clips With Video Remix
You may already have a finished listing video or individual property clips. Those assets can support another video without scheduling a new shoot.
Start by choosing a different purpose for the edit:
- Introduce a newly listed property.
- Highlight the kitchen and outdoor entertaining area.
- Promote an upcoming open house.
- Create a shorter version focused on one feature.
- Present several available properties in one video.
The Video Remix tool provides a way to reuse existing video material for another presentation.
Give Each Version a Specific Job
A new edit should have a reason to exist.
For an open-house video, the viewer needs the correct date, time, property, and next step. For a feature-focused video, the footage should support the feature mentioned in the text.
Avoid adding every room to every version. A shorter selection with a clear message can be more useful than another complete presentation of the same material.
Combining Multiple Properties
A multi-property video can work as a roundup of available homes.
Keep each property clearly identifiable. When the address or price changes, make sure the footage changes with it.
Using a consistent branded style can help the presentation feel connected, while updated property information distinguishes each home. Check that no address, sale status, or price carries over accidentally from the previous property.
For more ideas, read our guide to remixing listing videos for real estate marketing.
3. Make a Vertical Montage From Three Video Files
“Montage” can mean different things.
Some agents use the word for a sequence of listing photographs with music. If that is what you need, a Listing Video from photos may be the appropriate starting point.
REP2V’s Montage Reel tool uses three video files at a time to build a vertical presentation with three stacked panels.
That makes it a different workflow from uploading still photographs to create your main Listing Video.
Choose Clips That Work Together
For a single property, you might combine:
- An exterior view.
- A main living-area clip.
- A kitchen or outdoor-space clip.
The panels share a narrow vertical composition, so preview how each source looks inside its assigned area. A feature near the edge of a wide clip may not remain visible.
Keep text short enough to read without covering the property. Use verified details that serve the purpose of the Reel.
If you are unsure whether you need a photo-based video or the three-panel format, read How to Create a Real Estate Video Montage From Listing Photos.
4. Add Your Own Introduction With Reel Star
Sometimes the missing ingredient is a personal introduction.
A short agent clip can explain why a particular feature deserves attention before the viewer sees the property media.
For example:
“Need space to work from home? Take a look at the dedicated office in this listing.”
Follow that introduction with media that actually shows the office. Keep your message specific to the home.
Reel Star is designed for assembling vertical real estate Reels using agent clips and property media. Its editor includes templates, clip trimming, playback-speed controls, music, branding, and property-information overlays.
The practical goal is to connect your message with the appropriate views of the home.
You do not have to speak throughout the video. A brief opening and a clear closing can give the property footage room to do its job.
For help recording those clips, read Real Estate Video Equipment: What Agents Actually Need.
Give the Viewer One Clear Next Step
Before adding a closing message, decide what you want someone to do after watching.
Examples include:
- View the complete listing.
- Ask for property details.
- Contact you about a showing.
- Check the open-house information.
Choose a call to action that matches where the video will appear. A social caption can provide context that may not belong inside the video itself.
Make the destination easy to find, and check that any linked listing or property page is current.
Review the Video Before Publishing
An easier creation process still needs a final review.
Watch the entire video, including its opening and closing frames.
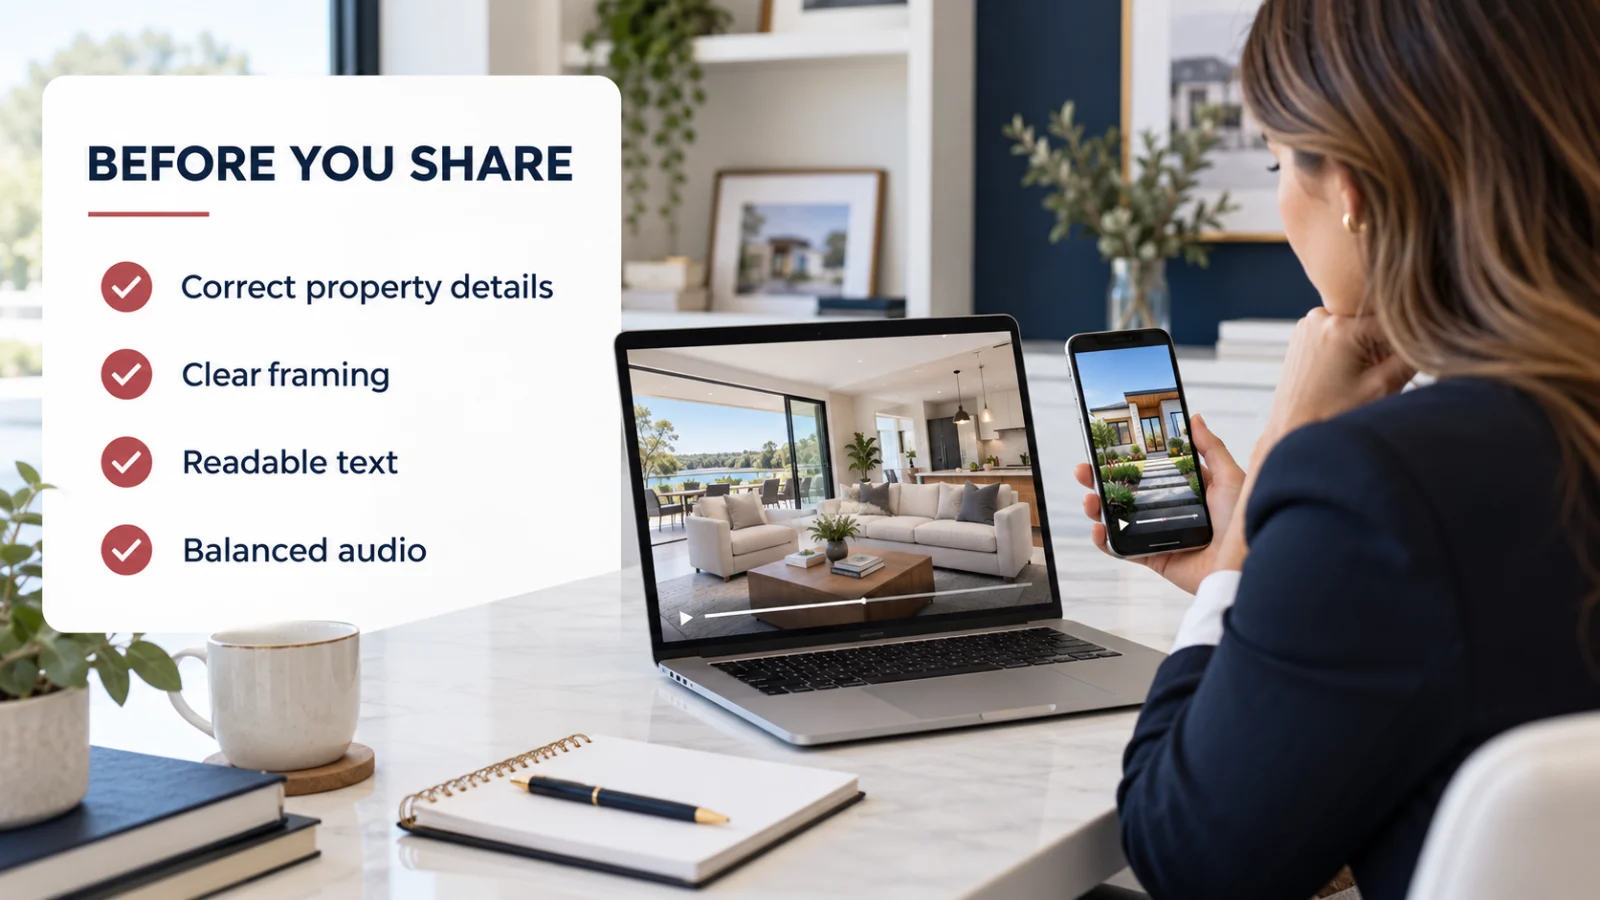
Check these details:
- Property accuracy: Does every scene show the correct home?
- Current information: Are the address, price, status, and event details correct?
- Framing: Are important features visible in the selected format?
- Text: Can someone comfortably read the overlays on a phone?
- Audio: Is speech understandable, with music at an appropriate level?
- Branding: Are the contact details and logo correct?
- Generated scenes: Does the motion preserve the property’s visible features?
- Publishing destination: Does the file meet the requirements of the platform or MLS where you intend to use it?
Keep branded and unbranded deliverables organized separately when your publishing destinations require different versions.
An Example: One Listing, Three Useful Videos
Imagine you have professional listing photographs and a short agent introduction.
You could build a practical sequence of marketing assets:
First, create the main Listing Video. Choose photographs that explain the property and review the resulting scenes.
Next, make a focused social version. Use selected video material to highlight a feature or promote an event.
Then, add your introduction. Combine your agent clip with relevant property media for a more personal presentation.
These versions should serve different purposes. You do not need to create all three simply to produce more content.
For broader ideas, explore 5 Ways to Get More From Your Listing Photos.
Frequently Asked Questions
Can I make a real estate listing video without editing experience?
Yes. A guided photo-to-video service or a tool built around templates can reduce the manual editing involved. You still need to choose suitable media, provide accurate information, and review the finished result.
What is the difference between a Listing Video and a Montage Reel?
A Listing Video from photos starts with still photographs and creates property video scenes. REP2V’s Montage Reel tool starts with three video files at a time and presents them in a vertical, three-panel layout.
Can I reuse an existing listing video?
Yes, provided you have the rights to reuse it. Select clips that fit the new message and check that the property information remains current.
Can I include more than one property in a video?
Yes. Make each property clearly identifiable and match its footage with the correct address, price, and status. A consistent branded style can help connect the presentation.
Does creating video from photos replace a filmed walkthrough?
No. A photo-based video can present the home using existing images, while a filmed walkthrough records actual footage at the property. Choose the approach that fits what you need to show.
Start With One Useful Listing Video
You do not need to learn every video tool before you begin.
Start with the photographs or clips you already have, choose one purpose, and create a video that helps someone understand the property.
If your listing photographs are ready, view Listing Video examples or start a Listing Video from your photos.
If you need help capturing the home first, browse the free real estate photographer directory.
One Listing. Endless Content.
Turn listing photos into cinematic videos, branded social clips, flyers, property pages, reports, and more.
Create My Listing VideoTopics