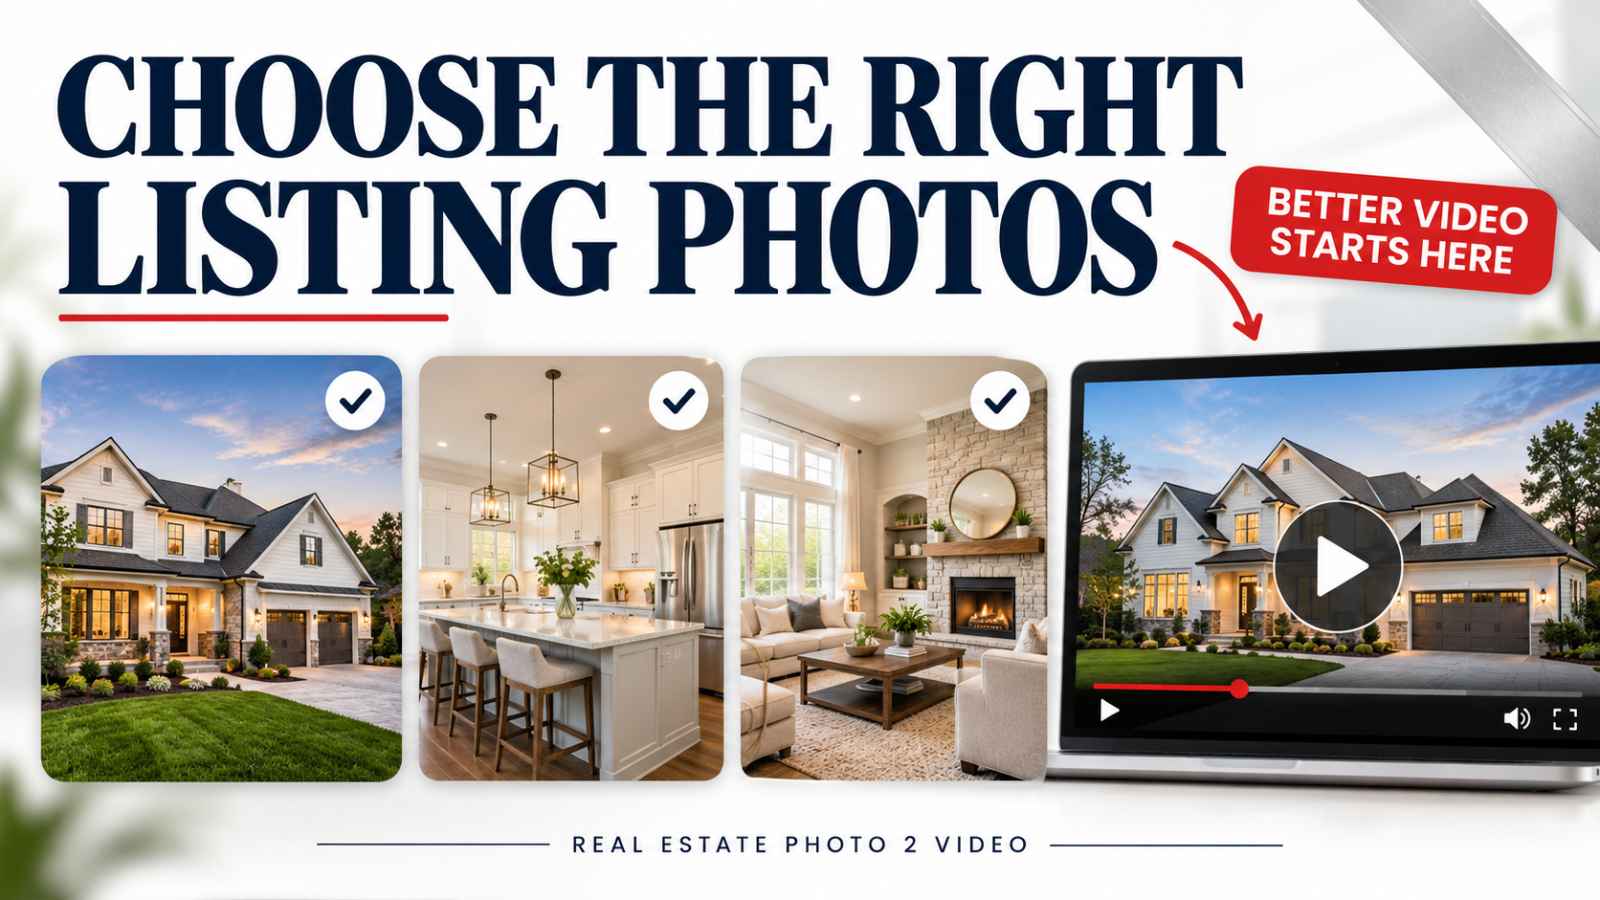
A real estate video from photos starts with a useful selection of images.
You do not need to include every photograph from the listing shoot. You need views that introduce the property, explain its main spaces, and show the features buyers should notice.
Choosing those images carefully helps you build a clear sequence and gives photo-to-video generation better source material to work with.
This guide explains how to select listing photos, remove unnecessary repetition, and prepare your images before creating a video.
Start With the Property, Not the Photo Count
Before selecting images, identify what the video needs to communicate.
What makes this home worth a closer look? Which rooms are essential to understanding it? Does the outdoor space deserve special attention?
A compact condo might need coverage of the exterior, main living area, kitchen, bedroom, bathroom, and balcony. A larger home might also need a dedicated office, additional bedrooms, a finished basement, and several outdoor views.
Choose photos because they contribute information. Filling a target count with nearly identical angles can make the finished video repetitive.
A useful starting selection includes:
- A clear opening exterior.
- The main living room.
- The kitchen.
- The dining area or its connection to the main living space.
- The primary bedroom.
- An important bathroom.
- Other relevant rooms.
- Distinctive property features.
- Outdoor living space, if present.
- A strong closing view.
Adapt that list to the home rather than treating every property the same.
For a broader coverage checklist, read our real estate video shot list.
1. Choose an Exterior That Clearly Introduces the Home
Your opening image should help viewers understand what property they are looking at.
For many listings, that means a front exterior showing the home clearly. For others, a rear exterior with a pool, terrace, or distinctive setting may provide a stronger introduction.
Look for a photograph with:
- A clear view of the building.
- Straight, believable architectural lines.
- Useful detail in both bright and shaded areas.
- Enough surrounding space for the intended framing.
- Minimal distractions that obscure the property.
A decorative close-up can support the video later, but it usually provides less context as the first image.
If you have several exterior options, choose the one that best introduces the home. Add another only when it reveals something different.
2. Show the Main Rooms Before the Small Details
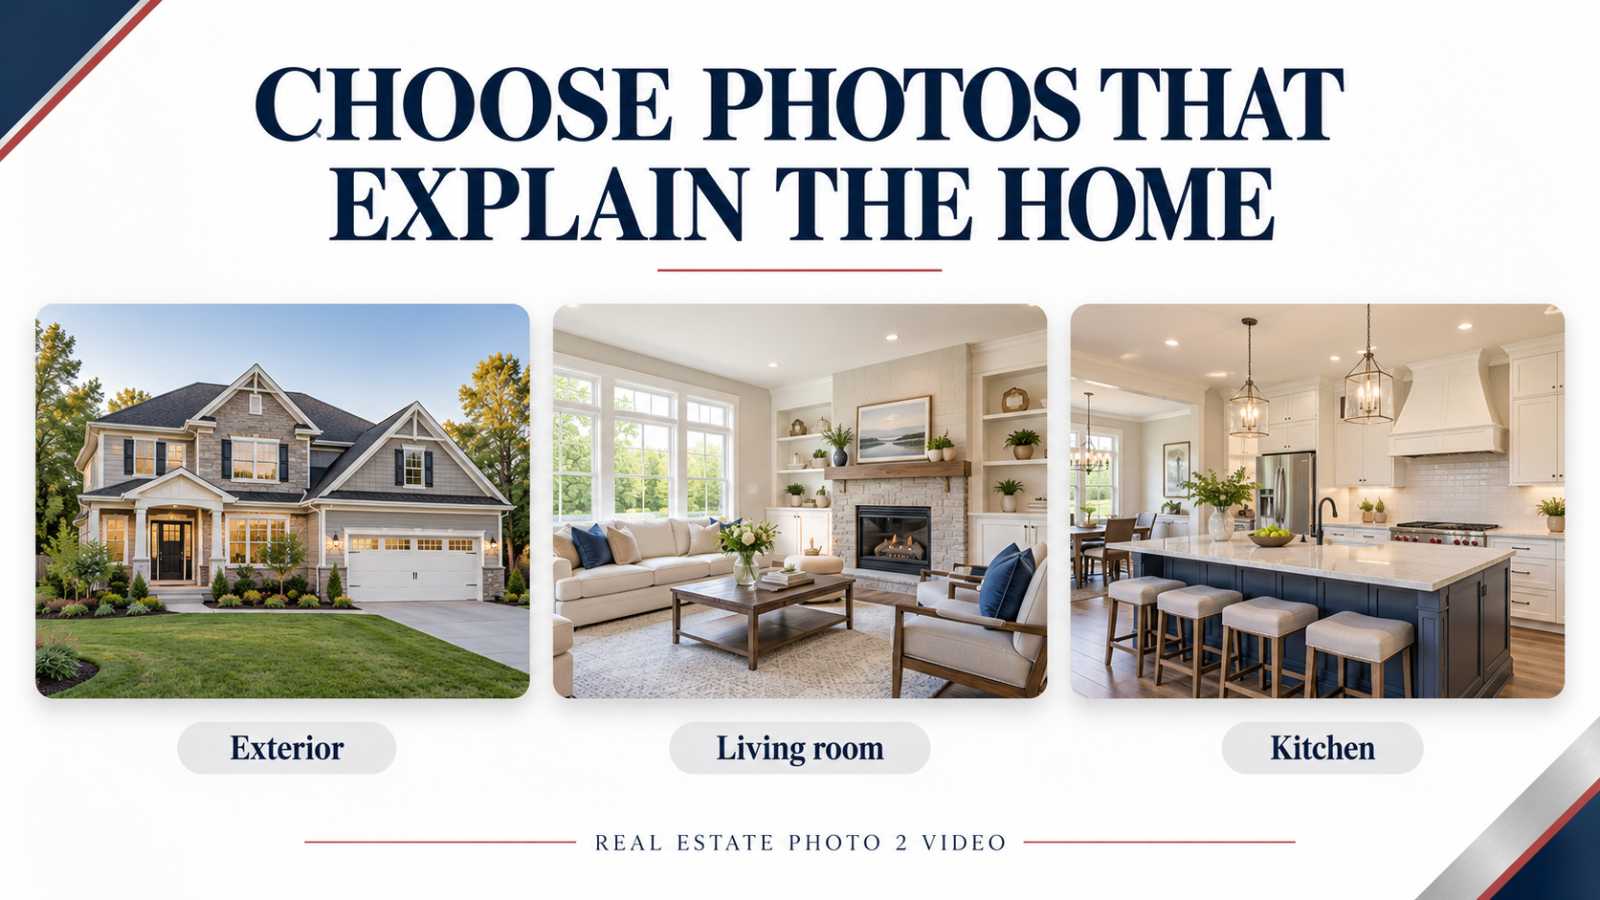
Start with wide views that explain the principal spaces.
A kitchen photograph should show more than an attractive faucet. A living-room image should reveal more than a fireplace ornament.
Choose photos that help buyers understand the room’s usable space and important features.
For the main rooms, ask:
- Can the viewer identify the space immediately?
- Are its important features visible?
- Is furniture blocking a useful part of the view?
- Does the angle explain the room without exaggerating its proportions?
- Would another angle add meaningful information?
A second view can be useful when it shows a connection to another space or reveals a feature missing from the first. Two nearly identical photographs contribute less.
3. Remove Repetitive Angles
A complete photography gallery and a video sequence serve different purposes.
A gallery lets someone browse several views at their own pace. A video presents those views in an order, with each one occupying part of the running time.
That makes repetition more noticeable.
Compare similar images side by side. Keep the view that communicates the most, then consider whether another photograph adds something important.
For example:
- Keep one kitchen view that explains the layout.
- Add a second if it clearly shows the pantry or connection to the dining area.
- Leave out another nearly identical island view unless it serves a specific purpose.
Apply the same reasoning to bedrooms, bathrooms, and exterior photographs.
The goal is useful coverage, not simply the smallest possible selection.
4. Choose Features That Matter to This Listing
Once the main spaces are covered, add photographs of features that distinguish the property.
Useful examples include:
- A covered patio.
- A dedicated office.
- Built-in storage.
- A distinctive fireplace.
- A large kitchen island.
- A balcony or terrace.
- A pool.
- A workshop or garage.
- A finished basement.
Prioritize features that help explain the home. Movable decorations may look attractive, but they should not crowd out important property details.
A detail photograph can add variety after a wider view establishes the room.
For example, show the kitchen first, then include a closer image of a distinctive built-in feature if it deserves attention.
Keep descriptions accurate. A photograph alone does not verify an appliance’s age, a countertop’s material, or a room’s dimensions.
5. Check Image Quality Before Creating Video
Photo-to-video generation starts with the information visible in the source image.
If important details are blurry, obscured, or poorly exposed, the process has less reliable material to work with. Improving the photograph first can make it a more useful starting point.
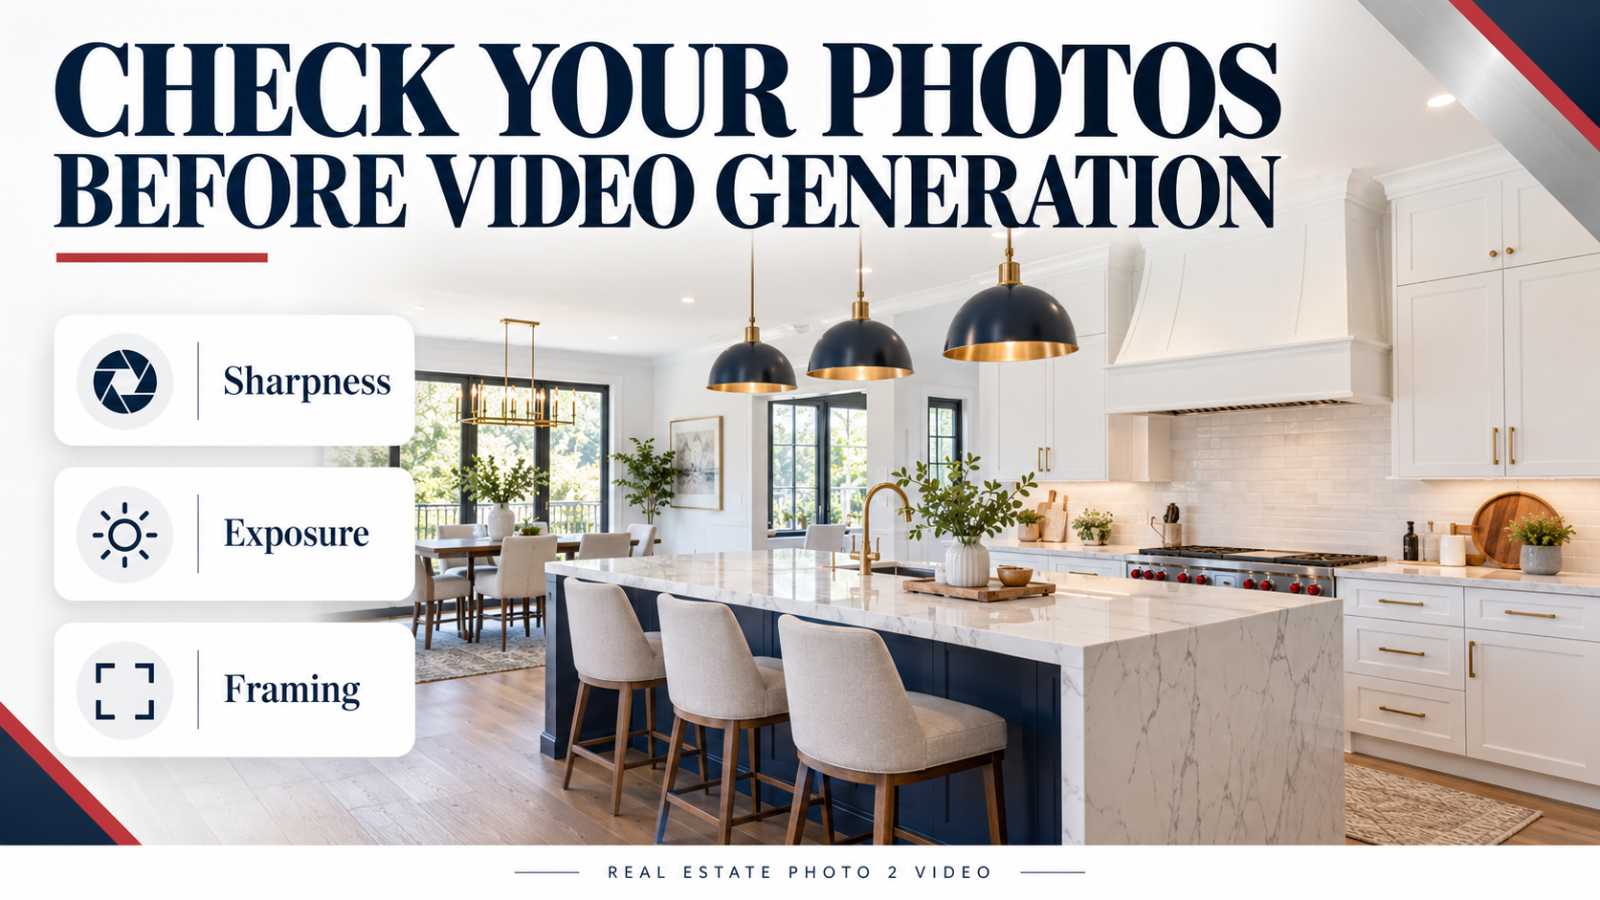
Review your selected files for:
- Sharpness: important property features should be clear.
- Exposure: avoid losing essential detail in very dark or bright areas.
- Color consistency: rooms should not shift dramatically between unnatural color casts.
- Framing: make sure important features are not accidentally cut off.
- Perspective: check tilted walls and distracting lens distortion.
- Resolution: use the original, high-quality files when available.
Avoid using screenshots of listing photographs when you have access to the original files.
A photograph that looks acceptable as a small thumbnail may reveal problems when viewed at a larger size. Inspect the actual selected files before uploading them.
You can explore the photo enhancement and optimization tools before creating your Listing Video. Review any processed image to make sure the property is still represented accurately.
Photo preparation belongs before video generation: it improves the source material you are asking the system to use.
6. Consider What the Image Gives Generated Motion to Work With
A clear photograph does more than look attractive. It establishes the visible structure the generated clip needs to preserve.
Look for views where the important architectural features are easy to distinguish.
Check whether:
- Doorways and windows are clearly visible.
- Furniture has recognizable edges.
- Mirrors and reflections create confusing views.
- Large objects hide important parts of the room.
- The composition remains useful without revealing unseen space.
Photo-to-video generation does not turn a still image into a verified recording of the room. It creates motion from the source image, so the resulting clip needs review.
Do not choose an image expecting the video to reveal what is behind the camera or around a hidden corner.
After generation, check that doors, windows, fixtures, furniture, and room geometry remain consistent with the photograph. Address any inaccurate result before sharing it.
7. Think About Horizontal and Vertical Framing
The format you plan to publish affects which photos will work best.
A horizontal listing video can show a wide room view. A vertical Reel has much less room on either side.
If you expect to use the same property media for both, choose photographs with important features positioned where they can remain visible in the intended framing.
For example:
- A kitchen island near the center may remain useful in a narrower composition.
- A fireplace at the far edge may disappear in a vertical crop.
- A wide exterior may lose part of the building when cropped.
- Text or signage near the sides may become difficult to include.
Do not assume every horizontal image will make an effective vertical video.
Choose the best material for each presentation, and review the actual crop or preview before exporting.
For more on the different outputs, read our guide to creating a real estate video montage from listing photos.
8. Arrange the Selected Photos Into a Clear Sequence
Once you have chosen the images, put them in an order that helps viewers follow the property.
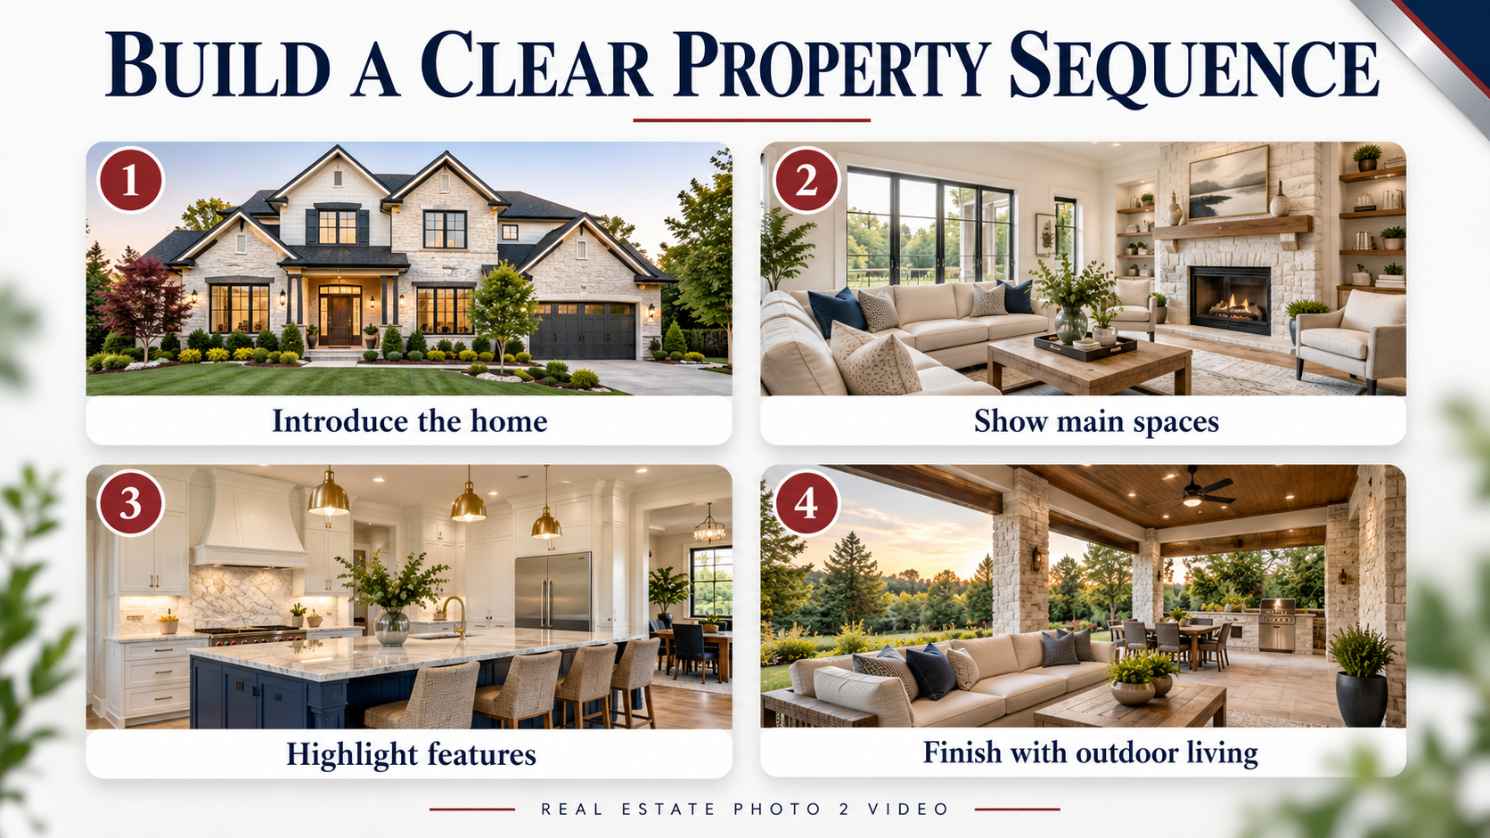
A practical starting sequence is:
- Opening exterior.
- Entry or main living area.
- Kitchen and dining space.
- Bedrooms and bathrooms.
- Additional useful rooms.
- Distinctive features.
- Outdoor living.
- Closing exterior or another memorable view.
Adjust the order to the property. A home’s standout outdoor setting may deserve attention near the beginning.
Keep related spaces together. Jumping from the kitchen to a bedroom, back to the kitchen, and then outside can make the presentation harder to follow.
Separate photographs do not establish a continuous walkthrough. Use a coherent sequence without implying room connections that you cannot verify.
A Simple Photo Selection Example
Imagine a home with a strong front exterior, an open living and dining area, a renovated kitchen, three bedrooms, and a covered patio.
Your first selection might include:
- The front exterior.
- A wide living-room view.
- A dining-area view that adds context.
- The strongest kitchen photograph.
- The primary bedroom.
- The primary bathroom.
- The two additional bedrooms.
- The covered patio.
- A rear exterior showing the outdoor setting.
You might add a second kitchen image if it reveals a useful feature. You might remove the dining photograph if the living-room view already shows that space clearly.
That decision should follow the property’s coverage needs, rather than a rule that every room deserves the same number of images.
Before You Upload: A Final Checklist
Review the selected photographs together:
- Does the opening clearly introduce the property?
- Are the main rooms covered?
- Does each additional angle contribute something?
- Are the home’s distinctive features included?
- Are the files sharp and properly exposed?
- Will important features remain visible in the intended format?
- Is the sequence easy to follow?
- Do you have permission to use the photographs for video creation?
Make sure you selected the intended versions of any edited images. Similar filenames can make it easy to upload an older or lower-quality copy.
Frequently Asked Questions
How Many Photos Should I Choose for a Real Estate Video?
Choose enough to cover the property clearly, then follow the current order requirements. The useful number depends on the home’s size, layout, and features.
Avoid adding repetitive photographs simply to make the video longer.
Can I Use Existing Listing Photos?
Yes, provided you have the necessary rights or permission to use them for video creation. Use the original, high-quality files when available.
Should I Include Every Bedroom and Bathroom?
Include spaces that are important to understanding the listing. The final selection should reflect the property and the purpose of the video.
A complete property presentation may need broader coverage than a short social highlight.
Should I Improve the Photos Before Turning Them Into Video?
Review image quality first. Exposure, sharpness, color, and framing issues can affect the usefulness of the source material.
If you enhance a photograph, check the result for accuracy before using it to create video.
Can One Photo Selection Support Several Marketing Outputs?
Yes. Your selected property media can provide a starting point for a Listing Video and other marketing content, although each output may need a different selection or crop.
For more ideas, read 5 Ways to Get More From Your Listing Photos.
Turn a Useful Photo Selection Into a Listing Video
Choosing listing photos is about helping buyers understand the home.
Start with clear coverage, remove unnecessary repetition, check the source quality, and arrange the images into a sequence that makes sense.
Then review the finished video with the same care you used to choose the photographs.
Browse Listing Video examples to see possible presentations, or create a real estate video from your listing photos.
One Listing. Endless Content.
Turn listing photos into cinematic videos, branded social clips, flyers, property pages, reports, and more.
Create My Listing VideoTopics