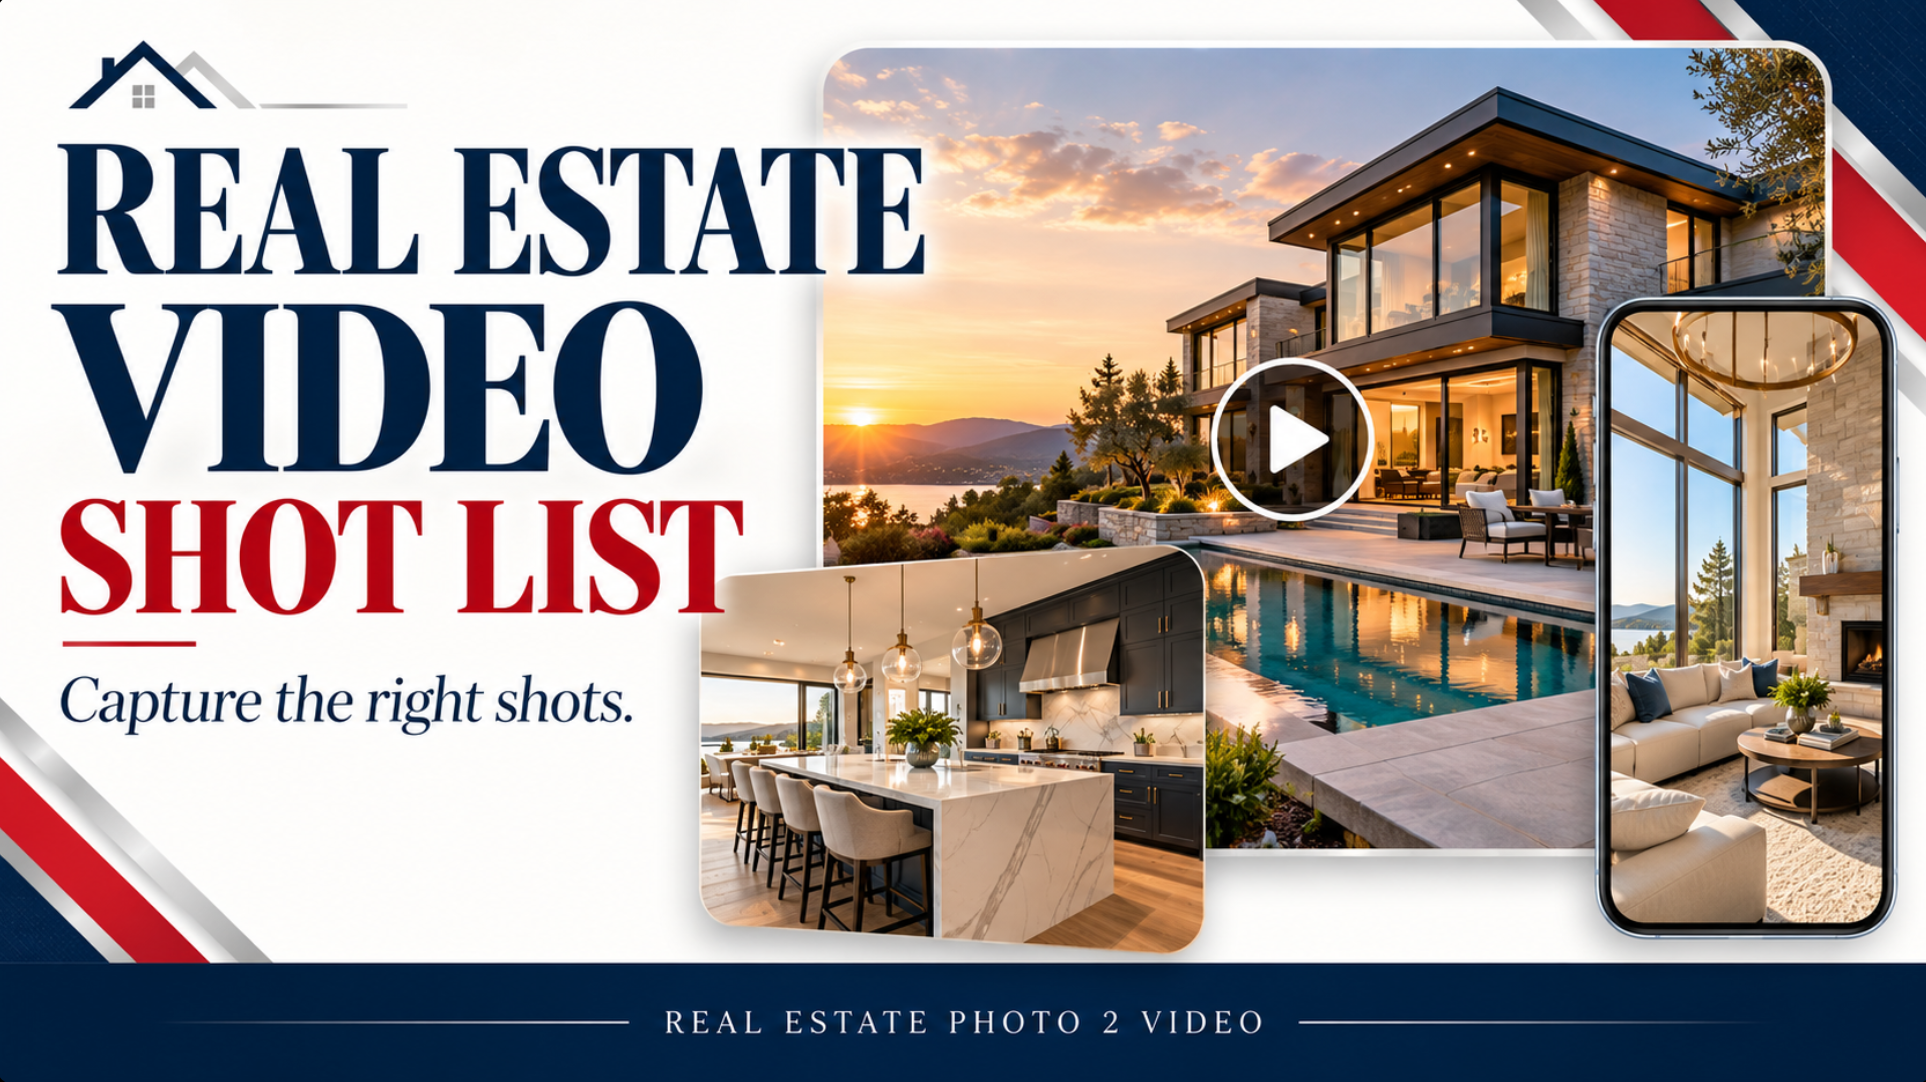
Real Estate Video Shot List: What to Capture for a Listing Video and Social Reels
A useful real estate video shot list answers three questions: What introduces the home? What helps buyers understand its main spaces? And what makes this property worth remembering?
Whether you are filming a walkthrough, collecting clips for a vertical Reel, or taking photos to turn into a listing video, planning those views before you arrive helps you leave with material you can actually use.
Use this checklist as a starting point, then adapt it to the property. A compact condo and a home with a large backyard should not receive identical coverage.
Start With the Finished Video in Mind
Decide where the video will appear before choosing your shots.
For a horizontal listing video, prioritize views that explain the rooms and show the property's setting.
For a vertical social Reel, choose compositions that work in a narrow frame, plus a few closer views of the home's distinctive features.
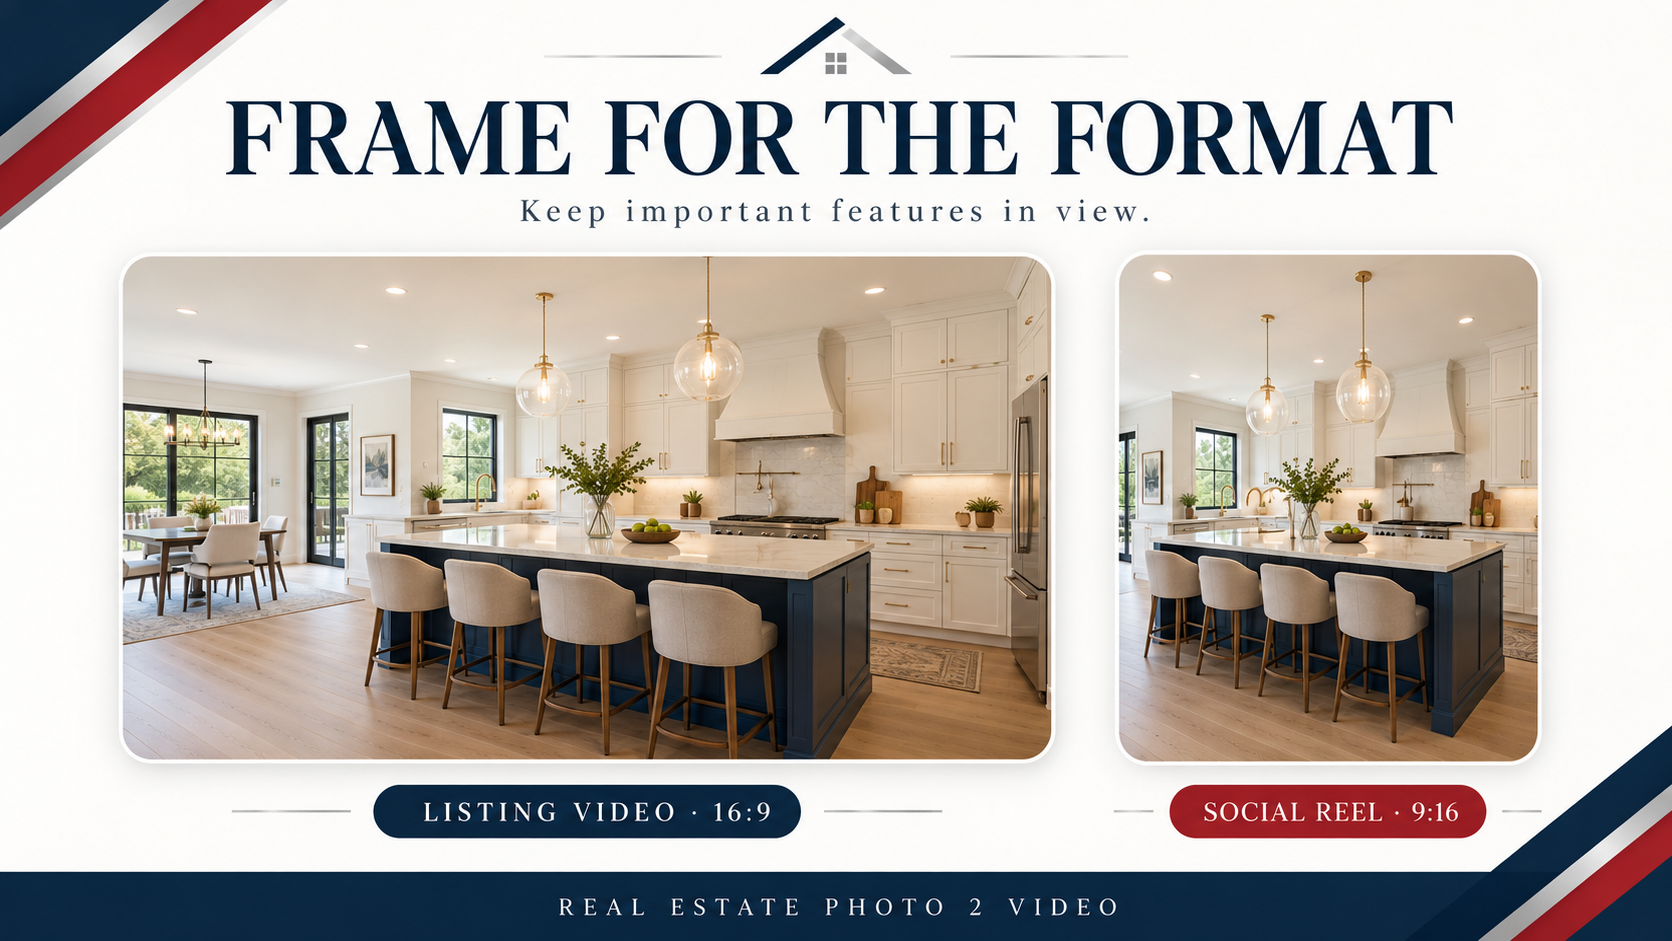
If you need both formats, capture important spaces in both orientations when practical. Do not assume every wide room view will survive a vertical crop. A kitchen island or doorway that looks well placed horizontally may disappear when the sides are removed.
You can also start with existing listing photos. In that case, use this shot list to choose images with useful coverage rather than uploading every photograph from the shoot.
The Essential Real Estate Video Shot List
Use these ten shots to plan your coverage:
- Opening exterior: Clearly frame the home and its strongest visible feature to introduce the property.
- Front door or entry: Show the entrance or an interior view of the entryway to establish the arrival.
- Main living area: Capture a wide view that explains the room's usable space.
- Kitchen: Show the overall layout, counters, and important features.
- Dining area: Include the separate dining room or its relationship to an open living area.
- Primary bedroom: Capture a clear view of the room and its defining features.
- Main bathroom: Show the overall room, then add a feature shot if it warrants attention.
- Additional useful space: Include an office, secondary bedroom, laundry room, or another space that adds useful information.
- Outdoor area: Show the patio, balcony, garden, backyard, or pool, if present.
- Closing view: Finish with a memorable exterior or distinctive property feature.
This is a coverage checklist, not a requirement to give every room equal screen time. Include spaces that matter to the listing and shorten sections that add little new information.
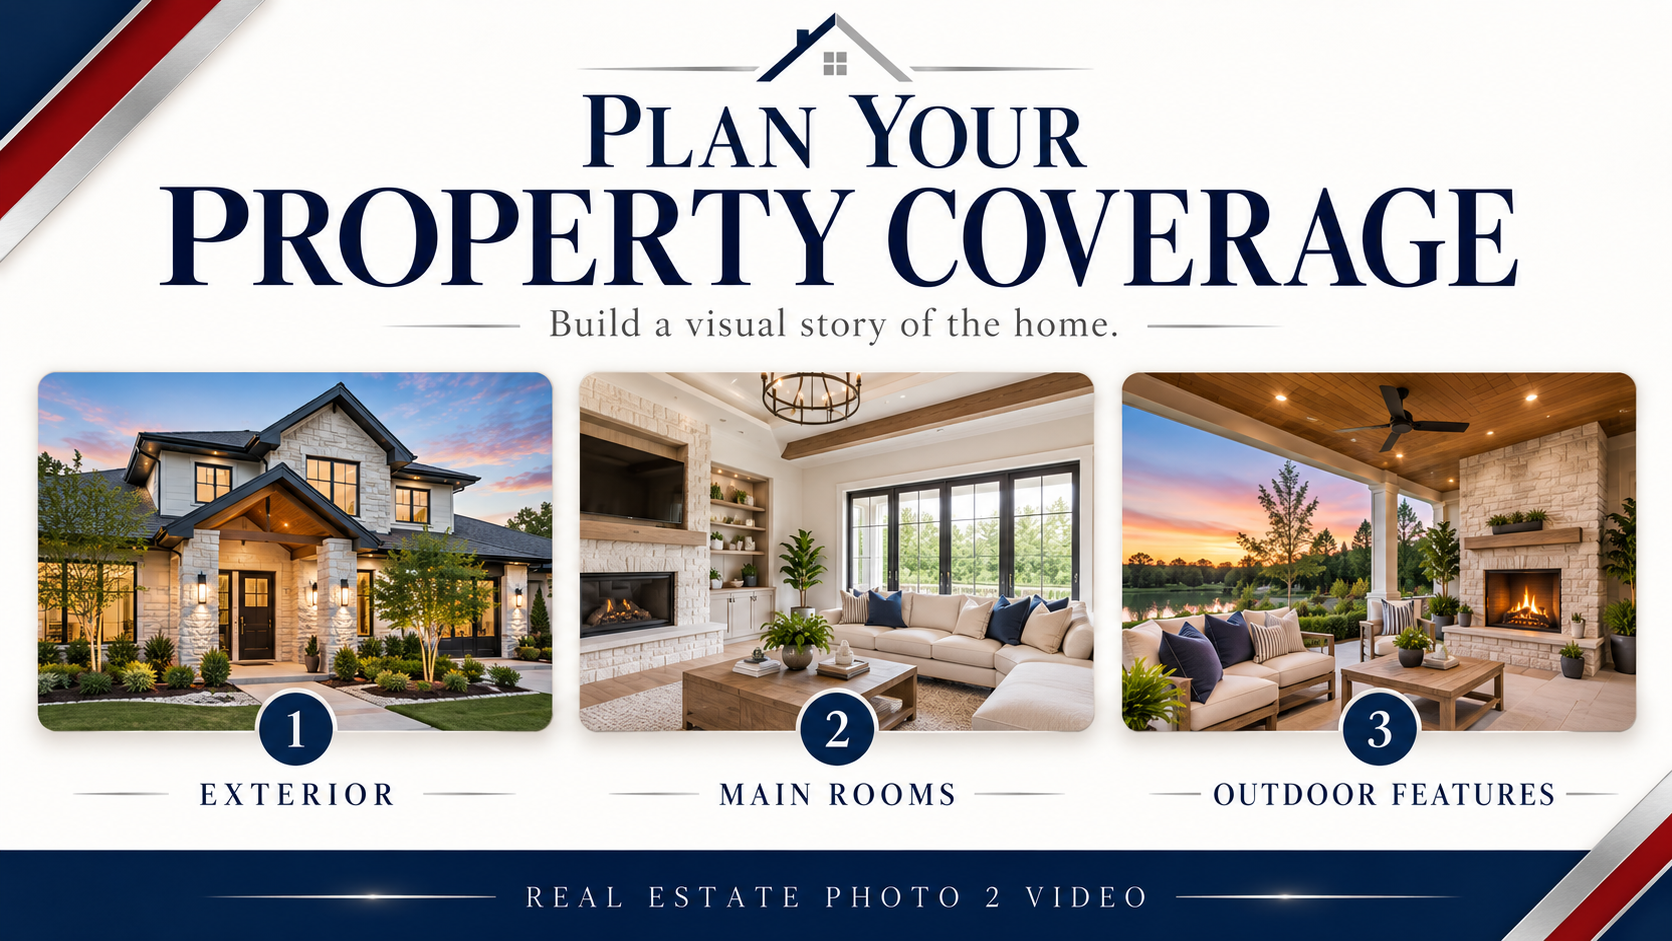
1. Choose an Opening That Identifies the Home
Start with a view that makes the property easy to understand. Often, that is the front exterior. For another home, an exterior showing the pool, terrace, or setting may provide a stronger introduction.
Keep the building visible. A close-up of a decorative object can be attractive, but it does not tell viewers what home they are looking at.
If you are filming, use a controlled movement and give the shot a steady beginning and ending.
If you are selecting photos, choose a clear exterior with enough space around the home for the intended framing.
2. Show the Main Rooms Before the Small Details
Capture a useful wide view of the living room, kitchen, and other principal spaces before concentrating on finishes.
A close-up of a faucet does not replace a view of the kitchen. A fireplace detail does not explain the living room's size or layout.
For larger rooms, capture a second angle only when it adds information. One view might show the seating area; another might explain its connection to the dining space. Two nearly identical angles usually contribute less.
When filming, favor simple movements you can repeat smoothly. Avoid moving quickly through several rooms in one take unless you can maintain clear framing throughout.
3. Add Features Specific to This Listing
Ask the agent or owner which features deserve attention before the shoot. Then capture the ones you can show accurately.
Useful examples include:
- A covered outdoor entertaining area.
- Built-in storage.
- A dedicated home office.
- A large kitchen island.
- A distinctive fireplace.
- A balcony or terrace.
- A pool or garden.
- A garage or workshop.
Choose details that help explain the home. Avoid filling the video with movable decorations when permanent property features would be more useful.
Use verified descriptions. A view of an attractive appliance does not establish its model, age, or specifications.
4. Capture Extra Material for a Vertical Reel
A social Reel often needs a tighter selection than the full listing video. Capture a few shots that can introduce a feature quickly and remain readable on a phone.
A practical Reel selection could include:
- A clear opening exterior.
- The strongest living-area view.
- A kitchen view.
- One distinctive detail.
- An outdoor feature.
- A closing exterior or agent clip.
If the agent will appear on camera, record a short introduction and closing separately from the property footage. Keep the spoken message focused, check the audio, and leave a brief pause before and after the delivery to make editing easier.
Keep important features in frame. A wide kitchen view may work well in a horizontal listing video, while a vertical Reel needs a composition that keeps the island or other main feature visible.
Reel Star provides a way to assemble agent clips and property media into a vertical Reel. You can explore the interface before signing in; creating or exporting content requires an account and the applicable payment or credits.
5. Use the Same Checklist When Creating Video From Photos
You do not have to film every listing to add video to its marketing.
For a photo-to-video workflow, choose a strong exterior, clear views of the main rooms, and images of the features that make the property different. Arrange them into a sequence that introduces the home and moves through its principal spaces.
Separate still images do not establish a continuous walkthrough. Review generated motion and the finished sequence to make sure the video represents the property accurately.
You can view listing video examples or start a Listing Video from your photos.
This also gives photographers a way to expand the deliverables from an existing photo shoot. Confirm that the images are authorized for video creation before using them.
6. Review Your Coverage Before Leaving
Take a few minutes to check what you captured while you can still correct an omission.
- Opening and closing: Do you have a clear introduction and a useful final shot?
- Room coverage: Are the main living spaces included?
- Useful angles: Does each extra view add something?
- Framing: Are important features visible in the intended crop?
- Movement: Is the filmed footage steady enough to use?
- Audio: Is the agent's voice clear?
- Reflections: Are mirrors showing the camera or crew?
- Usable takes: Do you have a good take of each essential shot?
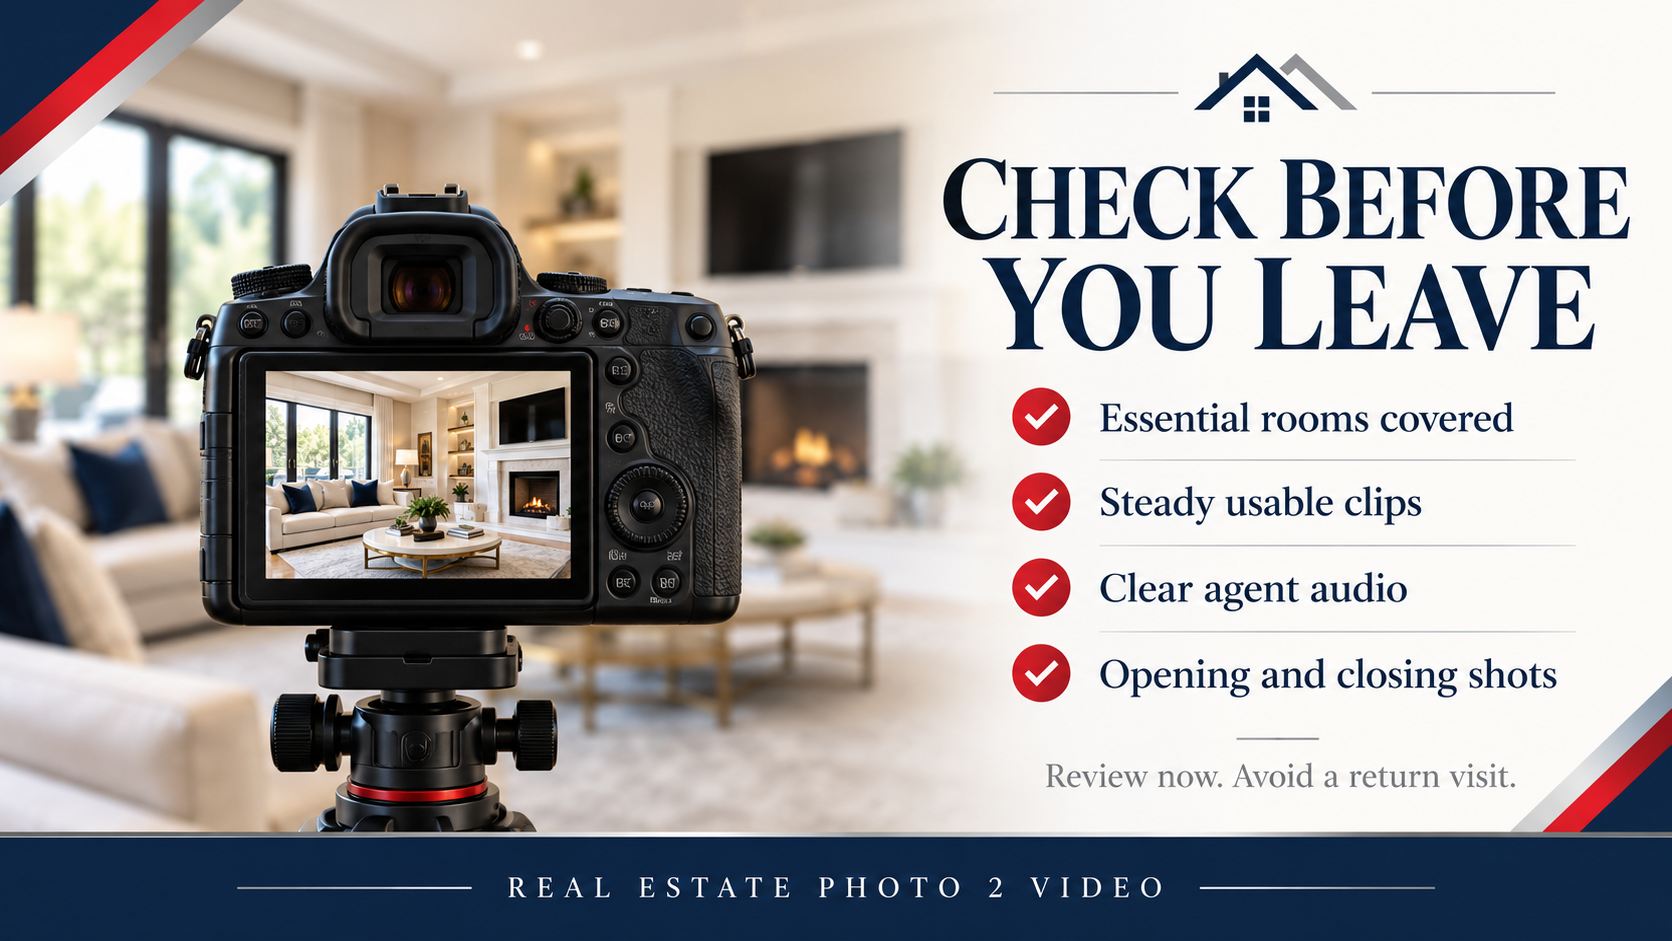
Watch recorded clips rather than relying only on thumbnails. For photos, check sharpness, exposure, and framing at a useful viewing size.
Fixing a missing kitchen view while you are still at the property is much easier than discovering it during editing.
Turn One Shoot Into More Marketing Content
A planned shoot gives you a set of useful images and clips, not just a finished video.
Those assets can support social Reels, branded graphics, flyers, and presentations. Save accurate property details alongside the media so you have a consistent starting point when creating the next item.
For ideas beyond video, read 5 Ways to Get More From Your Listing Photos.
If you need help capturing the property, browse the free real estate photographer directory.
If your listing photos are already ready, create a Listing Video and put this shot list to work when selecting your images.
One Listing. Endless Content.
Turn listing photos into cinematic videos, branded social clips, flyers, property pages, reports, and more.
Create My Listing VideoTopics