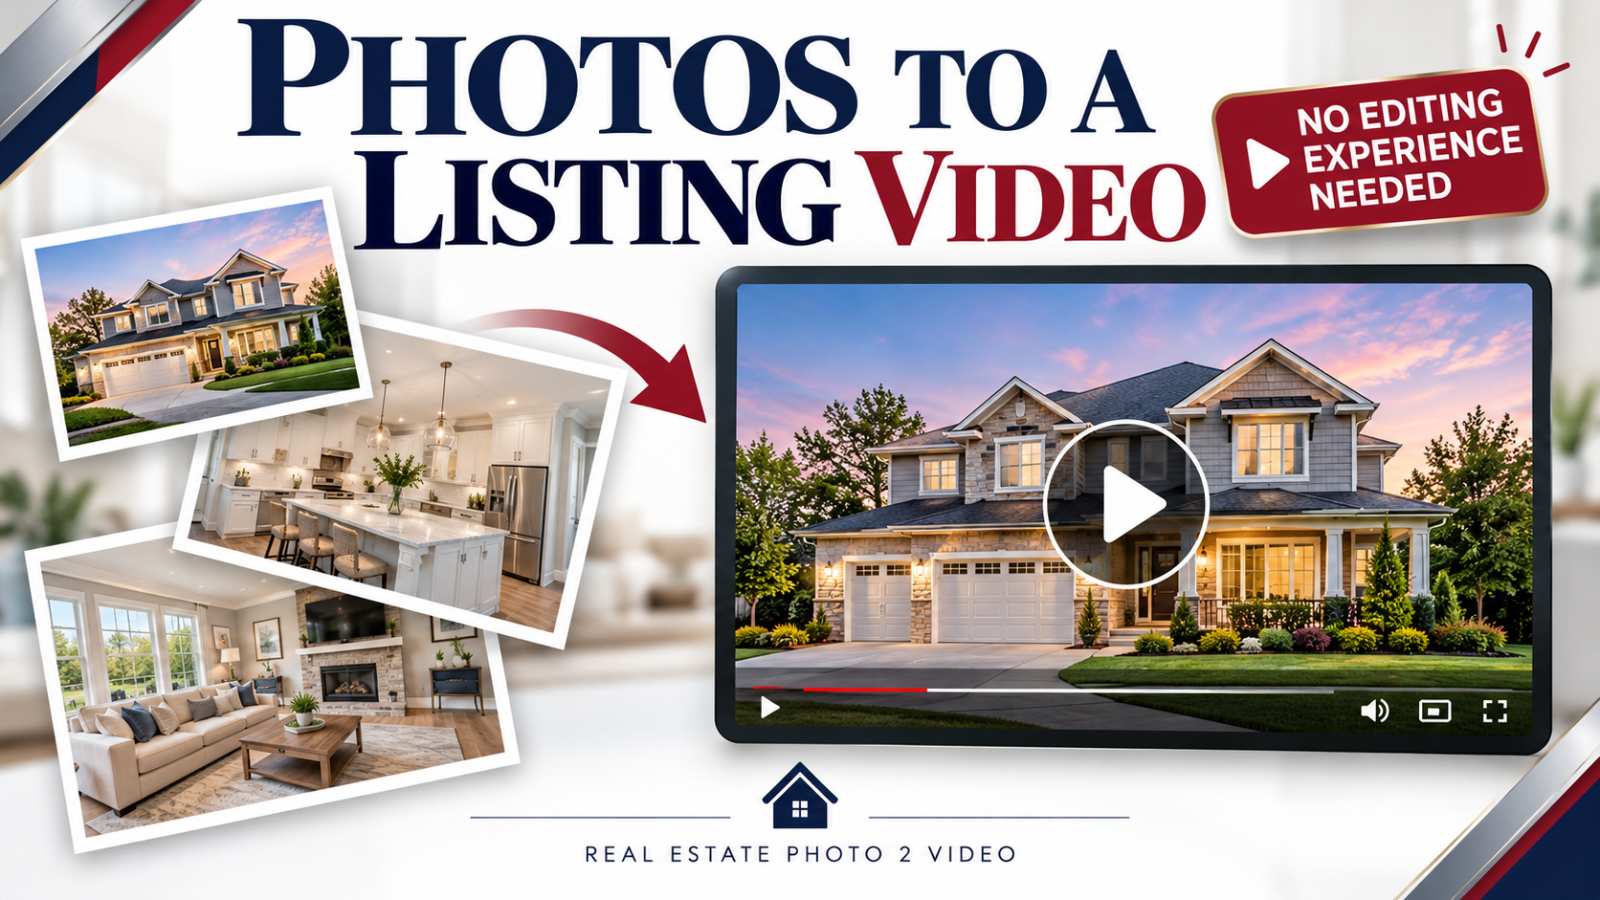
“Can you make a montage of these listing photos?”
If that is how you describe the video you want, you do not need to learn editing terminology before getting started. You want buyers to see the home in a clear, attractive sequence, with movement and music bringing the photos together.
A real estate video montage can start with the listing photos you already have. With Real Estate Photo 2 Video, you can turn those images into a cinematic Listing Video, including an unbranded version that keeps attention on the property.
There is also another option when you already have video footage: the Montage Reel tool combines three video files into a vertical, three-panel Reel.
Here is how to choose the right approach and plan a video without becoming a video editor.
What Does “Real Estate Video Montage” Mean?
Agents often use “montage” to describe a collection of property images presented as a video with music. That is a useful way to explain the result you want, even though different tools create that result differently.
For your listing, the important question is what you are starting with:
- You have listing photos: choose a photo-to-video Listing Video. Your photos become the starting material for moving property clips assembled into a finished video.
- You have three video files: use Montage Reel to arrange them together in a vertical, three-panel composition for social content.
A basic photo slideshow displays still images, sometimes with pans or zooms. A photo-to-video workflow generates motion from the source images. Neither should be presented as a continuous filmed walkthrough unless that is what the footage actually shows.
If your goal is “make a video from my listing photos,” start with the Listing Video service. You can also watch property video examples before choosing your images.
1. Choose Photos That Explain the Home
Start with coverage, rather than simply choosing your favorite photographs.
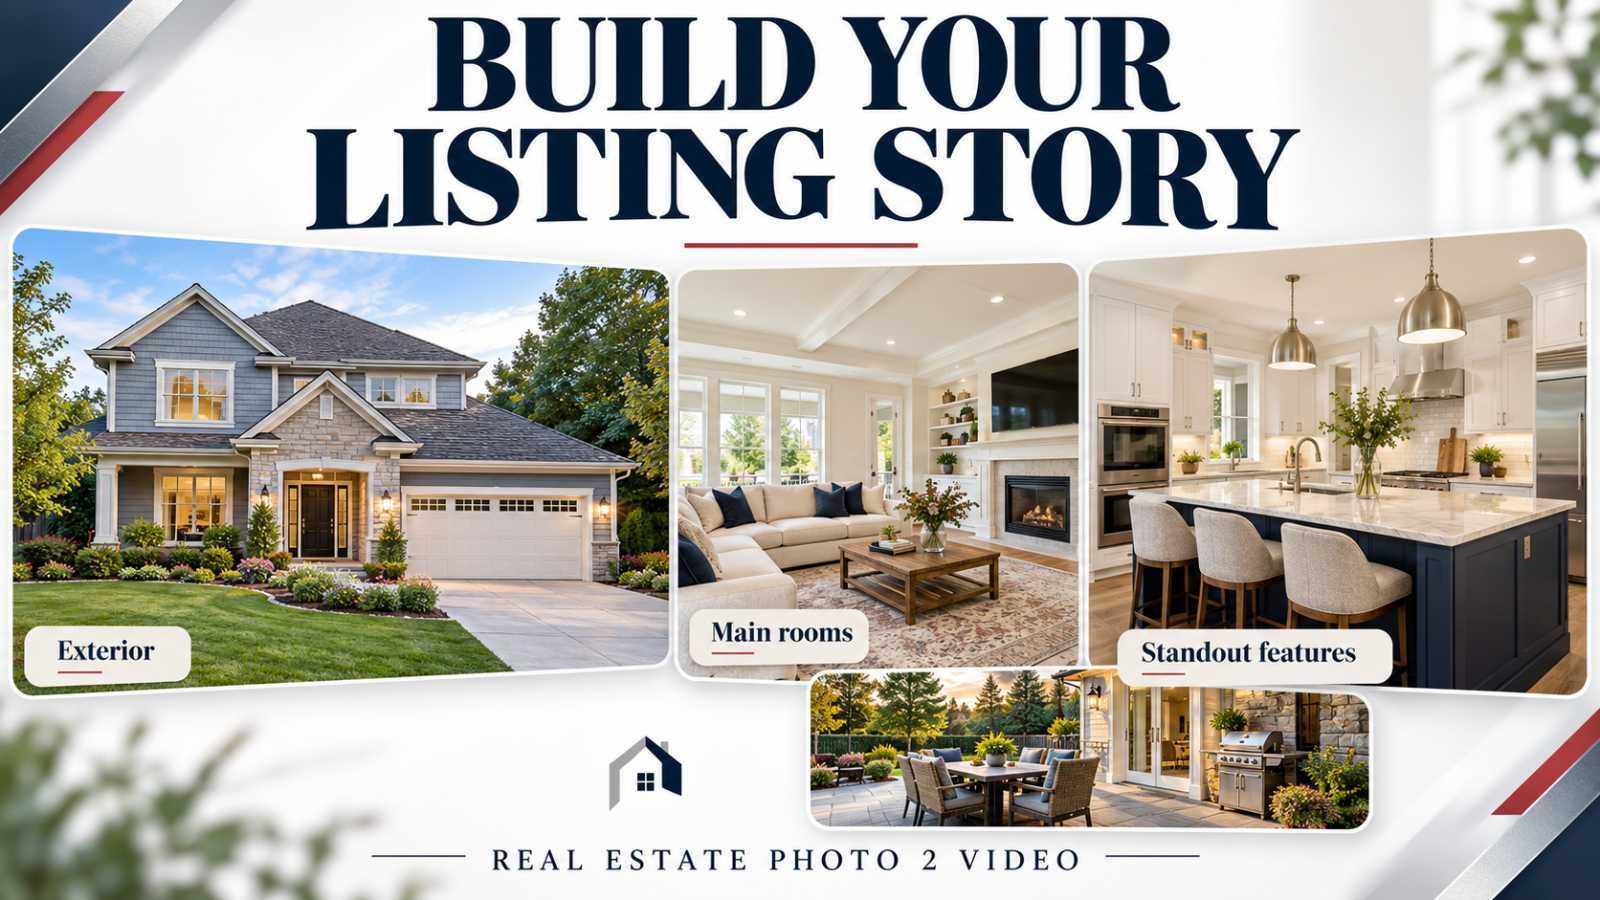
A useful selection usually includes:
- A clear exterior that introduces the property.
- The main living area.
- The kitchen and dining space.
- The primary bedroom and an important bathroom.
- A relevant office, additional room, or other useful space.
- Outdoor features such as a patio, balcony, backyard, or pool.
- One or two details that make this home distinctive.
Adjust that selection to the listing. A condo with a terrace needs different coverage from a house with a large yard and workshop.
Avoid filling the video with several nearly identical views of the same room. Each image should add something: a new space, a useful angle, or a feature buyers should notice.
Use the original, high-quality files when available, and make sure you have permission to use them for video creation.
For help deciding what to capture or include, use our real estate video shot list.
2. Arrange the Images Into a Simple Property Story
A good listing montage should feel intentional. Buyers should be able to follow the home, rather than watch an unrelated collection of rooms.
For many properties, a practical sequence is:
- Introduce the home with an exterior.
- Show the main living spaces.
- Move into the kitchen and dining area.
- Cover bedrooms and bathrooms.
- Add the property's distinctive features.
- Finish with outdoor living or a memorable exterior.
This is a starting point, not a fixed rule. If the property's main attraction is its waterfront setting or outdoor entertaining area, give that feature attention earlier.
Keep related views together. Moving from kitchen to bathroom, back to kitchen, and then outside can make the sequence harder to follow.
Separate photos do not establish how every room connects. Choose an order that helps viewers understand the property without implying a layout you cannot verify.
3. Turn the Photos Into a Listing Video
You do not need to film new footage or assemble an editing timeline yourself to use the photo-to-video service.
Start a Listing Video order, upload your selected property photos, and follow the order process. Provide accurate property details, arrange the sequence, and choose the available music and production options for the video you want.
The source photos matter. A well-framed room with clear features gives the video a better starting point than a blurry, poorly exposed image.
Think about pacing as you plan the sequence. Give important rooms enough time to register, and avoid including extra views simply because they are available. A concise video with useful coverage can be more coherent than a longer one filled with repetition.
You remain involved in selecting and reviewing the material. The service handles the video production workflow so you can focus on how the property should be presented.
4. Choose an Unbranded Video When You Want the Property to Lead
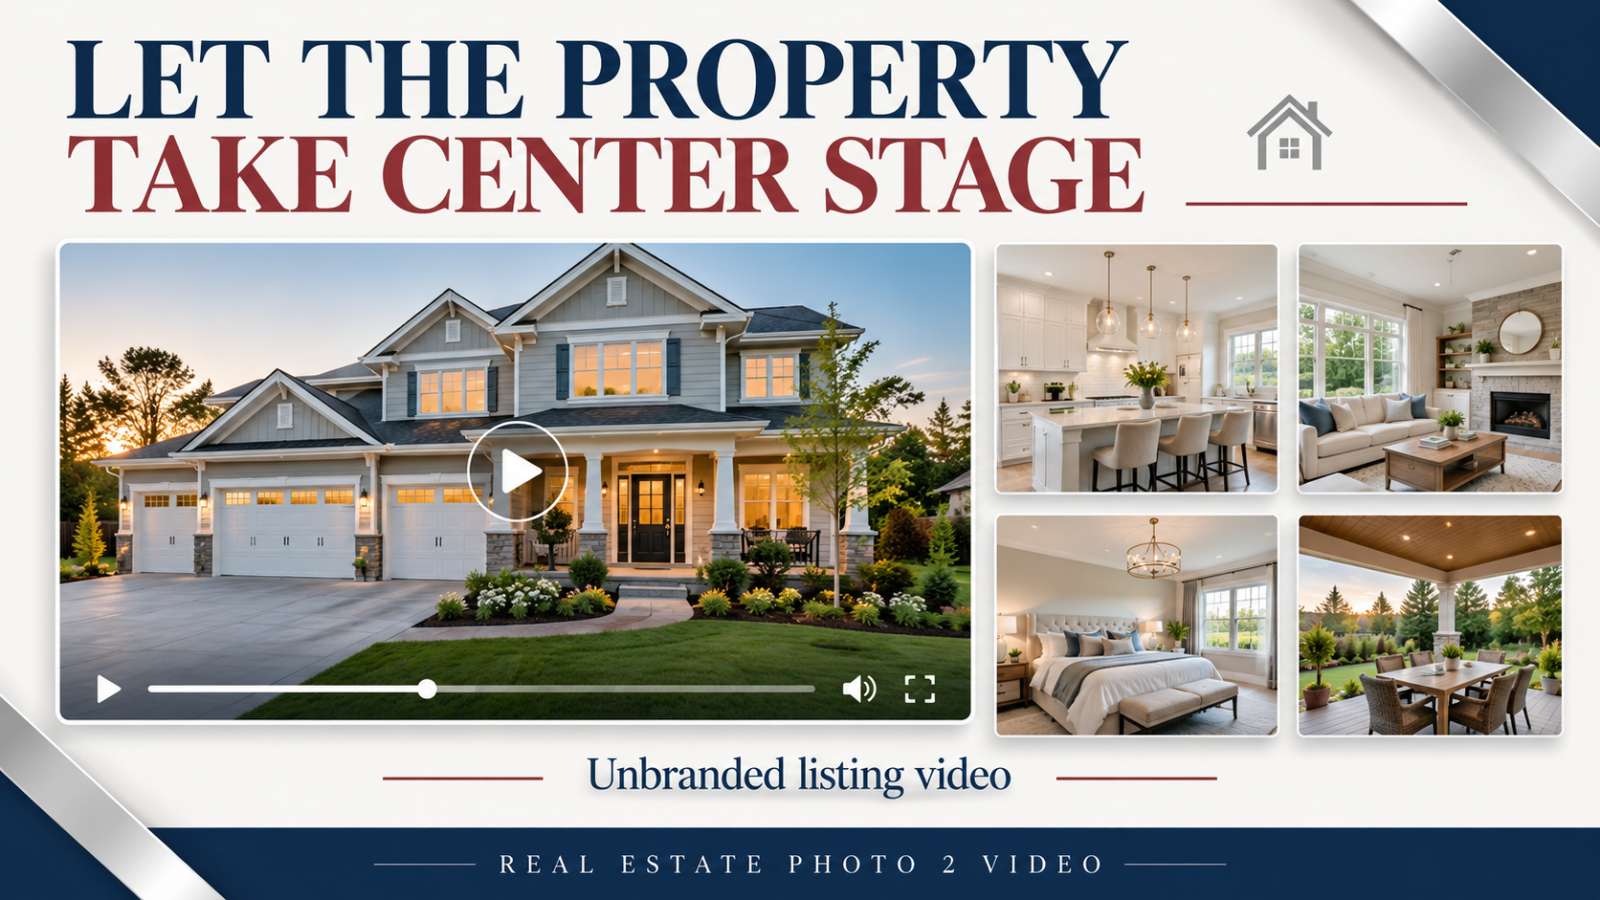
An unbranded listing video leaves out agent and brokerage branding, such as logos and contact details, so the property remains the focus.
That can be useful when you need a clean property presentation. A branded version serves a different purpose: associating the listing with your business when you share it through your own marketing channels.
Before uploading an unbranded video to a listing platform, check that platform's requirements. Removing your logo alone does not establish that a video meets every publishing rule.
Real Estate Photo 2 Video provides branded and unbranded Listing Video outputs. Think about where each version will appear before choosing what to share.
5. Review the Finished Video Before Sharing
Watch the complete video, rather than checking only the first clip.
Ask yourself:
- Does the opening clearly introduce this property?
- Are the most important spaces included?
- Does the order make sense?
- Is the pacing comfortable to watch?
- Does generated motion preserve the property's visible features accurately?
- Are any displayed property facts correct?
- Have I selected the appropriate branded or unbranded version?
Pay attention to windows, doors, fixtures, and room geometry when reviewing generated motion. If a clip misrepresents the space, address it before publishing.
Review your delivered video in the Property Profile. Use the available revision options when an existing clip or the sequence needs adjustment, and review any charges shown before adding material or requesting paid changes.
Already Have Video Clips? Try the Montage Reel Tool
If you have existing property footage, you can create a different kind of montage with Montage Reel.
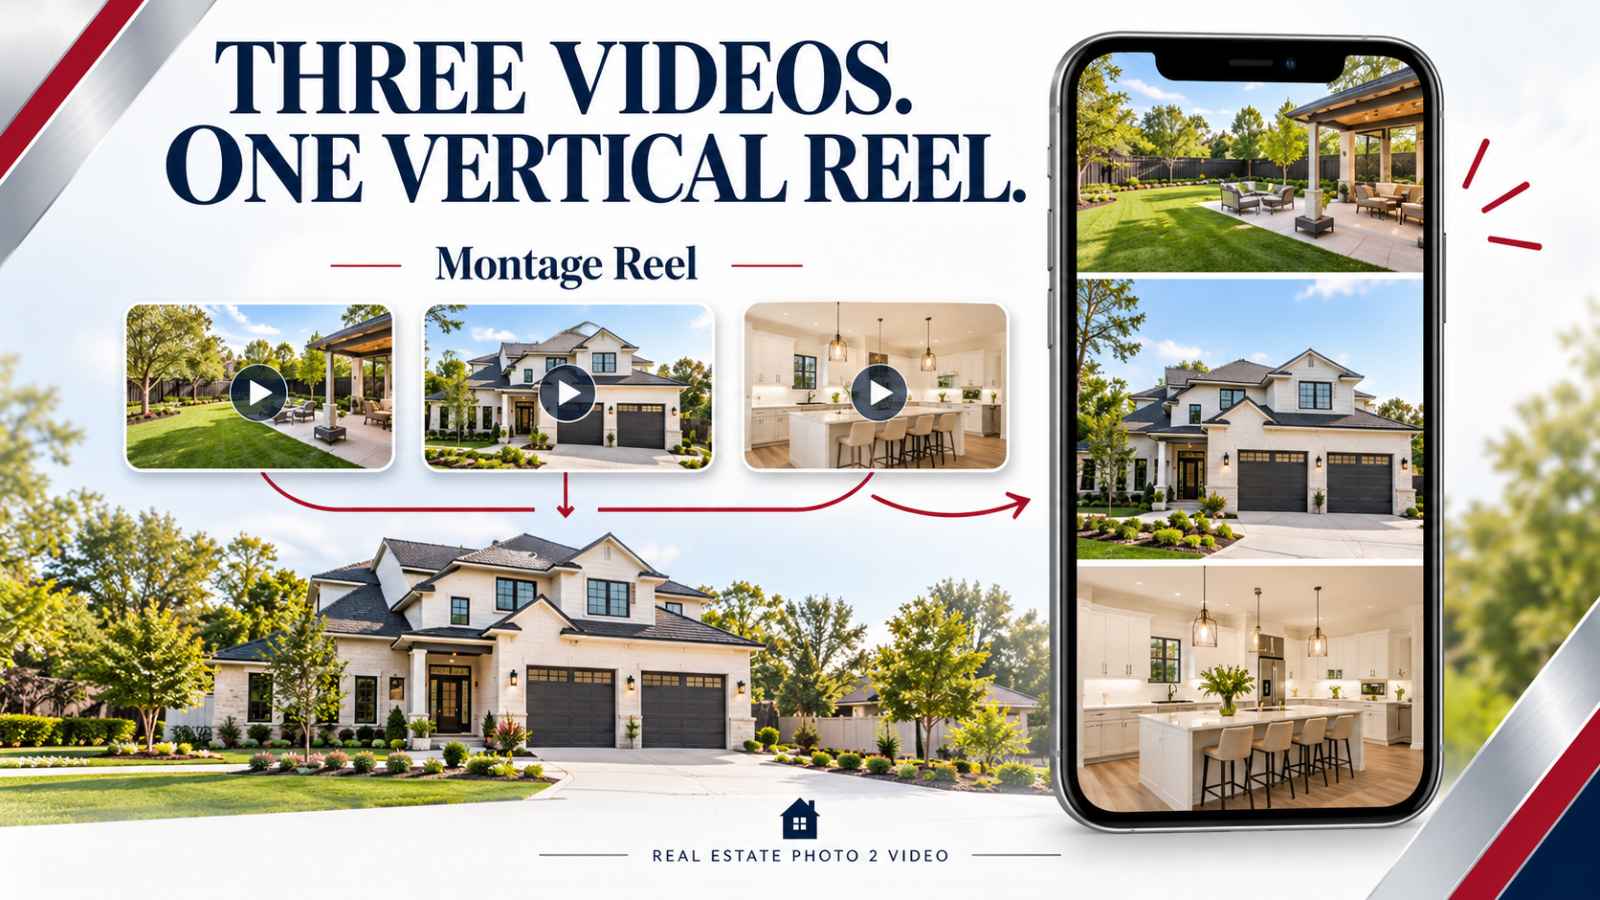
The tool takes three video files at a time and arranges them into a vertical, three-panel Reel. The larger middle panel gives your main shot more space, while the upper and lower panels support it with other property views.
For example, you could combine:
- A backyard clip in the top panel.
- A strong exterior clip in the larger middle panel.
- A kitchen clip in the bottom panel.
With three clips ready, assembling a simple Montage Reel can take under five minutes. Upload and export time will vary with your files and connection.
A Simple Montage Reel Workflow
- Open Montage Reel and select your three video files.
- Place the strongest shot in the main panel and choose complementary views for the supporting panels.
- Adjust the available presentation options, including text, branding, transitions, and music.
- Preview the composition and check that important features remain visible in each panel.
- Export the finished Reel using the account and Lens Credits required by the tool.
You can explore the interface before signing in. Creating and exporting content requires an account and the applicable Lens Credits.
Choose clips that work together. Three busy shots can compete for attention; a clear main view supported by simpler footage gives viewers somewhere to look.
Montage Reel uses existing video files. If you only have still photos and want moving property footage, start with the Listing Video service first.
Use One Listing Video to Create More Content
A full listing video and a short social Reel can serve different parts of your marketing.
Use the Listing Video to present the property as a complete sequence. Then select three suitable individual property clips for a Montage Reel that highlights a few strong views in a vertical format.
This lets you build on media you already have, rather than planning a separate shoot for every post.
For more ideas, read 5 Ways to Get More From Your Listing Photos.
Frequently Asked Questions
Can I Make a Real Estate Video Montage Without Editing Experience?
Yes. For a video made from listing photos, you can select your images and use the Listing Video service instead of editing the footage yourself. For a three-panel vertical Reel, Montage Reel provides a guided interface for combining existing video files.
Is a Photo Montage the Same as a Photo-to-Video Listing Video?
“Photo montage” describes the result many agents want, but it does not specify how the video is made. A slideshow displays still images; a photo-to-video Listing Video creates moving clips from photos and assembles them into a property presentation.
Can Montage Reel Turn My Photos Into Video?
Montage Reel starts with three video files. Use the Listing Video service when your starting material is still listing photos.
How Quickly Can I Make a Montage Reel?
With three usable video clips already selected, a simple Reel can be assembled in under five minutes. The total time depends on your choices, upload speed, and export processing. This is separate from the production time for a photo-to-video Listing Video.
Start With the Media You Already Have
You do not need to know whether to call it a montage, a listing video, or a photo-to-video presentation before getting started.
If you have listing photos, create a Listing Video or browse examples to see the kind of presentation you can make.
If you already have three property video clips, open Montage Reel and put them together in a vertical Reel.
One Listing. Endless Content.
Turn listing photos into cinematic videos, branded social clips, flyers, property pages, reports, and more.
Create My Listing VideoTopics