
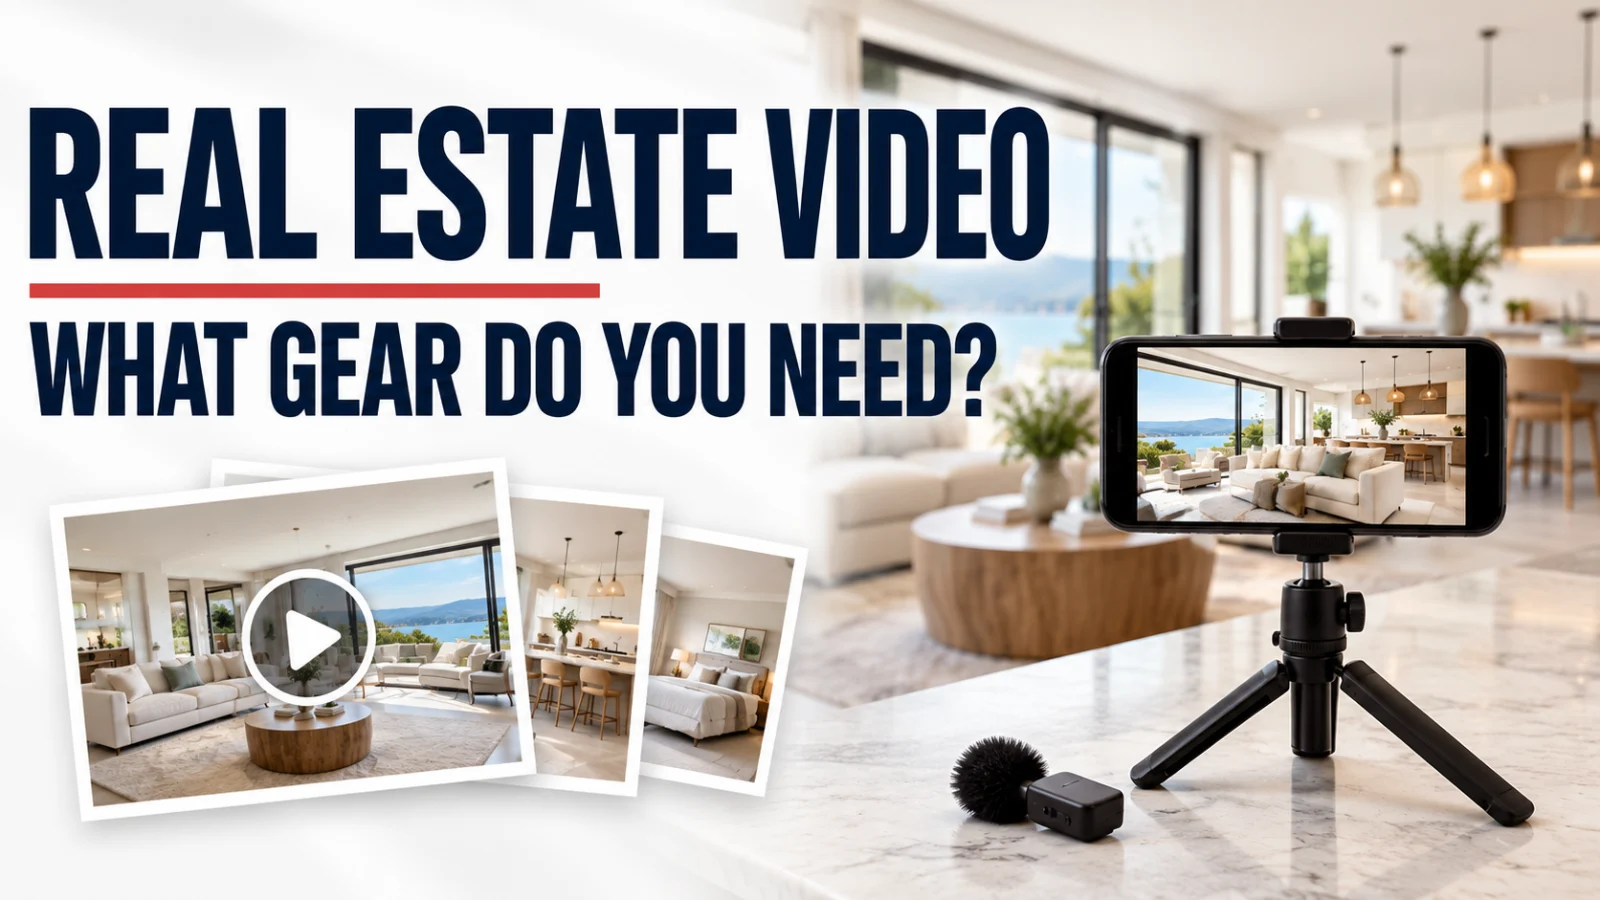
You want to make a video for your next listing. Do you need a camera, a microphone, a stabilizer—and the time to learn how to use everything?
The real estate video equipment you need depends on what you want to create. A short agent introduction, a filmed property tour, and a cinematic video made from listing photos are three different workflows.
Before buying equipment, decide which one will help you market this property. You may already have most of what you need.
Start With the Video You Want to Make
Choose a practical starting point:
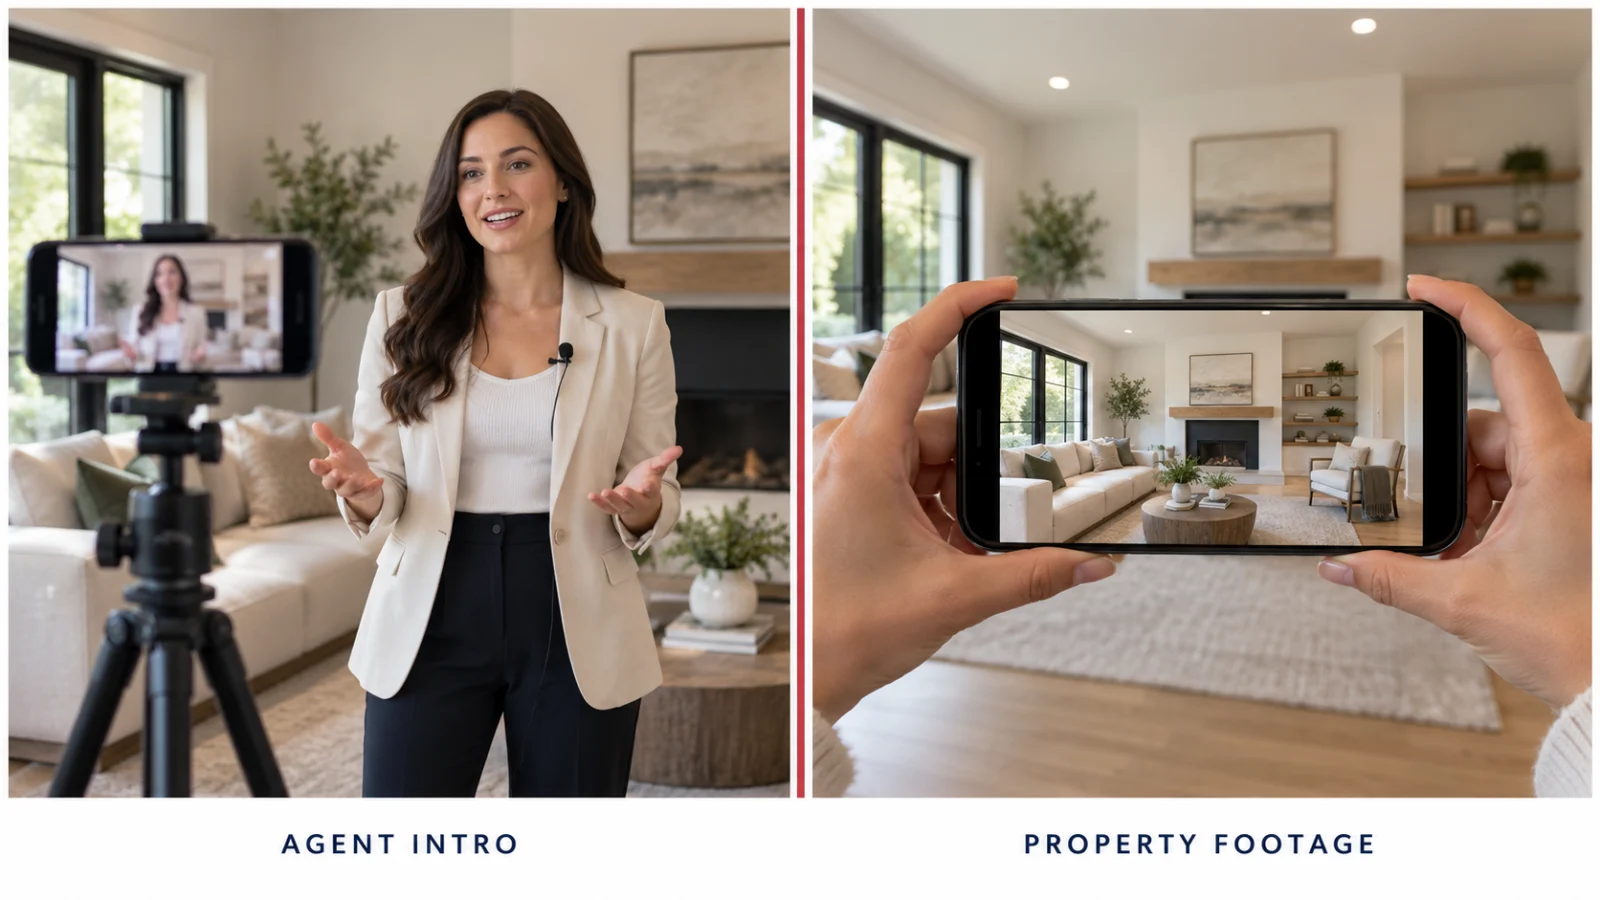
- An agent introduction: Record yourself explaining one or two reasons to see the home. Prioritize clear speech, steady framing, and a useful background.
- A filmed property video: Capture actual footage of the rooms, exterior, and important features. Prioritize exposure, composition, and controlled movement.
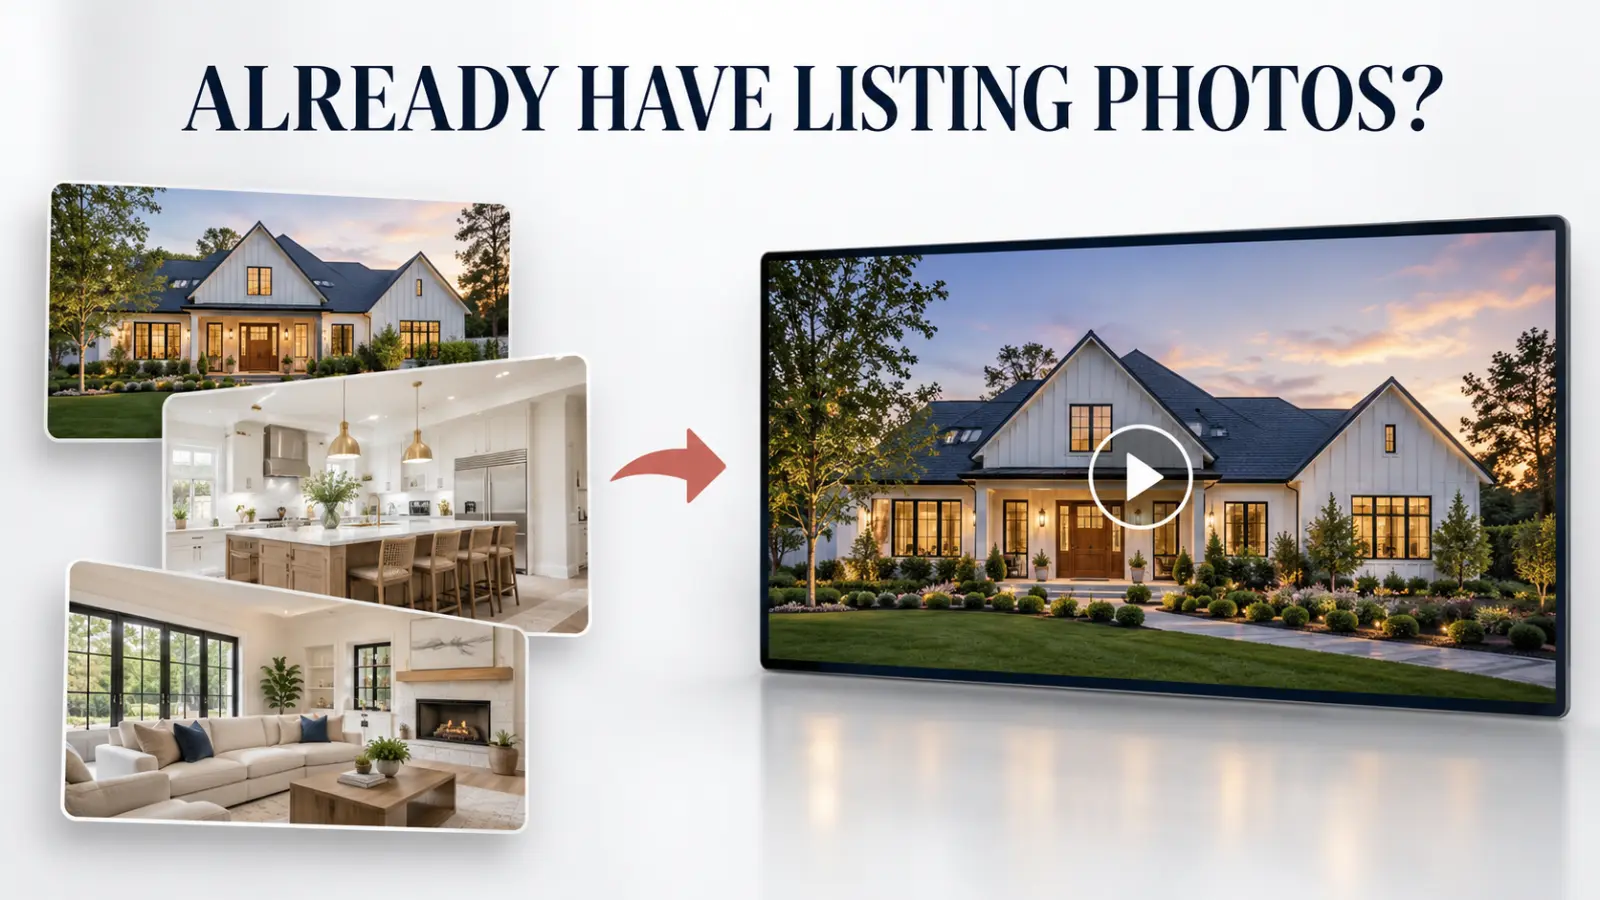
- A real estate video from photos: Start with authorized listing photographs and create a video from those images. You do not need to film the home for this workflow.
- A combination: Record a short agent clip, then combine it with property footage or video created from listing photos.
A useful video does not have to use every approach. Choose the one you can execute well and repeat on future listings.
A Simple Real Estate Video Equipment Kit for Agents
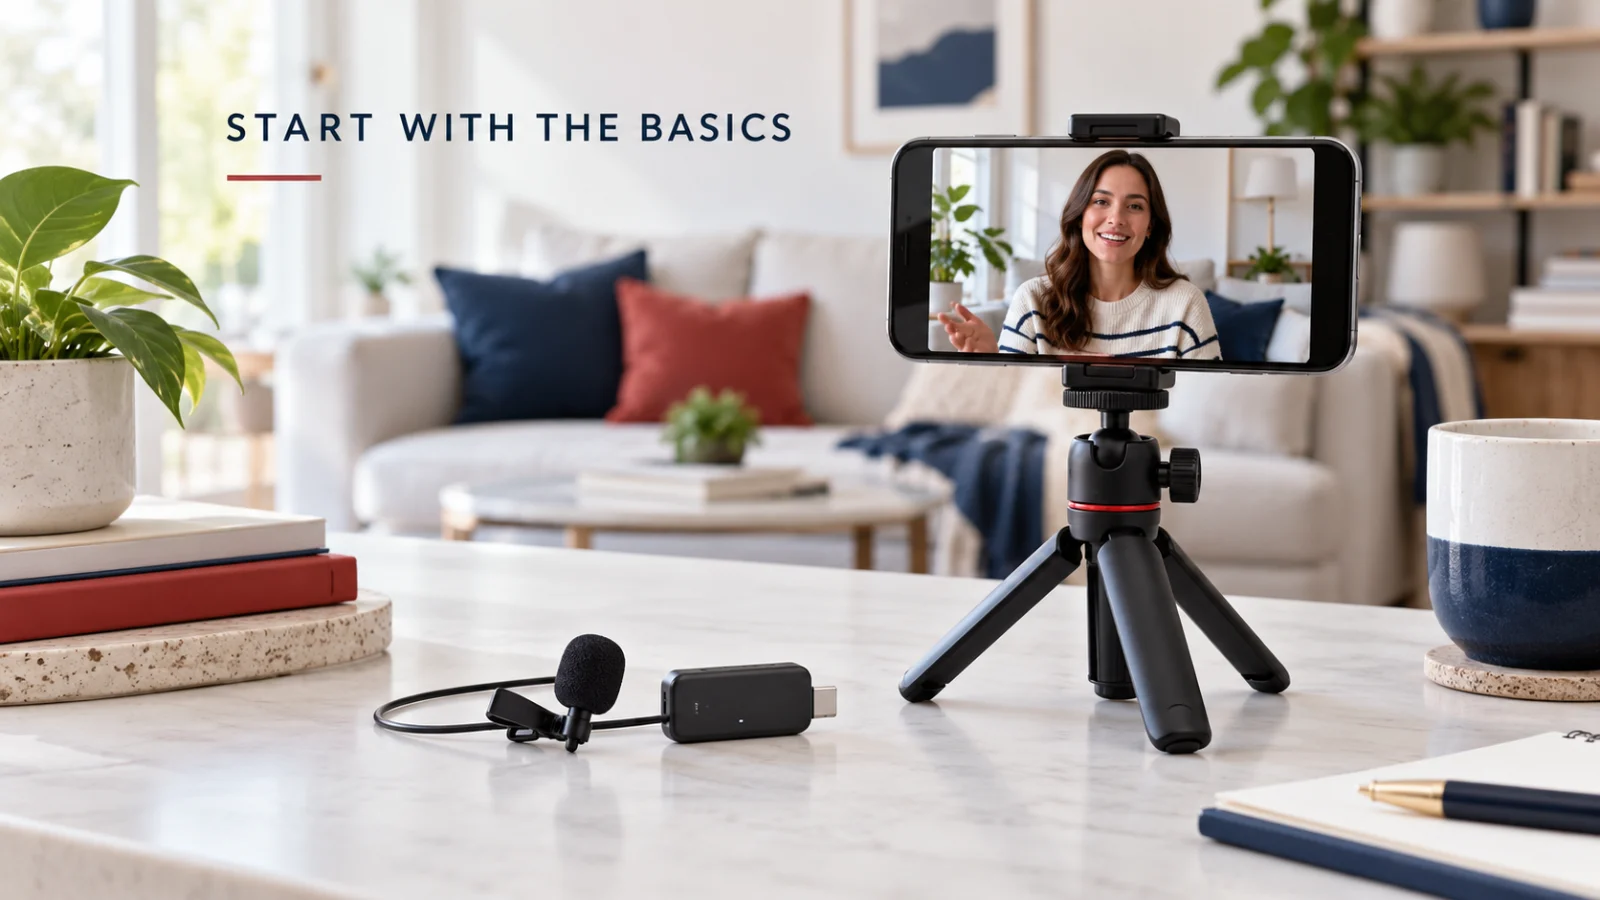
For an agent recording introductions and occasional property clips, start with a phone, a secure support, and a way to capture clear audio.
A Smartphone You Already Know How to Use
Try your existing phone before buying a dedicated camera. Record a short clip in a typical listing, then review it on a larger screen.
Check whether room details remain visible, windows overwhelm the image, or the camera struggles when you move. A bright room is a different test from a dim hallway.
Clean the lens before recording. Check battery life and available storage before arriving. Turn off distracting notifications so they do not interrupt your delivery.
A Tripod With a Secure Phone Mount
A tripod is particularly useful when you are speaking to the camera. It keeps the framing consistent and lets you concentrate on your message.
Place the lens around eye level for an introduction. Confirm that the mount holds the phone securely in the orientation you need, and position the tripod where it cannot easily be knocked over.
For property footage, a steady stationary shot can be more useful than a shaky attempt to walk through the entire house.
A Microphone for Spoken Clips
If you will speak on camera, test the audio as carefully as the picture. An attractive room does little for a video if viewers cannot understand you.
A compatible clip-on microphone can help keep the microphone near your voice. Confirm that its receiver or connector works with your phone and recording app before the shoot.
Record a short test and listen back. Check for clothing rubbing against the microphone, wind, echo, or the camera recording from the wrong audio source.
What About a Gimbal, Lights, or a Dedicated Camera?
Add equipment when you can identify the problem it will solve.
A gimbal can help with controlled moving shots, but it takes practice. It does not automatically fix framing, exposure, or abrupt changes in walking speed. Test it before relying on it for a listing.
A small light can help with an agent introduction when the available light leaves your face too dark. Lighting an entire room evenly is a different task; one small light is not a complete interior lighting setup.
A dedicated camera provides more control, but it also adds decisions about lenses, exposure, focus, stabilization, and file handling. If you do not want to learn those skills, hiring a real estate videographer may be more practical than purchasing a kit you rarely use.
If you need help capturing the property, browse the free real estate photographer directory and ask providers about their photography and video services.
How to Record Useful Agent Clips and Property Footage
Equipment works better when you arrive with a plan. Use our real estate video shot list to decide which spaces and features deserve coverage.
For an Agent Introduction
Choose a quiet location with a background that helps introduce the property. Face a useful source of light and check the image before recording.
Keep the message specific. For example:
“Looking for a home with a dedicated office and outdoor entertaining space? Let me show you two features of this listing.”
Only mention features the property actually has. Leave a brief pause before and after speaking so the clip is easier to trim.
For Property Footage
Start with a clear exterior and useful views of the main living spaces. Keep the camera level and avoid movements that make it difficult to understand the room.
Record separate, deliberate shots instead of rushing through multiple rooms in one take. Hold the camera still briefly at the beginning and end of each shot.
Check your phone's focus and exposure controls before recording. On supported iPhones, these can be locked while filming; the controls available depend on the device. Apple's Camera Control guide explains the supported settings.
Choose the Orientation Before You Record
For a vertical Reel, frame your agent clip and important features for a narrow screen. For a horizontal listing video, give the rooms enough context to explain their layout.
If you need both, capture separate versions when practical. A wide kitchen view may lose its main feature when cropped vertically.
Already Have Listing Photos? You Can Start There
If a photographer has already delivered a strong set of listing photos, filming is not the only way to create video marketing.
A photo-to-video workflow uses those images as the starting material. Select photographs that explain the home, arrange them into a useful sequence, and review the resulting motion and finished video.
Start with a clear exterior, the main living area, the kitchen, and relevant bedrooms and outdoor features. Remove nearly identical angles that do not add information.
Our guide to choosing listing photos for a real estate video explains how to build that selection.
Generated motion is different from footage recorded at the property. Separate photographs do not establish a continuous walkthrough or prove how rooms connect. Review the result for accuracy before publishing it.
With REP2V, you can create a Listing Video from your photos. For an unbranded deliverable, review the available options and the requirements of wherever you intend to publish it. Check your own MLS's rules rather than assuming every video is accepted everywhere.
Before ordering, watch Listing Video examples to see whether this approach fits the property and your marketing plan.
Combine Your Agent Clip With Property Media
You do not have to choose between appearing on camera and using existing property media.
One practical approach is to record a short introduction, show the home, and finish with a clear invitation to learn more or schedule a viewing.
Reel Star is designed for assembling vertical real estate Reels using agent clips and property media. Its editor includes templates, clip trimming, playback-speed and reverse controls, music, branding, and property-information overlays.
For example, you could introduce a listing on camera, follow with selected property clips, and close with your contact information. Choose the clips and text that serve the message rather than using every available effect.
Before exporting, watch the entire sequence. Check that property details are accurate, speech remains understandable, and overlays do not cover important features.
Match the Workflow to the Listing
Use a simple decision process:
- Need a quick personal introduction? Start with your phone, stable support, and tested audio.
- Need actual movement through the home? Film the property or hire someone who can capture it well.
- Already have strong listing photographs? Consider creating a Listing Video from those photos.
- Want your face and the property in a vertical Reel? Record a short agent clip and combine it with suitable property media.
For help planning the budget, read How Much Does a Real Estate Listing Video Cost?.
Frequently Asked Questions
What equipment do I need to start making real estate videos?
For a simple agent introduction, begin with a smartphone, a secure tripod or support, and a tested microphone setup. A filmed property video may require more control over lighting, camera movement, and exposure.
Do I need a gimbal for real estate video?
No. Stationary shots and agent introductions can be recorded without one. A gimbal can help with moving shots, but it requires practice and does not replace good composition.
Can I make a real estate video without filming the property?
Yes. You can create a video from authorized listing photographs. Review the generated motion and final sequence to make sure they represent the property accurately.
Should I buy equipment or hire a videographer?
Consider how often you will film, the quality you need, and whether you want to learn production skills. Hiring a videographer can be a better fit for complex shoots or work you cannot reliably capture yourself.
Start With the Assets You Already Have
The best starting point is a clear plan for the video. Buy equipment when it solves a specific production problem, and keep using the photographs and clips you already have permission to use.
If your listing photos are ready, view examples or start your Listing Video. You can add filmed agent content as your workflow grows.
One Listing. Endless Content.
Turn listing photos into cinematic videos, branded social clips, flyers, property pages, reports, and more.
Create My Listing VideoTopics