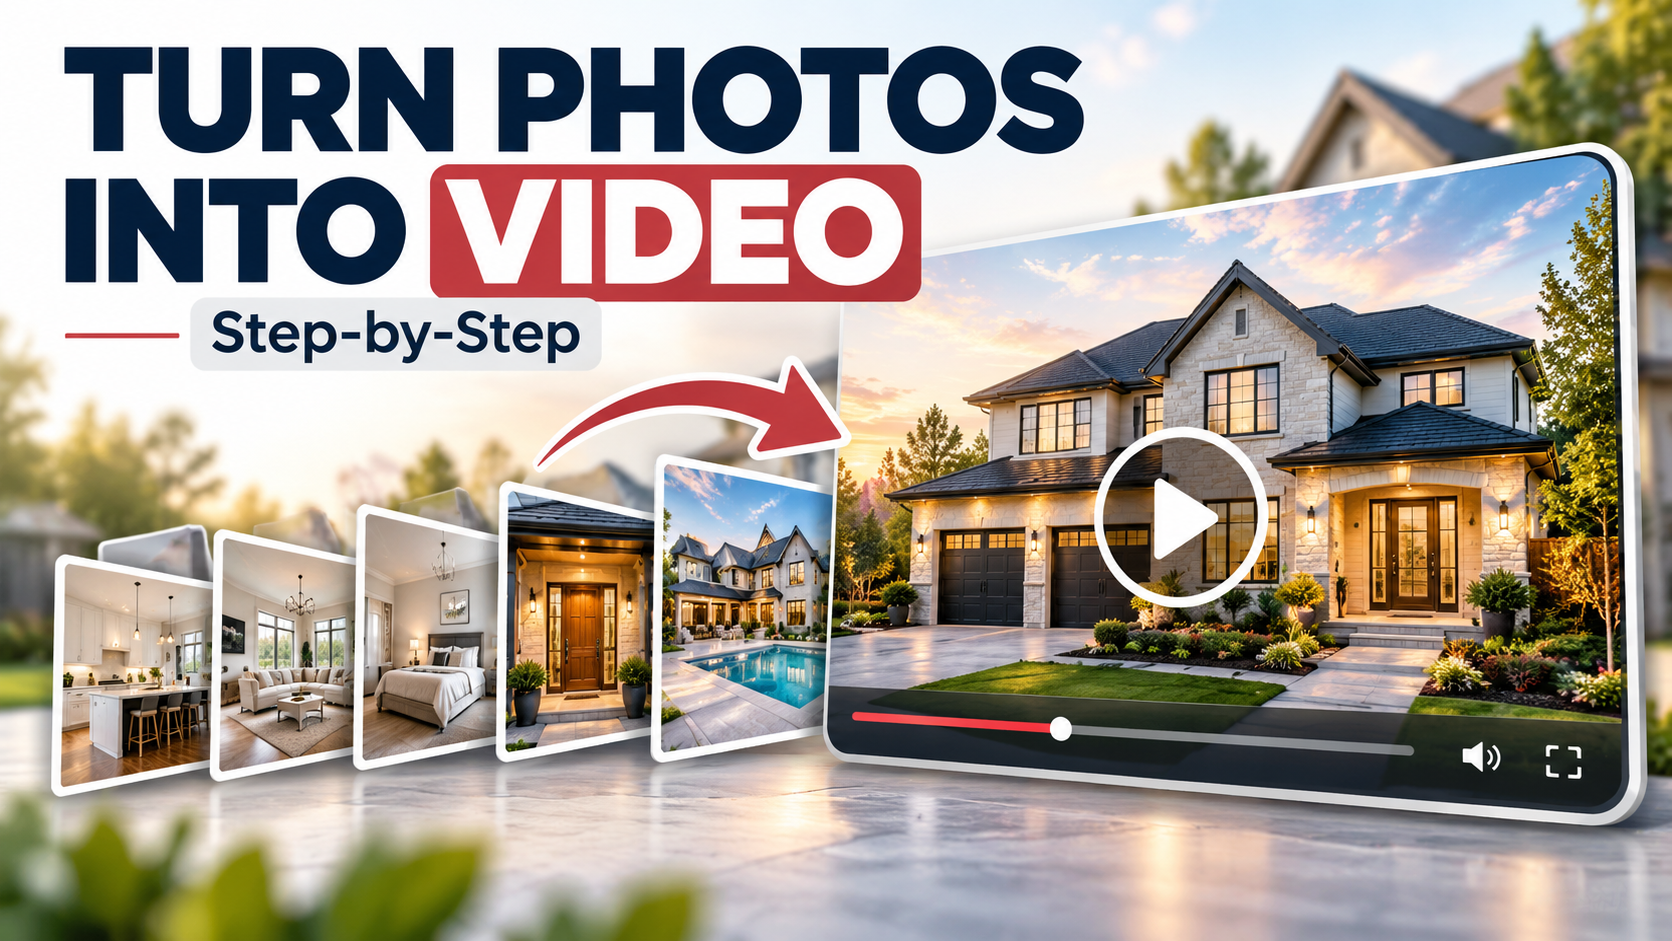
How to Create a Real Estate Video from Photos: A Step-by-Step Guide
Already have professional listing photos?
You may already have everything you need to create a polished real estate video.
With Real Estate Photo 2 Video, you can upload the photos you already have, choose how you want the property presented, and turn those still images into a finished listing video with movement and music.
There is no need to schedule another property shoot.
Create your listing video from photos now
The process is simple:
Upload your photos → add the property details → choose the sequence and music → create the video → review and share
That is it.
Here is how it works.
Step 1: Upload Your Best Listing Photos
Start with the strongest images from the property.
You do not need every photo from the MLS gallery.
Choose the images that tell the story of the home, such as:
- exterior
- living room
- kitchen
- dining area
- primary bedroom
- primary bathroom
- backyard or outdoor space
- pool, view or standout feature
Then upload them into the Photo 2 Video order.
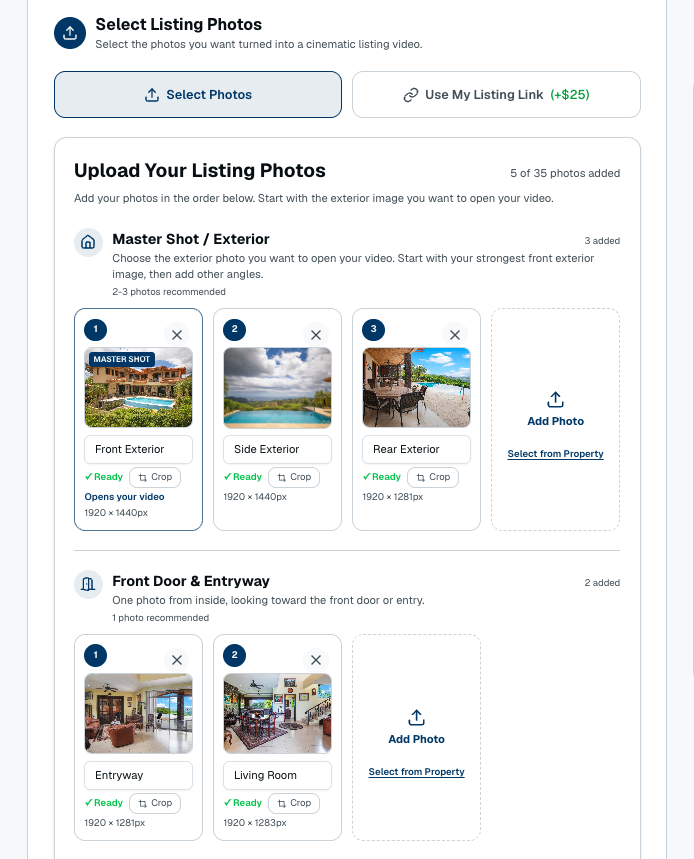
You can arrange the photos in the order you want buyers to experience the property.
Think of it like a quick showing.
Start strong, move naturally through the home, and finish on something memorable.
A simple sequence might be:
Exterior → Living Room → Kitchen → Bedrooms → Outdoor Space → Best Feature
You do not need to overthink it.
The goal is simply to make the video feel intentional.
Have your photos ready? Start your video here.
Step 2: Add the Property Information Once
Next, add the property details.
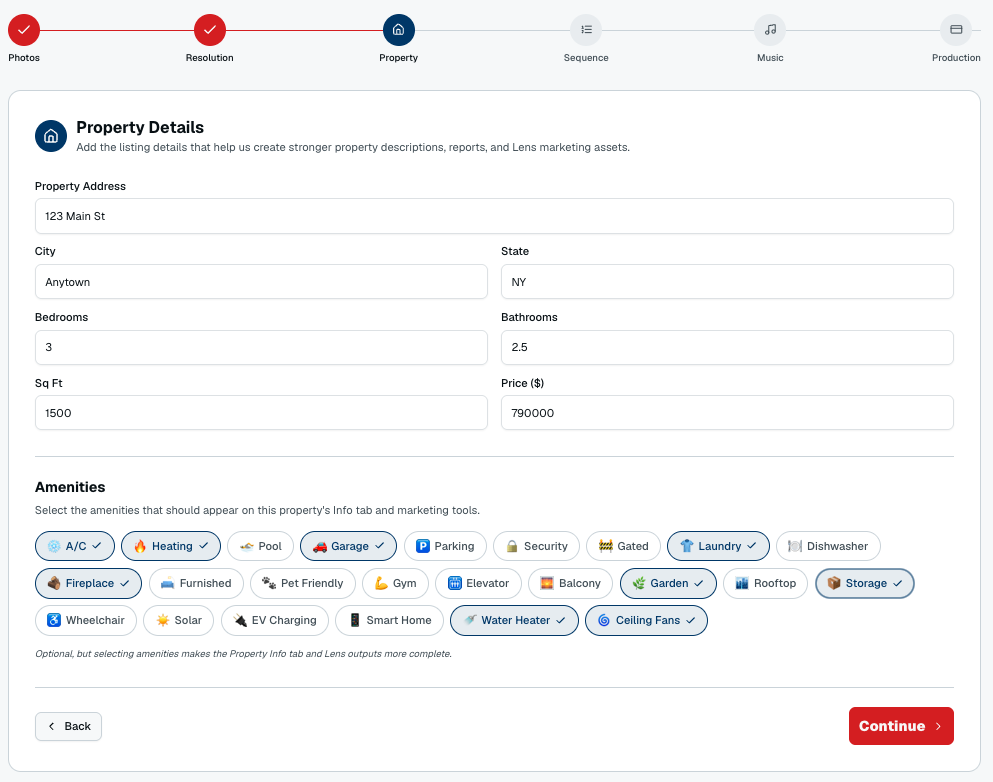
That can include:
- address
- price
- bedrooms
- bathrooms
- square footage
- property features
This takes only a few moments, but it becomes much more useful later.
Once the property information is saved, Real Estate Photo 2 Video can reuse it across other marketing tools.
So instead of entering the same information again every time you want to create something new, the property is already set up.
The same listing can then become:
- social content
- flyers
- property PDFs
- Reels
- presentations
- branded videos
- other marketing materials
This is where the workflow starts to become much more than simply creating one video.
You enter the property once.
Then you can keep creating from it.
Create your property and listing video now.
Step 3: Choose the Sequence and Music
Before the video is created, you can confirm how the photos should flow.
The order matters because it determines how the buyer experiences the home.
For example:
Exterior → Main Living Space → Kitchen → Primary Suite → Backyard
You can also choose music that fits the personality of the property.
A modern condo may call for something different than a luxury waterfront home or a traditional suburban property.
The music should support the listing, not overpower it.
Once the sequence and music look right, the video can move into production.
Step 4: Your Photos Become a Real Estate Video
This is where the still images come to life.
Instead of simply showing one photograph after another, the photos are turned into moving video clips.
That adds:
- camera-style movement
- pacing
- depth
- flow between rooms
The result feels much closer to a property video than a basic slideshow.
And because you are starting with photography you already have, you can create video without sending another crew back to the property.
There are still situations where original videography makes sense—especially for drone footage, agent walkthroughs or larger luxury productions.
But when the photography is already finished, turning those images into video is an easy way to get more marketing from the same shoot.
If you want a deeper comparison, see Real Estate Photo and Video: What Realtors Actually Need to Market a Listing.
Step 5: Review, Revise and Start Sharing
When the video is finished, you will find it inside the property's profile.
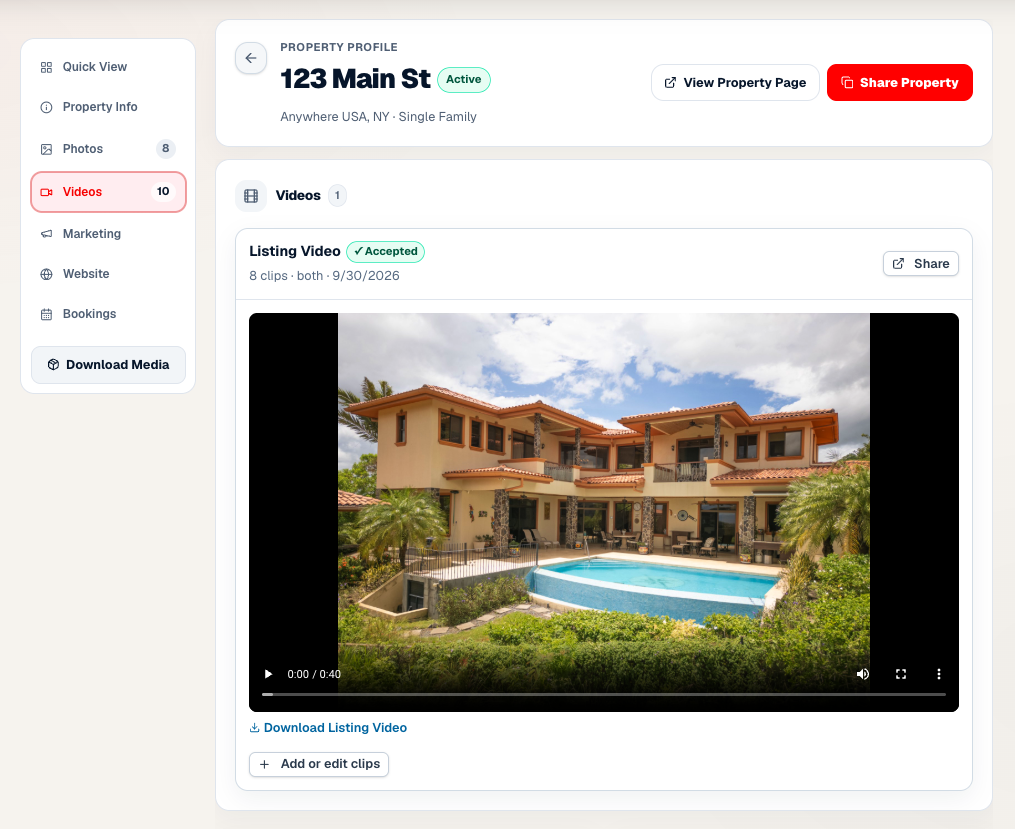
This is where the video and property information stay connected.
Watch the finished video from beginning to end.
If you want to make changes, your first revision for existing clips is free.
You can adjust things such as:
- clip order
- video speed
- reverse playback where appropriate
So if the kitchen should appear earlier, a clip feels too fast, or a different movement looks better, you can fine-tune it.
Once you are happy with the video, you can start using it across your marketing.
One Video Can Become Much More
The finished listing video does not have to be the end of the process.
It can become the starting point for:
- YouTube
- Reels
- property websites
- email marketing
- seller updates
- branded agent content
You can also use Video Remix to create alternate versions for different formats.
Want narration?
Use the AI Voiceover Tool to add a script and voiceover.
Want your own agent or brokerage branding?
Use the Video Branding Tool.
And because the property information is already saved, you can continue creating marketing without rebuilding the listing from scratch every time.
That is the bigger idea:
One property. One set of photos. Many pieces of marketing.
From Listing Photos to Video in Minutes of Setup
You do not need a complicated editing workflow.
You do not need to learn video software.
And you do not necessarily need to schedule another property shoot.
If the listing photos are already finished, you can use them to create a polished real estate video and then keep building more marketing around the same property.
The workflow is simply:
1. Upload the photos
2. Add the property information
3. Choose the sequence and music
4. Create the video
5. Review and share
That is all the setup you need.
Turn your listing photos into a real estate video now.
One Listing. Endless Content.
One Listing. Endless Content.
Turn listing photos into cinematic videos, branded social clips, flyers, property pages, reports, and more.
Create My Listing Video