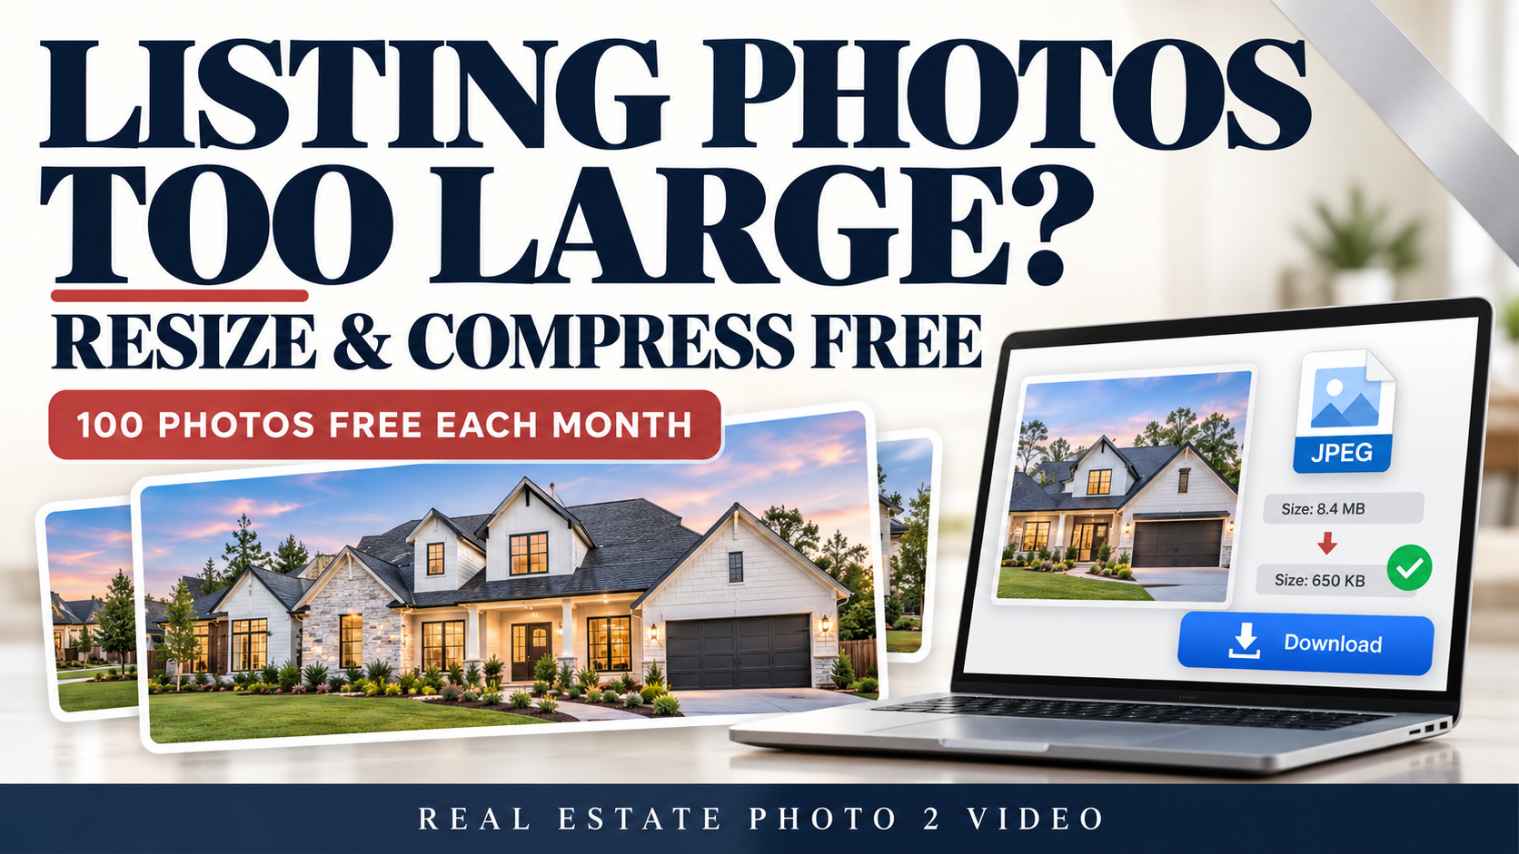
Your listing photos look great. Then you try to upload them, attach them to an email, or use them on a property website—and discover how large the files are.
A photographer may deliver high-resolution images that are 15–20 MB each. Those originals are worth keeping, but you may also need smaller copies for everyday real estate marketing.
The Real Estate Photo 2 Video Photo Optimizer lets you resize and compress listing photos, convert supported HEIC/HEIF and other image files to JPEG, and download the results individually or together in a ZIP.
With a free REP2V account, you get 100 free photo optimizations every calendar month. You can download those optimized photos without spending Lens Credits. Saving them inside a REP2V Property Profile is an optional paid step, explained below.
Why Are Listing Photo Files So Large?
High-resolution photographs contain more image data than smaller versions. That can be useful for editing, cropping, and producing larger marketing materials.
However, the version you keep as your original does not have to be the same version you use for every upload or email.
For example, 25 photos at 20 MB each total roughly 500 MB. Sending that collection as email attachments or uploading it over a slow connection can become inconvenient.
Creating smaller copies gives you a more practical set of files to work with while preserving the original delivery for future uses.
Keep your originals in a separate folder. Use optimized copies when their dimensions and quality suit the destination.

Resizing vs. Compression: What Is the Difference?
These two changes solve related problems.
Resizing reduces pixel dimensions. A large photograph becomes a smaller image while retaining its proportions. The Photo Optimizer preserves the aspect ratio, so a horizontal room photograph stays horizontal rather than being stretched into another shape.
Compression reduces the amount of data used to store the image. JPEG compression can make a file smaller, but stronger compression can also remove visible detail.
The goal is to choose dimensions and a file-size target that fit the intended use, then check the result. The smallest possible file is not always the best choice.
Optimization prepares files for use. It does not repair a blurry photograph, brighten an underexposed room, or add detail that was missing from the original.
How to Resize and Compress Real Estate Photos With REP2V
1. Open the Photo Optimizer and Sign In
Visit the Photo Optimizer. You can explore the interface before signing in; a free account is required to optimize and download photos.
The tool shows your remaining monthly allowance separately from your Lens Credit balance.
2. Add Your Listing Photos
Upload the photographs you want to prepare. A batch can contain up to 100 photos.
The tool supports standard browser-readable image formats and includes conversion for supported HEIC/HEIF images, which are common on iPhones. Finished optimized files are JPEGs.
Start with the original files rather than screenshots or copies downloaded from social media. Repeated compression can reduce quality before you begin.
3. Choose a Preset for the Intended Use
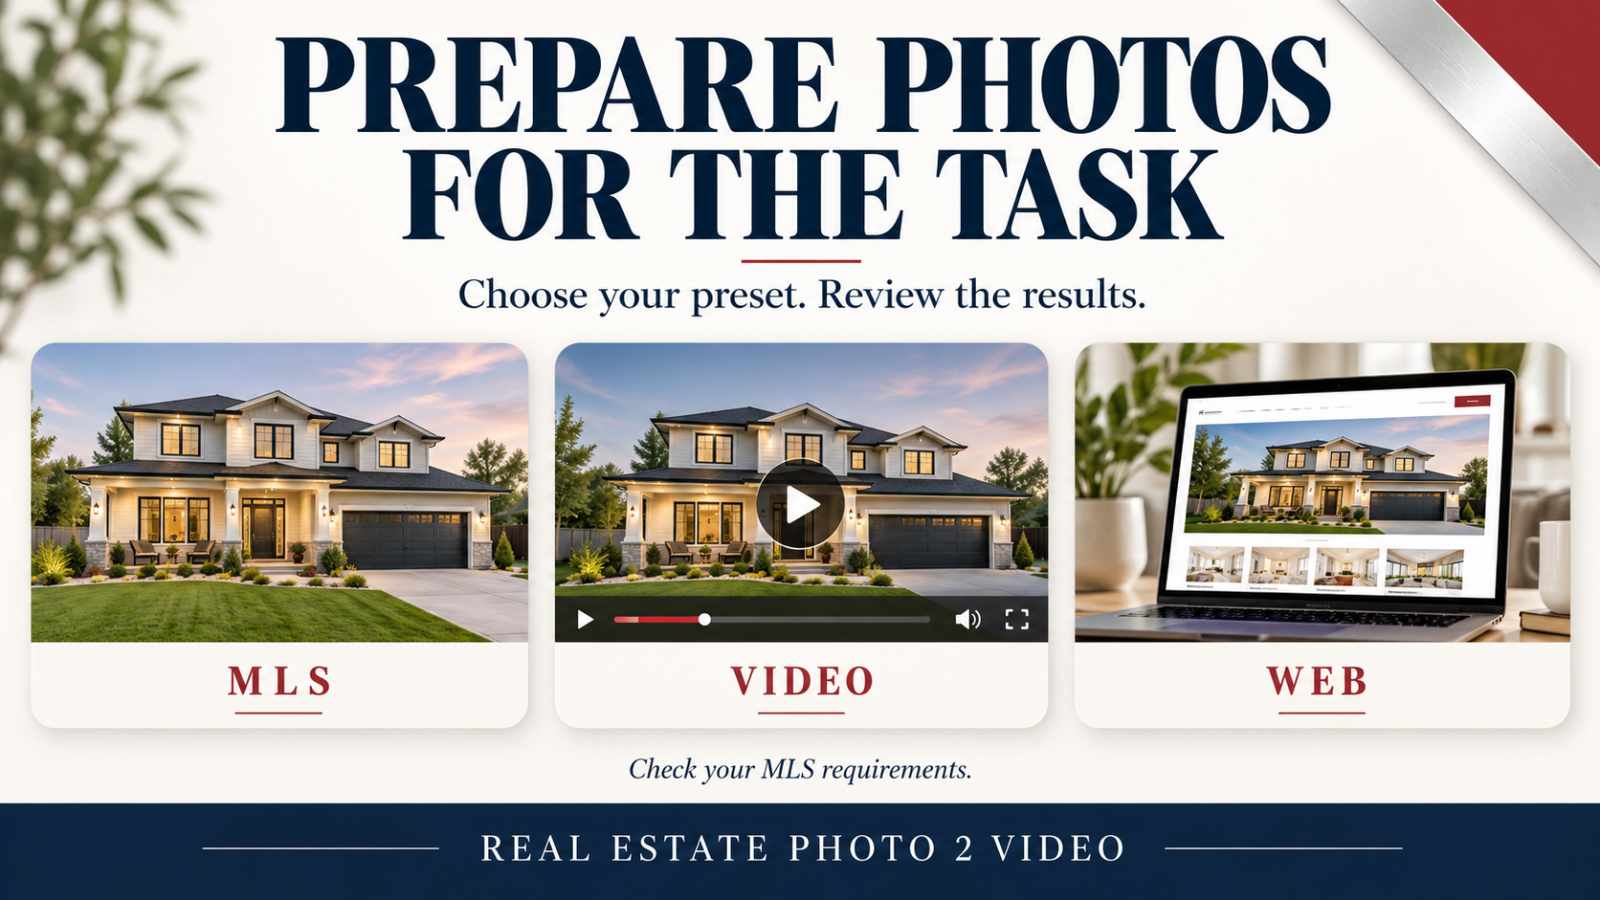
The Photo Optimizer provides three starting presets:
- MLS: a maximum long edge of 1600 pixels and a target file size of 300 KB.
- Video: a maximum long edge of 1920 pixels and a target file size of 700 KB.
- Web: a maximum long edge of 1920 pixels and a target file size of 500 KB.
You can also adjust the settings. The optimizer caps the maximum long edge at 1920 pixels and preserves the image's proportions.
These are starting settings, not a promise that every destination accepts the same specifications. Check your own MLS's current photo requirements before uploading. A preset labeled MLS does not establish compliance with every MLS.
For video creation, choose settings that retain useful room detail and meet the requirements of the video service you plan to use. Keep the larger originals available if another workflow needs them.
4. Optimize and Review the Results
Run the batch, then review the finished images and their reported file sizes.
Look closely at features that can reveal excessive compression:
- Window frames and door edges.
- Cabinet details and tile patterns.
- Text or signs visible in the photograph.
- Fine textures and outdoor landscaping.
If the result looks too soft, adjust the settings and use the original as your source. Larger dimensions or a higher file-size target may be more appropriate for that use.
Do not expect every original to produce an identical size reduction. Results depend on the source image and your settings.
5. Download Individual Photos or a ZIP
Download a single finished image or collect the optimized photos in a ZIP for easier handling.
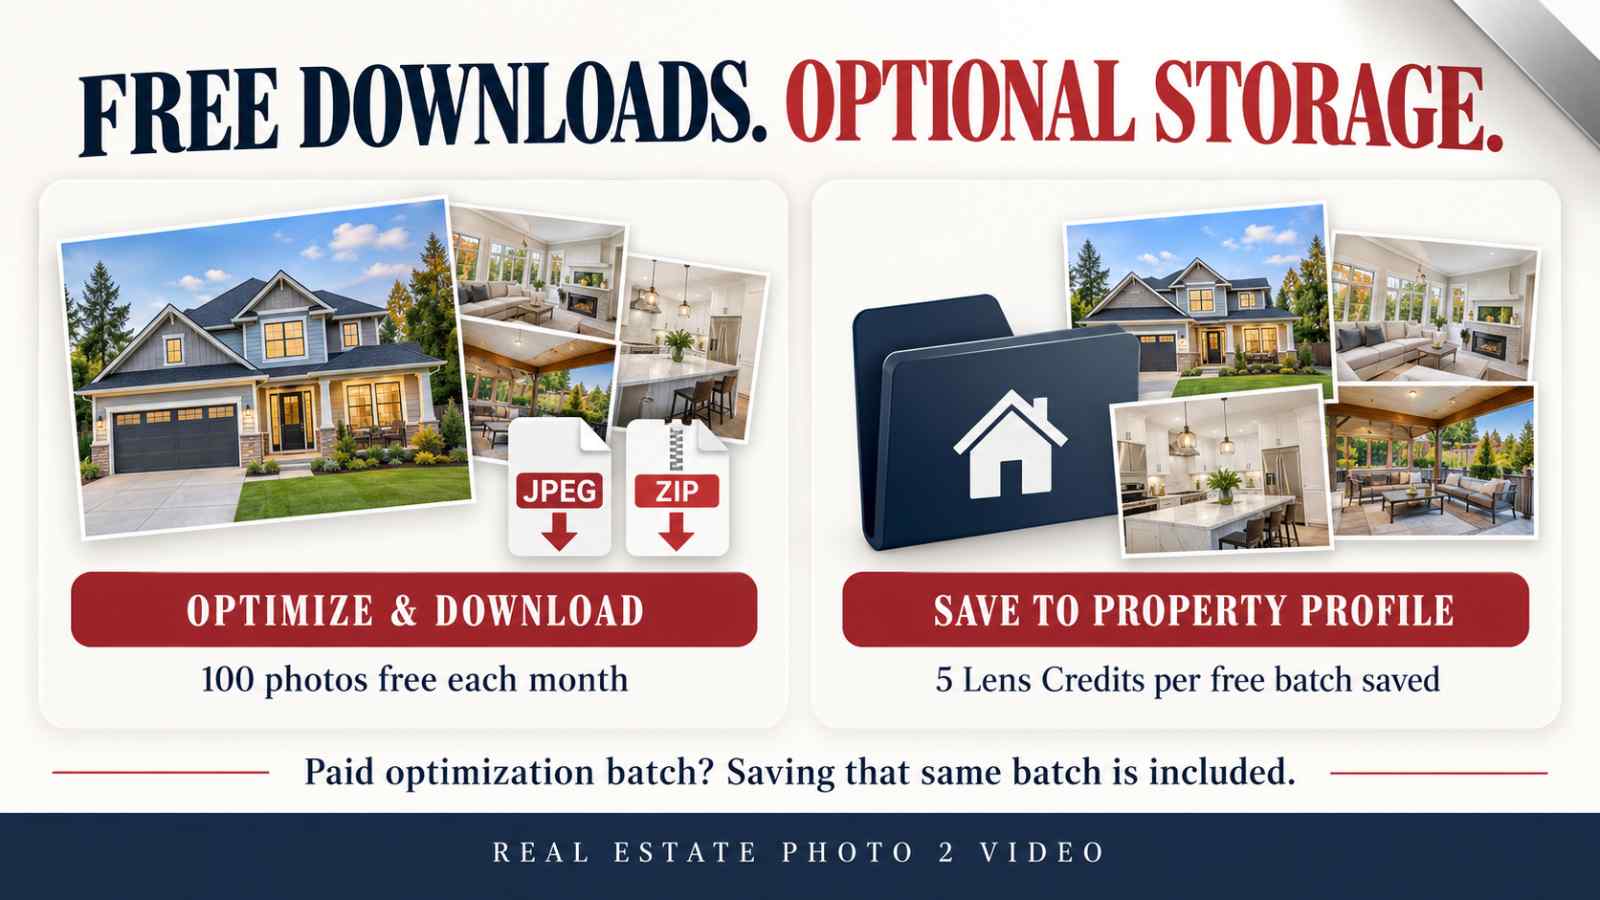
You do not need to save the images into a Property Profile to download them. Within your monthly free allowance, optimization and downloading require no Lens Credits.
Keep your files organized in folders such as “Original Listing Photos” and “Optimized Marketing Photos” so you can easily choose the right version later.
What Is Free—and What Costs Lens Credits?
Every REP2V account receives 100 free photo optimizations per calendar month. The allowance resets each month and is separate from your Lens Credit balance.
Here is how the pricing works:
- Optimize a batch covered by your remaining allowance and download it: free.
- Save that free optimized batch to a Property Profile: 5 Lens Credits.
- Optimize a batch when your remaining free allowance cannot cover the batch: 5 Lens Credits.
- Save that same paid optimization batch to a Property Profile: included, with no additional charge.
The allowance counts photos, not batches. Check the remaining total before processing your next collection. If you have 10 free optimizations remaining and want to process 20 photos, the whole 20-photo batch is not covered by the free allowance.
You can continue using the tool after the free allowance runs out. A paid optimization batch costs 5 Lens Credits, and saving that same batch does not turn it into a 10-credit charge.
When Should You Save Photos to a Property Profile?
If you only need smaller files to download and use elsewhere, the free workflow may be all you need.
Saving to a Property Profile is useful when you want to keep the optimized images inside REP2V alongside the property's information and continue working on its marketing.
After saving, the optimizer provides a “Create a Video” option that carries the saved photos and selected property into the Listing Video order flow. You can also create a Listing Video from your photos when you are ready.
Before selecting images for video, read How to Choose Listing Photos for a Real Estate Video. Useful room coverage and a clear property sequence matter alongside file preparation.
Frequently Asked Questions
Can I compress listing photos without buying a Listing Video?
Yes. The Photo Optimizer provides standalone value. A free account includes 100 photo optimizations each calendar month, and you can download the results without purchasing a Listing Video.
Can I convert iPhone HEIC photos to JPEG?
The optimizer includes HEIC/HEIF conversion and produces JPEG output. Some unsupported or damaged files may not convert successfully.
Will optimizing my photos make them look better?
The tool reduces dimensions and file size. It does not replace photography, retouching, or image enhancement. Review the optimized copies to make sure they retain enough detail for your intended use.
Are the original photos changed?
The tool creates optimized copies for download. Keep your original files so you retain the full-resolution versions for editing, printing, and other uses.
Do I have to pay to store the photos?
Downloading photos covered by the free allowance does not require paid storage. Saving a free optimized batch to a Property Profile costs 5 Lens Credits. If you already paid 5 Lens Credits to optimize that same batch, the Property Profile save is included.
Make Your Listing Photos Easier to Use
Large photo files do not have to slow down everyday marketing. Keep the originals, create copies suited to the task, and check the results before uploading or sharing.
Open the free Photo Optimizer to resize and compress your listing photos. Your free account includes 100 photo optimizations every month, with downloads included within that allowance.
When you are ready to do more with your images, view Listing Video examples or explore 5 Ways to Get More From Your Listing Photos.
One Listing. Endless Content.
Turn listing photos into cinematic videos, branded social clips, flyers, property pages, reports, and more.
Create My Listing VideoTopics