Real Estate Photography: What Makes a Pro Different?
A professional photographer is not automatically a professional real estate photographer.
That distinction matters more than many agents realize.
Portrait photographers, wedding photographers, commercial photographers, and real estate photographers may all use high-end cameras, expensive lenses, and professional editing software. But they are solving very different visual problems.
Real estate photography is about making a property feel accurate, spacious, bright, inviting, and easy to understand while still presenting it at its best.
If you are hiring someone for an upcoming listing, you can use our Real Estate Photographer Directory to find photographers who specifically work with property and listing photography.
Hiring a specialist is usually the best option when the listing matters, the seller expects polished marketing, or the property has difficult lighting and architecture.
That said, there are also times when an agent simply needs to take a few photos quickly.
So this guide is for both sides of the equation:
- agents who want to understand what separates a true real estate photographer from a general photographer
- professional photographers who want to sharpen their listing-photography approach
- Realtors who occasionally need to take usable property photos themselves
The goal is not to pretend a phone replaces a professional.
It is to understand what professionals do differently — and borrow as much of that thinking as possible when you have to shoot something yourself.
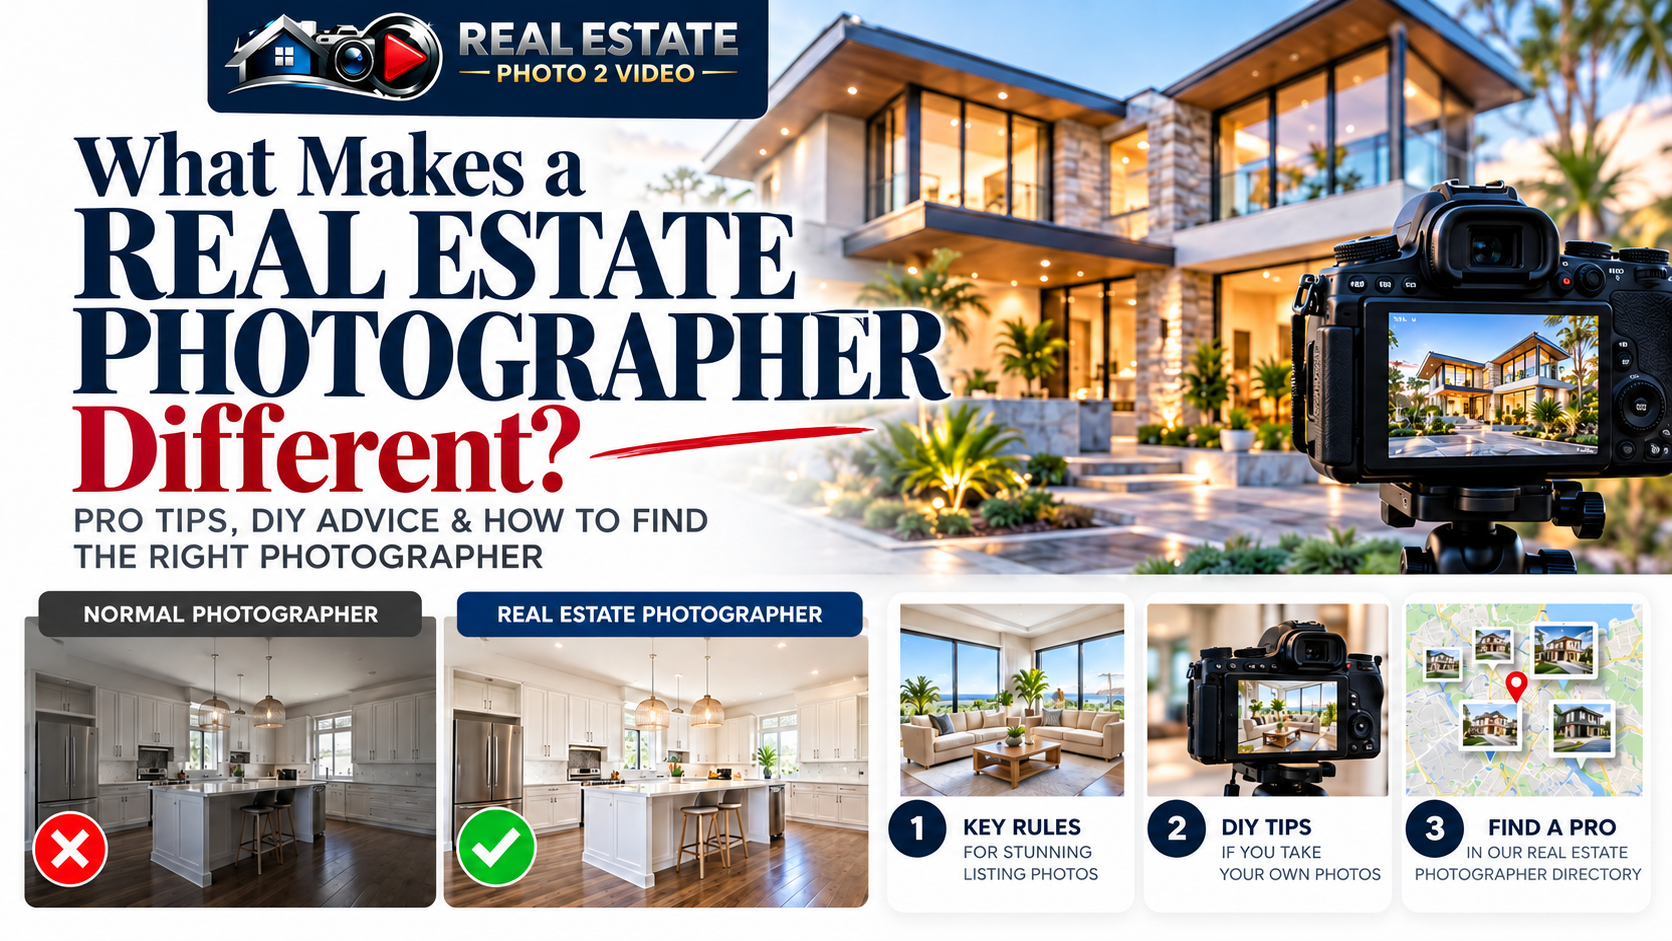
Real Estate Photography Is a Specialty
The easiest way to understand the difference is to think about the subject.
A portrait photographer is photographing a person.
A real estate photographer is photographing a space.
That changes almost everything.
A portrait photographer may intentionally use:
- shallow depth of field
- dramatic shadows
- compressed backgrounds
- long focal lengths
- selective focus
- artistic framing
Those techniques can look beautiful when the subject is a person.
They can be disastrous when the subject is a house.
A real estate photographer has a different job.
The viewer needs to understand:
- how large the room feels
- where one space connects to another
- how much natural light enters the home
- what the finishes actually look like
- whether walls and door frames are straight
- what makes the property special
That requires a different visual language.
If you want to go deeper into composition specifically, our guide to professional real estate photography composition techniques breaks down how experienced property photographers frame rooms differently.
What Makes a Professional Real Estate Photographer Different?
The difference is not simply owning better equipment.
A strong real estate photographer understands how buyers visually process a property.
They Know How to Keep Architecture Straight
One of the fastest ways to make a property photo look amateur is tilted vertical lines.
Door frames lean.
Walls appear to fall backward.
Cabinets look crooked.
The entire room starts to feel subtly wrong.
Experienced real estate photographers pay close attention to camera height and perspective so vertical lines remain vertical.
This often means:
- shooting from a controlled height
- leveling the camera carefully
- avoiding excessive upward or downward tilt
- correcting perspective during editing when necessary
This sounds minor.
It is not.
Clean architectural lines are one of the strongest visual differences between a casual snapshot and a professional listing image.
They Understand Wide-Angle Lenses Without Abusing Them
Real estate photographers often use wide lenses because buyers need to understand the room.
But wider is not always better.
An excessively wide lens can make:
- bedrooms look enormous
- furniture appear stretched
- walls bend
- room proportions feel unrealistic
A professional's goal is not to make every room look as large as possible.
It is to show the space clearly while keeping it believable.
That balance takes experience.
A good image should make the buyer think:
“I understand this room.”
Not:
“This room looks twice as large as it probably is.”
They Photograph the Property as a Sequence
Portrait photographers often work image by image.
Real estate photographers need to think about the entire gallery.
The photos should help someone move mentally through the property.
A typical sequence may include:
- exterior
- entry
- main living area
- kitchen
- dining space
- primary bedroom
- primary bathroom
- secondary spaces
- outdoor living
- special features
This becomes even more important if the images will later be turned into a professional listing video.
A well-photographed listing already contains a visual story.
The video simply puts that story into motion.
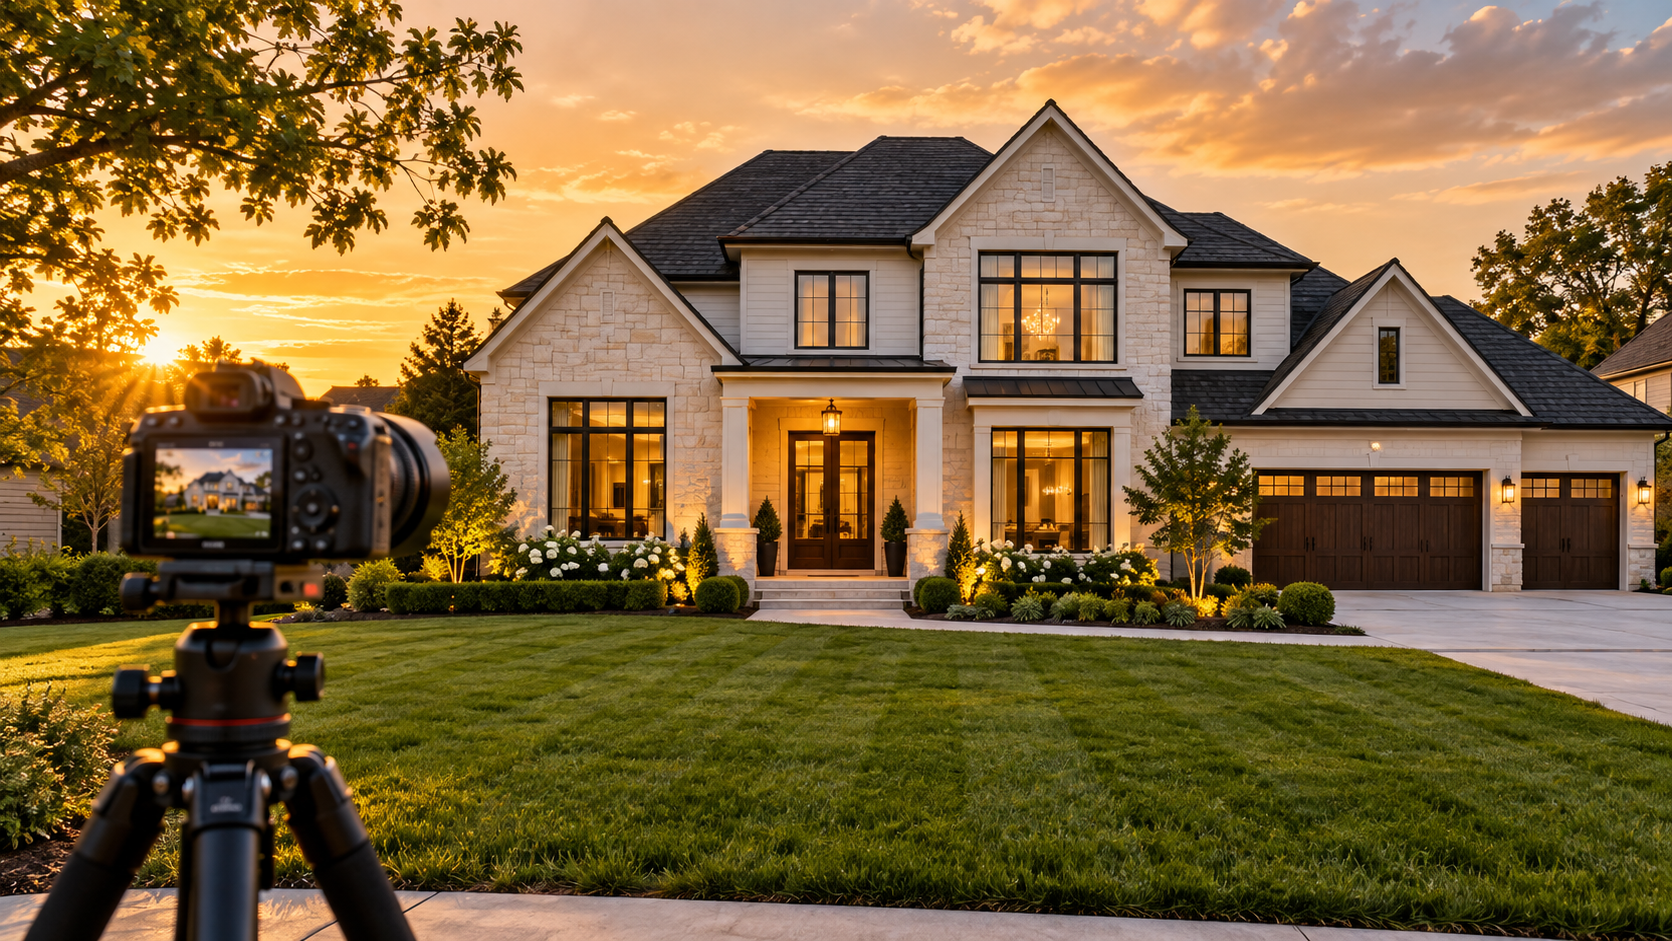
Lighting Is Where Real Estate Specialists Really Earn Their Keep
Real estate interiors are difficult because they often contain extreme differences in brightness.
You may have:
- a dark room
- bright windows
- reflective countertops
- recessed lighting
- warm lamps
- daylight coming from several directions
A camera does not see that scene the same way your eye does.
Professional property photographers know how to balance those competing light sources.
Depending on their workflow, they may use:
- HDR blending
- flash
- ambient exposures
- window pulls
- exposure blending
- color correction
- a combination of several techniques
The exact method matters less than the result.
You want the finished image to feel bright and natural without:
- completely white windows
- muddy shadows
- radioactive-looking colors
- orange rooms
- heavy halos around windows
- obvious over-processing
If you are taking your own photos, our article on using HDR for real estate photography is a good starting point for handling difficult interior lighting.
The Core Rules of Good Real Estate Photography
Whether you are a professional photographer or an agent taking your own images, there are a few principles that consistently matter.
1. Straighten the Room
Watch:
- walls
- door frames
- cabinets
- windows
Keep vertical lines straight whenever possible.
2. Declutter Before You Shoot
A camera notices things your eye starts ignoring.
Remove:
- trash cans
- loose cords
- dish soap
- refrigerator magnets
- bathroom toiletries
- random paperwork
- pet bowls
- excess countertop appliances
You do not need to sterilize the property.
You just want the viewer's attention on the room rather than the clutter.
3. Turn On the Right Lights
Use lighting intentionally.
Do not simply turn on every lamp because it exists.
Check the room and decide whether fixtures improve or hurt the image.
Mixed lighting temperatures can sometimes create strange color casts.
4. Open Blinds and Curtains When the View Helps
Natural light usually makes rooms feel more inviting.
But check what is outside.
A beautiful yard or view should be visible.
A distracting parking lot may deserve a more controlled composition.
5. Avoid Shooting Too High
Chest-level or eye-level snapshots often make listing photos feel casual.
A slightly lower camera height can make the architecture feel more balanced.
The right height varies by room.
Kitchens, bedrooms, and living rooms may each need slightly different treatment.
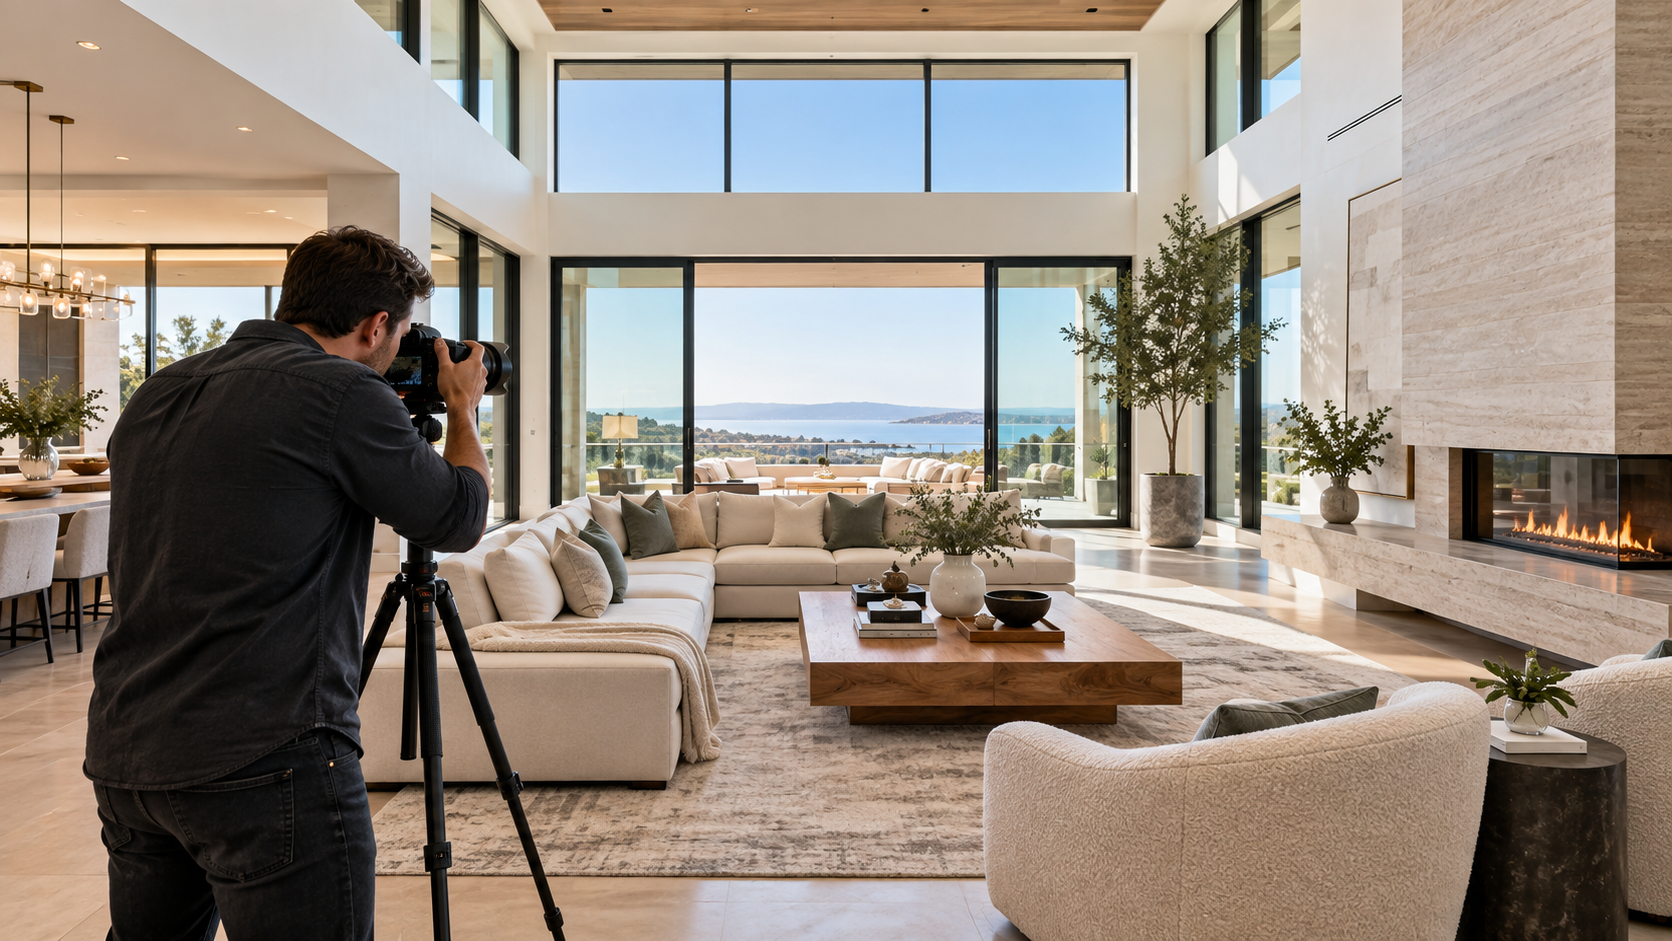
Do Not Photograph Every Room From the Doorway
This is one of the most common DIY mistakes.
Someone enters a room, stands in the doorway, raises the phone, and takes the picture.
Then they repeat that process throughout the house.
The result feels repetitive and flat.
Try moving.
Look for:
- diagonal compositions
- corner angles
- views that show multiple connected spaces
- foreground elements that add depth
- compositions that reveal the room's strongest feature
The goal is not to document that a room exists.
The goal is to present the space clearly and attractively.
Our guide to the worst listing photo mistakes covers more of the common errors that weaken otherwise good properties.
Think About What the Buyer Needs to Understand
Photography should answer questions.
For a kitchen:
- How large is it?
- Is there an island?
- How does it connect to the living area?
- What do the finishes look like?
For a primary bedroom:
- Is there room around the bed?
- Are there windows?
- Is there a view?
- How does it connect to the bathroom?
For outdoor areas:
- How large is the yard?
- Is there a patio?
- Is there a pool?
- Is the space private?
A technically perfect photograph that does not communicate anything useful is still not doing its job.
DIY Real Estate Photography Tips for Realtors
Sometimes hiring a professional simply is not practical.
Maybe you need:
- a quick rental photo
- a coming-soon image
- a social media update
- a new photo after a minor property change
- a replacement photo after staging
- a quick shot for a marketing asset
In those situations, your phone can produce surprisingly useful results if you slow down and apply a few professional habits.
Clean the Lens
This sounds almost too simple to mention.
Do it anyway.
Phones spend all day in pockets and hands.
A fingerprint on the lens can turn a bright kitchen into a hazy mess.
Turn On the Grid
Use your phone's gridlines to help:
- level the frame
- balance the composition
- keep verticals under control
Keep the Phone Straight
Tilting the phone up dramatically is one of the easiest ways to distort a room.
Keep the camera as level as practical.
Use the Standard Camera Before Going Ultra-Wide
Ultra-wide phone lenses can be useful in genuinely tight rooms.
They can also distort furniture and walls badly.
Try the standard lens first.
Move backward if possible.
Use ultra-wide only when the room actually requires it.
Tap to Set Exposure
Bright windows can confuse your phone's automatic exposure.
Tap the important part of the room and adjust brightness manually if needed.
If lighting is giving you trouble, see our full guide to DIY real estate photography hacks.
Take More Photos Than You Need
Professionals do not generally take one frame and walk away.
Neither should you.
For an important room, try:
- one wider angle
- one alternative angle
- one feature-focused view
Then choose the strongest image later.
This is especially important with phones because:
- focus may shift
- exposure may change
- your hand may move
- one composition may simply look better on a larger screen
Options are useful.
Exterior Photography Deserves Just as Much Attention
The exterior image is often the first impression.
Do not treat it as an afterthought.
Whenever possible:
- move cars out of the driveway
- hide garbage cans
- close garage doors
- straighten outdoor furniture
- remove hoses and temporary items
- avoid harsh midday light
- shoot when the front of the home has flattering light
Sometimes the right time of day makes more difference than the camera.
A basic camera in good light can outperform expensive equipment used at the wrong time.
Why Professional Real Estate Photographers Are Usually Worth It
DIY techniques can make your photos better.
They are not a replacement for skill.
A professional real estate photographer brings:
- specialized equipment
- experience with difficult interiors
- faster decision-making
- controlled composition
- consistent editing
- color accuracy
- perspective correction
- efficient shot planning
- experience working around occupied homes
- consistent results from listing to listing
There is also a business reason to hire a specialist.
Your seller sees the marketing.
So do future sellers.
A polished listing does more than market one property.
It demonstrates how seriously you take presentation.
If you need a photographer for an upcoming property, browse the Real Estate Photographer Directory to find professionals who specialize in this type of work.
What Realtors Should Look for When Hiring a Real Estate Photographer
Do not judge a photographer only by their best five portfolio images.
Look for consistency.
Ask yourself:
Are the vertical lines straight?
If almost every wall leans, that is a warning sign.
Are windows handled well?
You should not see completely blown-out white rectangles in every room.
Does the editing look natural?
Beware of:
- neon grass
- glowing windows
- oversaturated skies
- excessive HDR
- strange halos
Do small rooms still look believable?
Wide-angle lenses should help explain space, not distort it beyond recognition.
Is the entire gallery strong?
The photographer needs to deliver more than one hero image.
They need to handle:
- bathrooms
- hallways
- kitchens
- bedrooms
- basements
- exteriors
- awkward rooms
That is where specialists separate themselves.
Professional Photographers: Your Value Is Bigger Than Photography
For professional real estate photographers, there is another opportunity.
The photo set can become the beginning of a larger marketing package.
Those same listing photos can be repurposed into:
- listing videos
- vertical social content
- flyers
- property PDFs
- branded marketing pieces
- virtual staging
We cover that broader strategy in 5 Ways to Get More From Your Listing Photos.
And if your Realtor clients want video without adding a dedicated video shoot, the photos can also be turned into a cinematic walkthrough using the Real Estate Photo 2 Video workflow. :chatgpt-content-reference{index="2"}
This can be especially valuable for photographers who want to offer clients more without adding another long appointment at the property.
How Better Photography Supports Better Listing Video
There is a direct relationship between photo quality and the marketing assets created from those photos.
A clean, well-composed image works better in:
- listing galleries
- property websites
- social carousels
- listing videos
- vertical Reels
- flyers
- presentations
- property PDFs
That is why photography is still the foundation.
Real Estate Photo 2 Video is built around that idea: start with strong property media and continue building the listing campaign from the same source assets. :chatgpt-content-reference{index="3"}
You can also look through our listing video portfolio to see how still photography can become finished horizontal and vertical property video. :chatgpt-content-reference{index="4"}
A Quick DIY Real Estate Photography Checklist
Before you photograph a property yourself, run through this list.
Before shooting
- clean the phone or camera lens
- declutter every room
- open useful blinds and curtains
- turn on appropriate lights
- straighten pillows and chairs
- remove visible trash cans
- close toilet lids
- clear kitchen countertops
- move vehicles when possible
While shooting
- keep vertical lines straight
- hold the camera level
- avoid extreme wide-angle distortion
- take multiple angles
- keep your reflection out of mirrors
- check exposure
- photograph connected spaces logically
- make sure important rooms are covered
Before publishing
- review everything on a larger screen
- straighten perspective
- correct brightness
- check color
- remove accidental duplicates
- put the strongest images first
When Should You Stop DIYing and Hire a Professional?
There is no universal rule.
But there are some clear signals.
Hire a professional when:
- the seller expects premium marketing
- the property is difficult to photograph
- the home has expansive views
- the listing has high-end finishes
- rooms have challenging window light
- you need twilight photography
- you need drone imagery
- you want consistent branding across listings
- photography is an important part of your listing presentation
DIY photography is useful.
Professional photography is an investment in the presentation of both the property and the agent.
Those are different things.
Final Thought: The Camera Is Only Part of the Job
Good equipment helps.
But a real estate photographer's real skill is understanding how a property should be presented.
That means:
- controlling perspective
- managing difficult light
- choosing the right angle
- showing room relationships
- avoiding distortion
- editing consistently
- knowing what buyers need to see
That is why a great portrait photographer may not automatically be the right photographer for a listing.
Real estate photography is its own specialty.
If you want professional results, start with someone who understands that specialty.
Browse the Real Estate Photographer Directory to find photographers who work specifically with properties and listing media.
And if you are photographing a property yourself, use the same principles professionals use:
keep it straight, keep it bright, keep it clean, and make the space easy to understand.
Then let those photos do more.
One Listing. Endless Content.
One Listing. Endless Content.
Turn listing photos into cinematic videos, branded social clips, flyers, property pages, reports, and more.
Create My Listing Video