5 Lighting Tricks That Make Listings Look Expensive
Proper lighting is the single most important factor that separates amateur listing photos from professional-quality images that make properties look expensive and desirable. DIY real estate photography can achieve stunning results when you understand how to control and optimize lighting, even with basic smartphone cameras and minimal equipment.
The difference between a $200,000 home looking like a million-dollar property often comes down to lighting technique, not the actual camera used.
Why Does Lighting Make Such a Dramatic Difference?
Lighting affects every aspect of how potential buyers perceive a property. According to the National Association of Realtors, listings with high-quality photos sell 32% faster than those with poor photography. Poor lighting creates shadows that make rooms appear smaller, highlights imperfections, and gives spaces a dated or neglected appearance.
Professional lighting techniques accomplish three critical goals:
- Maximize perceived space by eliminating harsh shadows
- Create warmth and ambiance that helps buyers envision living there
- Ensure accurate color representation of finishes and furnishings
When executed properly, these real estate photography tips for realtors can transform ordinary spaces into aspirational environments that command higher offers.
1. Shoot When Natural Light Is Best
The golden rule of smartphone real estate photography: timing is everything when it comes to natural light. The best lighting occurs during specific windows throughout the day, and understanding these patterns is crucial for how to photograph a house for listing.
Morning Magic Hour (8:00-10:00 AM)
Morning light provides soft, even illumination that's perfect for east-facing rooms. This light is clean, bright, and creates minimal harsh shadows. Properties photographed during morning hours typically appear fresh and inviting.
Afternoon Sweet Spot (2:00-4:00 PM)
Afternoon lighting works exceptionally well for west-facing rooms and creates warm, golden tones that make spaces feel luxurious. This timing is particularly effective for living rooms, dining areas, and bedrooms where you want to emphasize comfort.

What to Avoid
Never shoot during midday (11:00 AM-1:00 PM) when harsh overhead sun creates unflattering shadows and overexposed windows. Late evening photography often requires too much artificial light compensation, resulting in unnatural color casts.
Pro tip: Visit the property at different times to identify which rooms look best at specific hours, then plan your beginner real estate photography guide schedule accordingly.
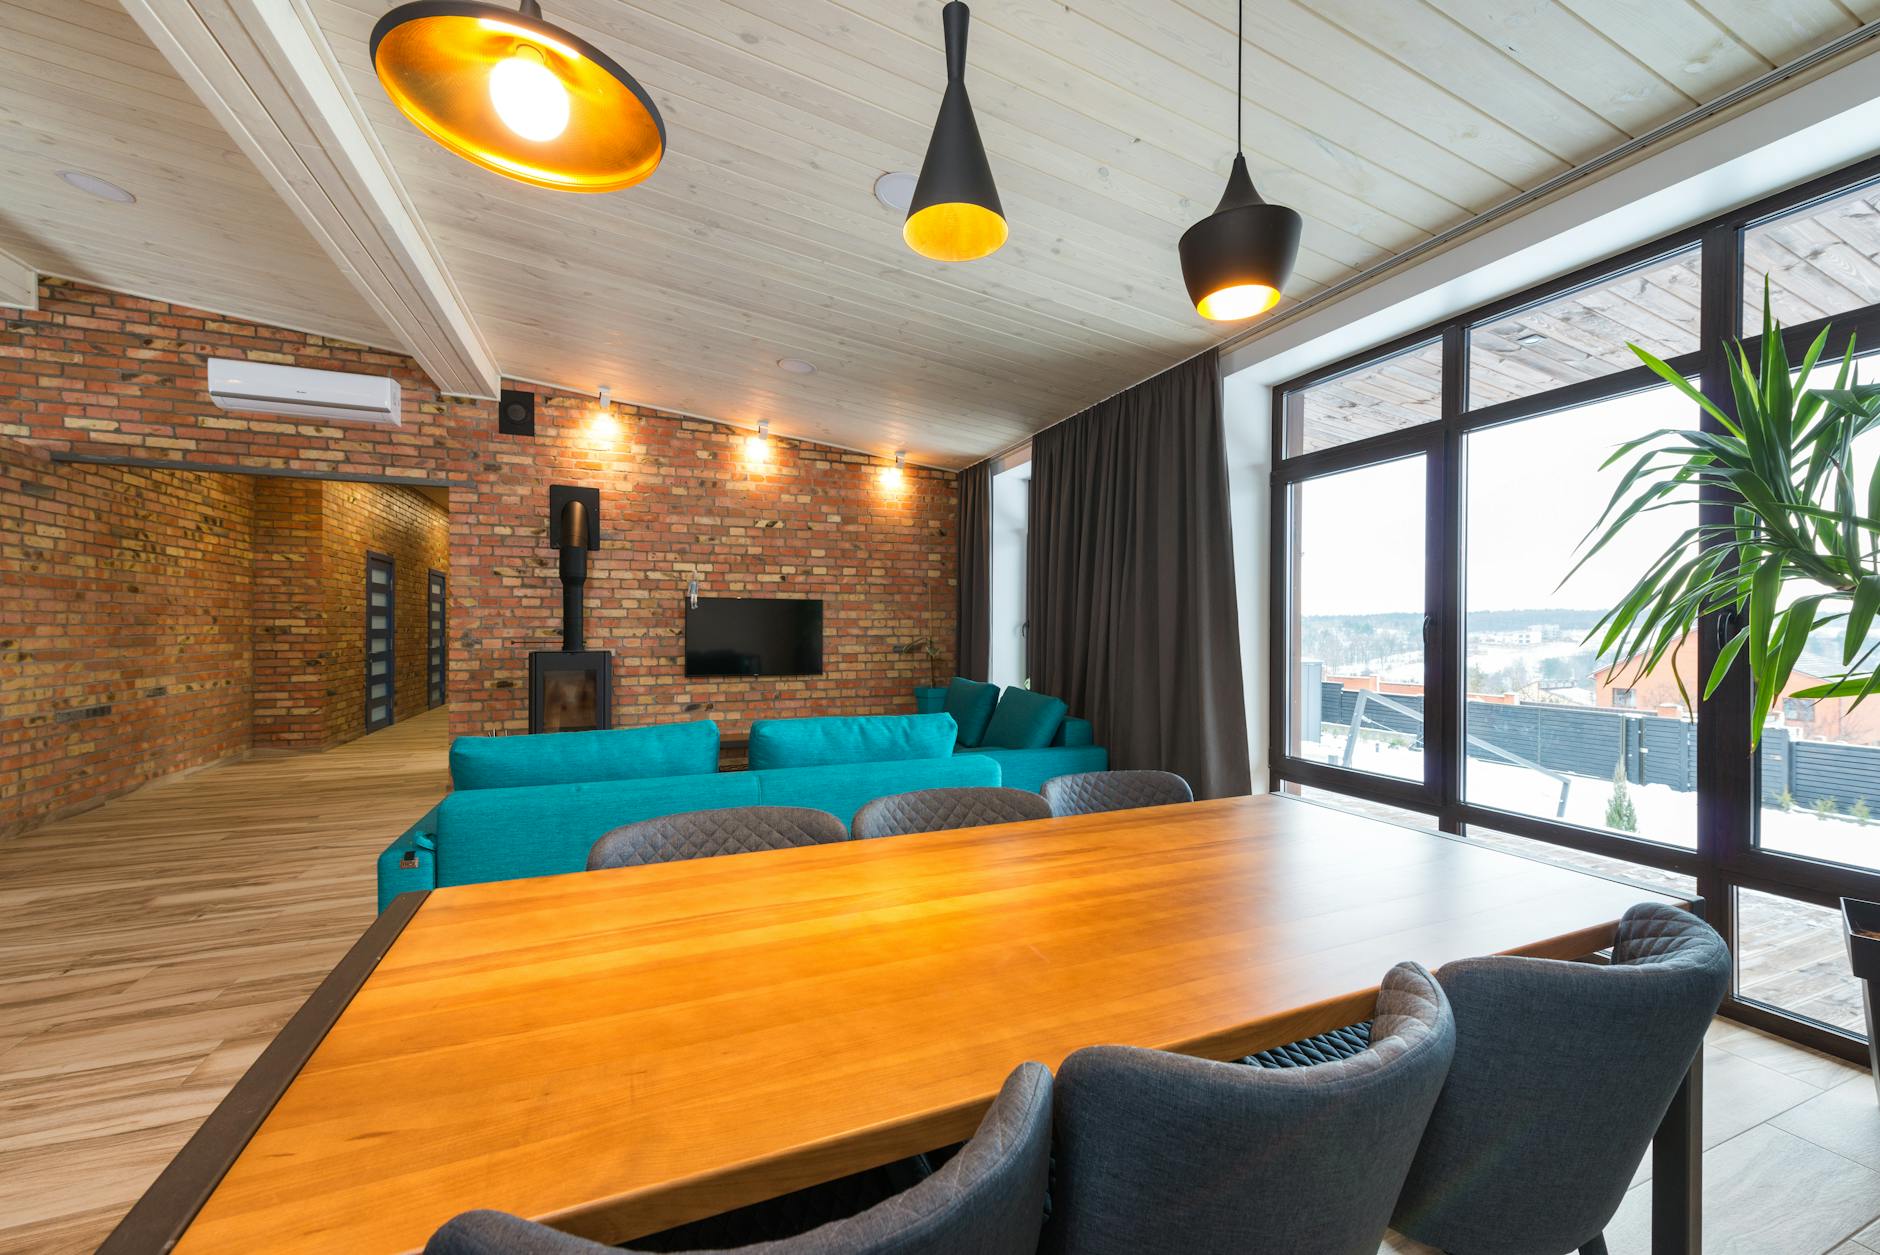
2. Turn All Interior Lights On
This might seem counterintuitive, but turning on every interior light creates layered lighting that professional photographers use to eliminate shadows and create depth. Here's the science behind this technique:
The Layer Effect
- Ambient lighting (overhead fixtures) provides general illumination
- Task lighting (table lamps, under-cabinet lights) adds warmth and dimension
- Accent lighting (decorative fixtures) creates visual interest
When all lights work together with natural light, they fill in shadow areas that would otherwise appear dark and uninviting in photos.
Strategic Light Management
- Kitchen: Turn on overhead lights, under-cabinet lighting, and pendant fixtures
- Living areas: Activate all table lamps, floor lamps, and overhead fixtures
- Bathrooms: Use vanity lights, overhead lighting, and any decorative fixtures
- Bedrooms: Turn on ceiling lights and bedside lamps for warmth
Important note: This technique works because modern smartphone cameras excel at balancing multiple light sources, creating evenly lit spaces that appear larger and more expensive.
3. Match Bulb Color Temperatures
Color temperature consistency is what separates amateur photos from professional-looking images. Mixed lighting temperatures create an unsettling, unfinished appearance that immediately signals poor photography quality.
Understanding Color Temperature
- Warm light (2700K-3000K): Creates cozy, residential ambiance
- Cool light (4000K-5000K): Appears clean and modern
- Daylight (5500K-6500K): Matches natural sunlight
The Professional Approach
Choose one color temperature and ensure all visible bulbs match. For DIY real estate photography, warm light (3000K) typically produces the most appealing results because it:
- Makes spaces feel welcoming and lived-in
- Complements most interior design styles
- Photographs well with smartphone cameras
- Creates the "expensive home" aesthetic buyers expect
Quick Implementation Strategy
- Audit existing bulbs before your photo session
- Replace mismatched bulbs with consistent temperature options
- Turn off fluorescent lights that can't be easily replaced
- Use warm LED bulbs for the most flattering results
This small investment (usually under $50) dramatically improves photo quality and can increase perceived property value.
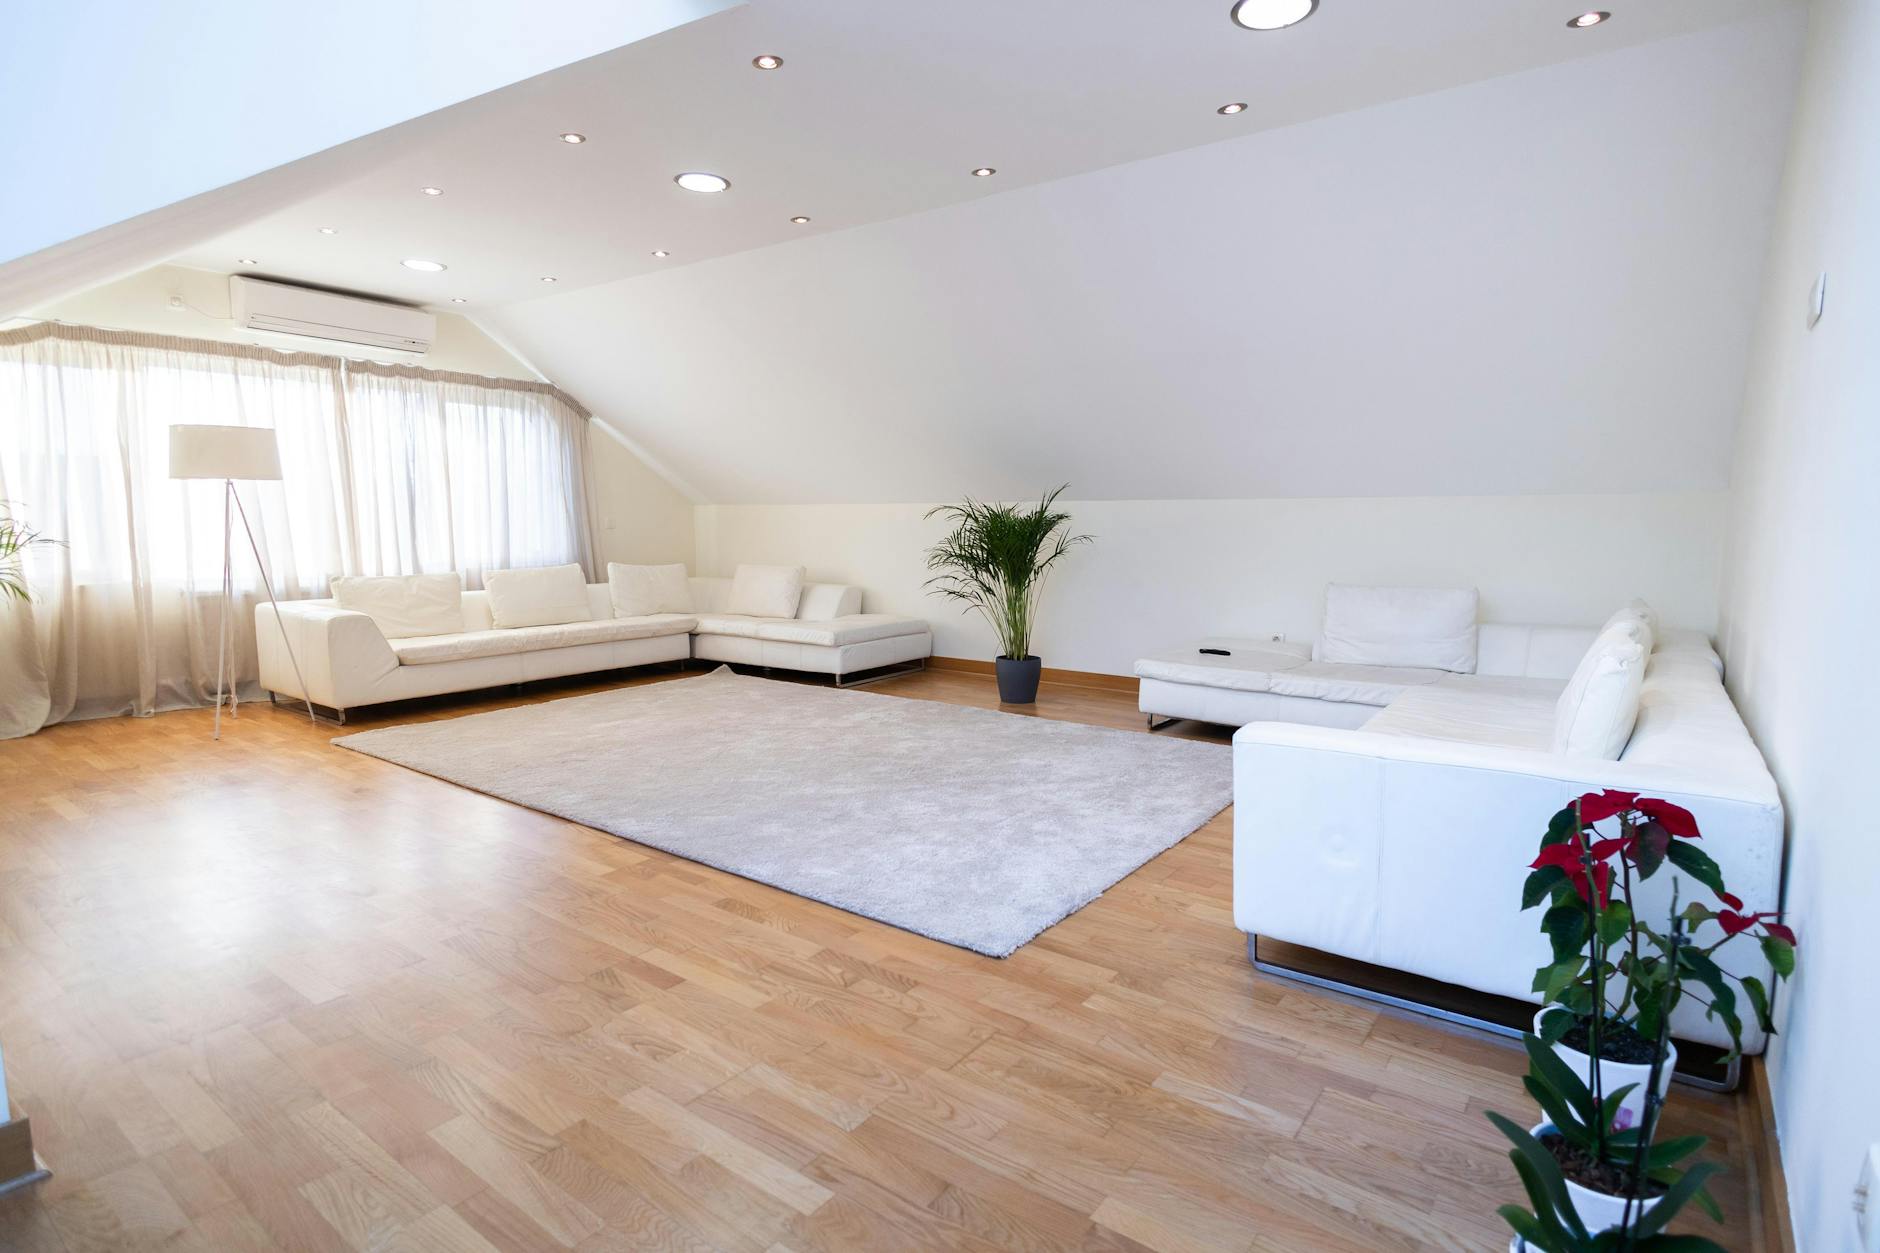
4. Open Curtains but Control Sheers
Window treatment management is a critical but often overlooked aspect of real estate photography tips for realtors. The goal is maximizing natural light while maintaining visual appeal and preventing overexposure.
The Two-Layer Strategy
Heavy curtains: Pull completely open to maximize light entry Sheer curtains or blinds: Use strategically to diffuse harsh light and prevent blown-out windows
Room-by-Room Application
Living Areas:
- Open all heavy curtains fully
- Leave sheers closed if windows face direct sunlight
- Adjust blinds to allow maximum light while controlling glare
Bedrooms:
- Open curtains to showcase natural light
- Use sheers to maintain privacy while maximizing brightness
- Ensure window treatments appear intentional and styled
Kitchen:
- Maximize all available natural light
- Use sheers minimally unless windows are severely overexposed
- Showcase outdoor views when possible
The Professional Touch
Neatly arranged window treatments signal attention to detail and proper home maintenance. Buyers subconsciously associate well-managed lighting with overall property care.
5. Use a Cheap Reflector
A simple reflector is the most cost-effective tool for elevating smartphone real estate photography to professional levels. Reflectors redirect existing light to eliminate shadows and create even illumination throughout spaces.
Budget-Friendly Options
- Professional 5-in-1 reflector ($15-25): Collapsible with multiple surfaces
- White foam board ($5-10): Available at any craft store
- Emergency car sunshade ($10-15): Silver surface works perfectly
Strategic Placement Techniques
- Opposite windows: Position reflector across from main light source
- Dark corners: Bounce light into shadowy areas
- Kitchen islands: Reflect light under upper cabinets
- Bathroom vanities: Eliminate shadows under vanity overhangs
Advanced Reflector Techniques
The Bounce Method: Aim reflector at ceiling to create soft, even overhead light The Fill Method: Direct reflected light into specific shadow areas The Enhance Method: Use reflector to brighten entire room uniformly
Pro insight: Most realtors are amazed by the dramatic improvement a $20 reflector makes in their listing photos. This single tool often eliminates the need for expensive lighting equipment.
Turning Great Photos Into Compelling Walkthrough Videos
Once you've mastered these lighting techniques and captured stunning listing photos, the next step is creating engaging walkthrough videos that showcase the property's flow and features. Modern buyers expect video content, with listings featuring video receiving 403% more inquiries according to recent NAR data.
The challenge for busy realtors is that professional videography can cost $500-1500 per listing and requires additional scheduling. However, transforming your existing well-lit photos into professional listing videos is now possible with photo-to-video services that deliver cinematic results in just 24 hours for $79-179.
This approach leverages the time you've already invested in capturing quality photos while meeting buyer expectations for video content.
Common Lighting Mistakes That Make Listings Look Cheap
Avoid these critical errors that immediately signal amateur photography:
- Mixed color temperatures: Creates confusing, unpleasant color casts
- Shooting against windows: Results in silhouetted rooms and blown-out backgrounds
- Ignoring artificial lighting: Relies solely on natural light, creating harsh shadows
- Poor timing: Shooting during harsh midday sun or late evening
- Leaving lights off: Creates dark, unwelcoming spaces
- Neglecting window treatments: Allows unflattering light or blocks beneficial illumination
Quick Summary: Key Takeaways
- Time your shoot strategically: Morning (8-10 AM) or afternoon (2-4 PM) provide optimal natural lighting conditions
- Layer your lighting sources: Turn on all interior lights to work with natural light, eliminating shadows and creating depth
- Maintain color consistency: Use matching bulb temperatures (3000K warm light recommended) for professional appearance
- Master window management: Open curtains fully but use sheers strategically to control harsh light and prevent overexposure
- Invest in a basic reflector: A $20 reflector dramatically improves photo quality by bouncing light into shadowy areas
- Consider video content: Transform well-lit photos into walkthrough videos to meet modern buyer expectations
Equipment Investment Summary
Total cost to implement these beginner real estate photography guide techniques: $50-75
- LED bulbs for color consistency: $20-30
- Basic reflector: $15-25
- Optional: White foam boards: $5-10
This minimal investment can increase perceived property value and reduce time on market significantly.
Frequently Asked Questions
What's the best time of day for real estate photography?
The optimal times are 8:00-10:00 AM for morning light or 2:00-4:00 PM for afternoon warmth. Avoid midday shooting (11 AM-1 PM) when harsh overhead sun creates unflattering shadows and overexposed windows.
Should I turn on all the lights when taking listing photos?
Yes, turning on all interior lights creates layered lighting that eliminates shadows and makes spaces appear larger and more expensive. This technique works because modern cameras excel at balancing multiple light sources.
What color temperature bulbs work best for listing photos?
Warm LED bulbs (3000K) produce the most appealing results for real estate photography. They create welcoming, residential ambiance and complement most interior design styles while photographing beautifully with smartphone cameras.
Can I really take professional-looking photos with my smartphone?
Absolutely. Modern smartphones have excellent cameras that produce professional-quality results when proper lighting techniques are applied. The key is controlling light sources rather than relying on expensive camera equipment.
How much should I invest in basic lighting equipment?
You can dramatically improve your listing photos with a $50-75 investment in LED bulbs for color consistency and a basic reflector. This minimal cost often increases perceived property value and reduces time on market significantly.
One Listing. Endless Content.
Turn listing photos into cinematic videos, branded social clips, flyers, property pages, reports, and more.
Create My Listing Video